Yearly Archives: 2019
Blue Off the Shoulder Top

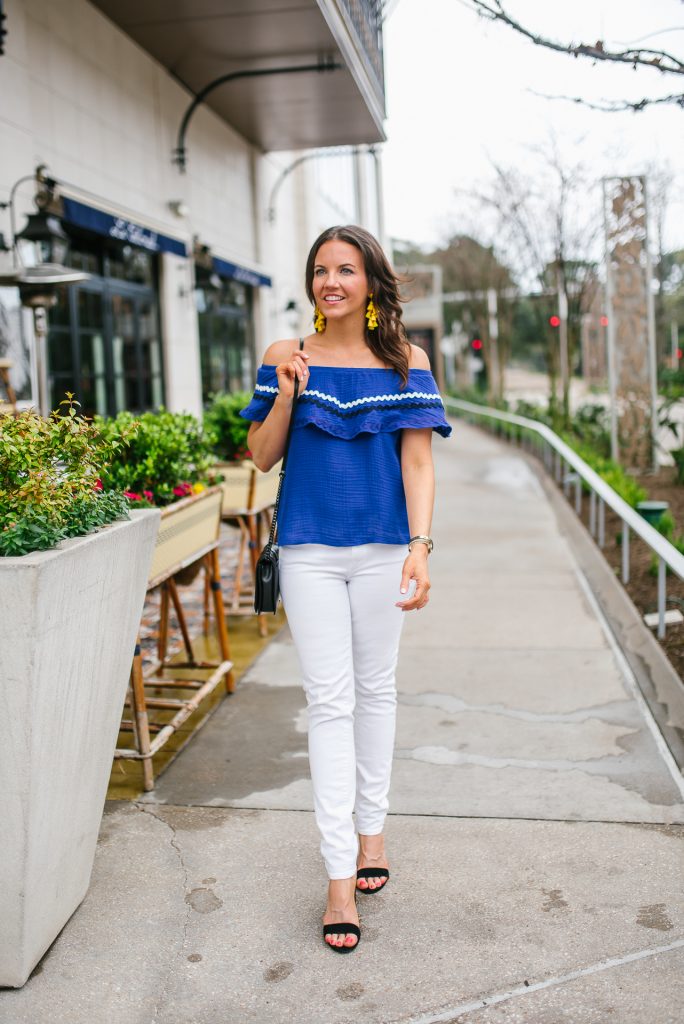
Hello Ladies! Does anyone else feel like this weekend flew by? I feel like I blinked and it was Sunday night. Despite how quick it seemed to go by, it was definitely a fun one!
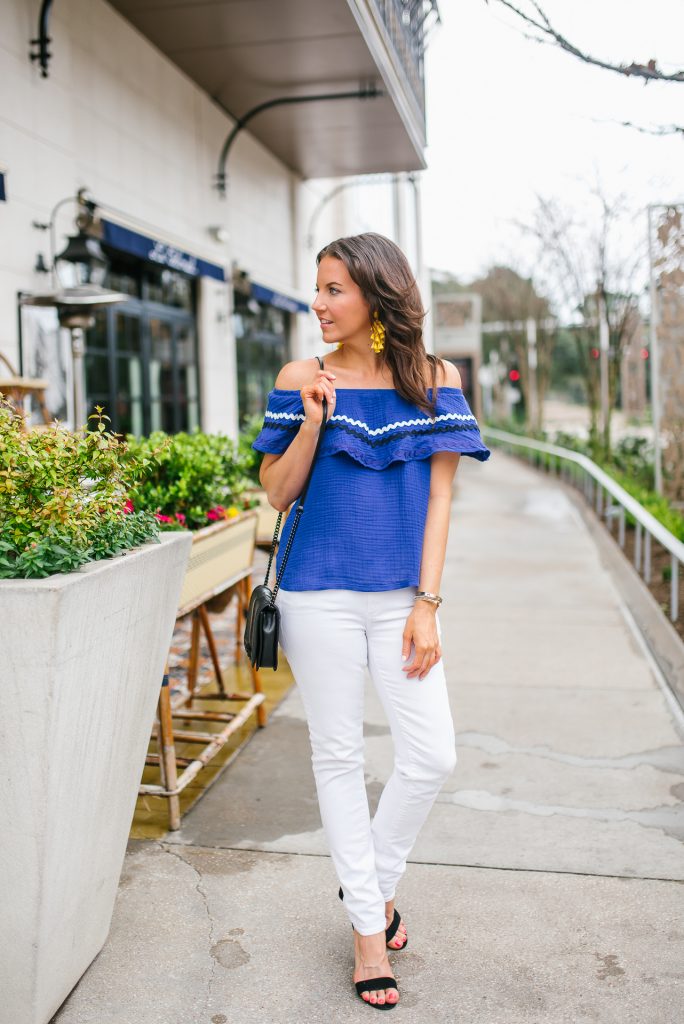
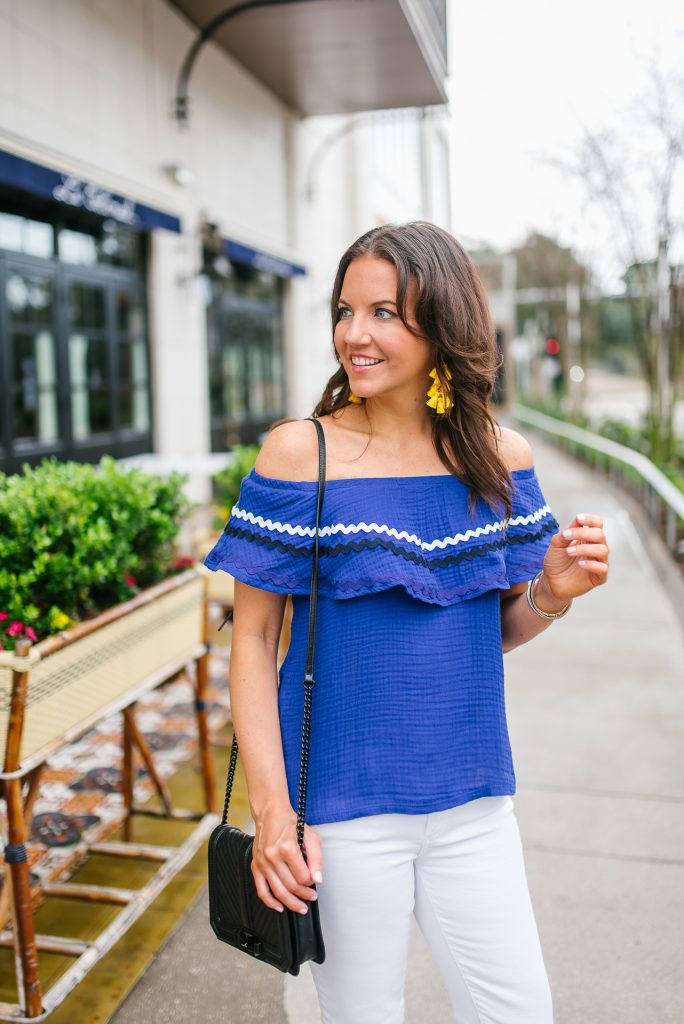
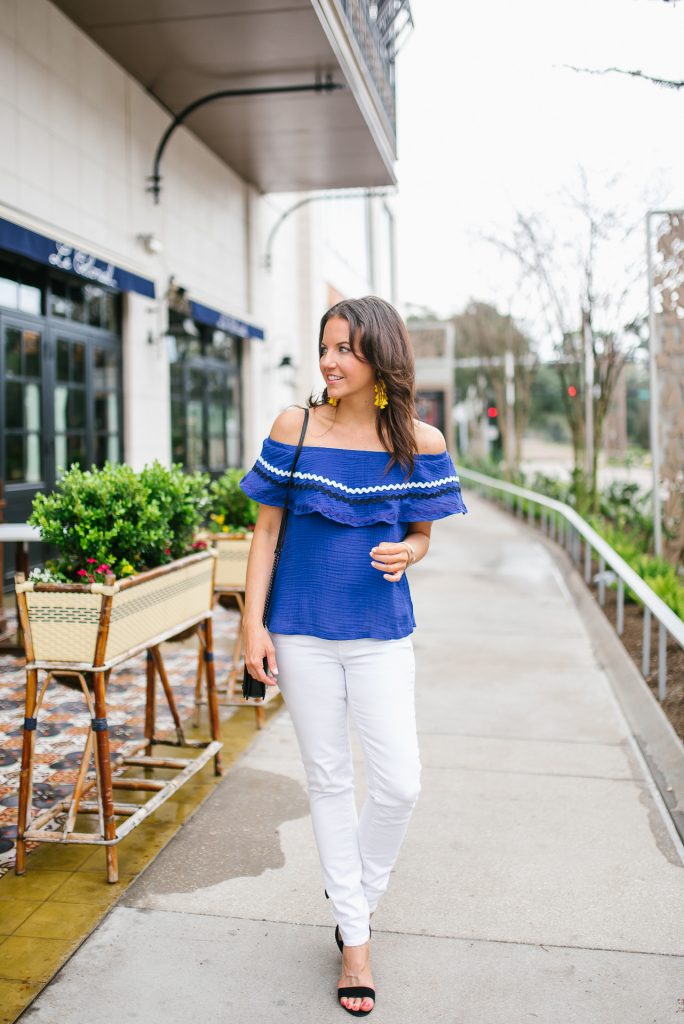
When it comes to spring and summer weekends, this outfit would be perfect! This blue off the shoulder top is so fun and can easily be dressed up or down. I’m planning to pair this top with shorts too this summer. I think the shorter length of the top will pair perfectly with a pair of white or black cotton shorts.
For a spring outfit idea, I decided to pair this top with my white skinny jeans. Bright and bold colors really pop when paired with white. I tossed in a little bit more color with these yellow statement earrings. I think pink would be another good pop of color to pair with this blue top.
Alright ya’ll, I hope you have a fabulous week and thanks for stopping by!
| OUTFIT DETAILS |
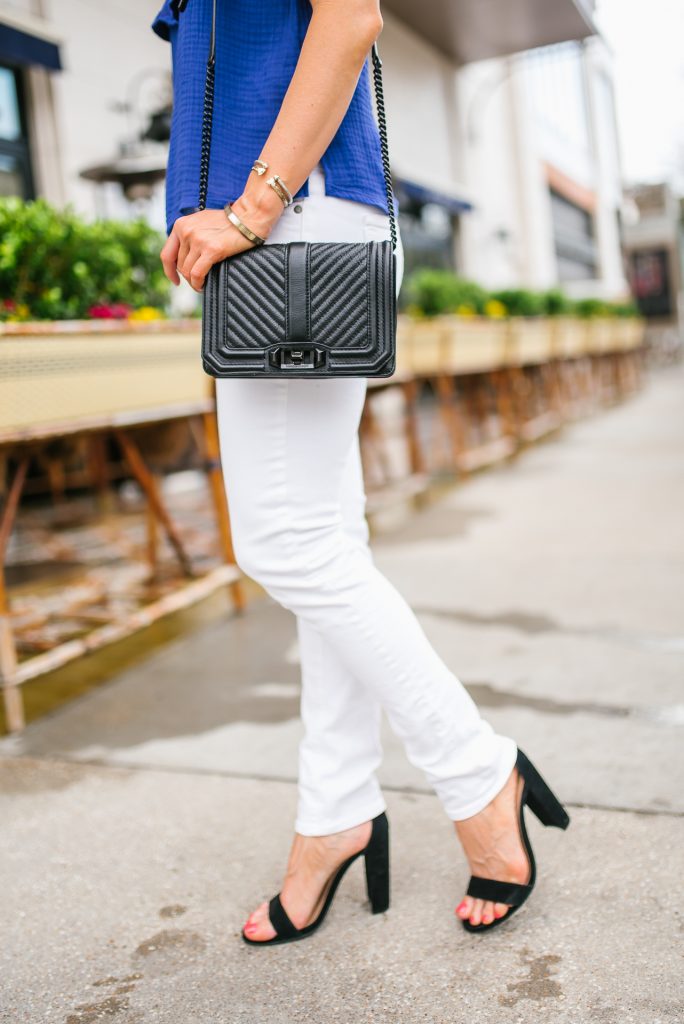
Blue Off the Shoulder Top | White Skinny Jeans | Block Heel Sandals | Black Crossbody Bag | c/o Yellow Tassel Earrings | Similar Gold Bangle | Similar Gold Cuff | David Yurman Bracelet | Nails: CND Cashmere Wrap
Photography By: Banavenue


SHOP THE LOOK
Weekly Meal Prep Tips for Beginners
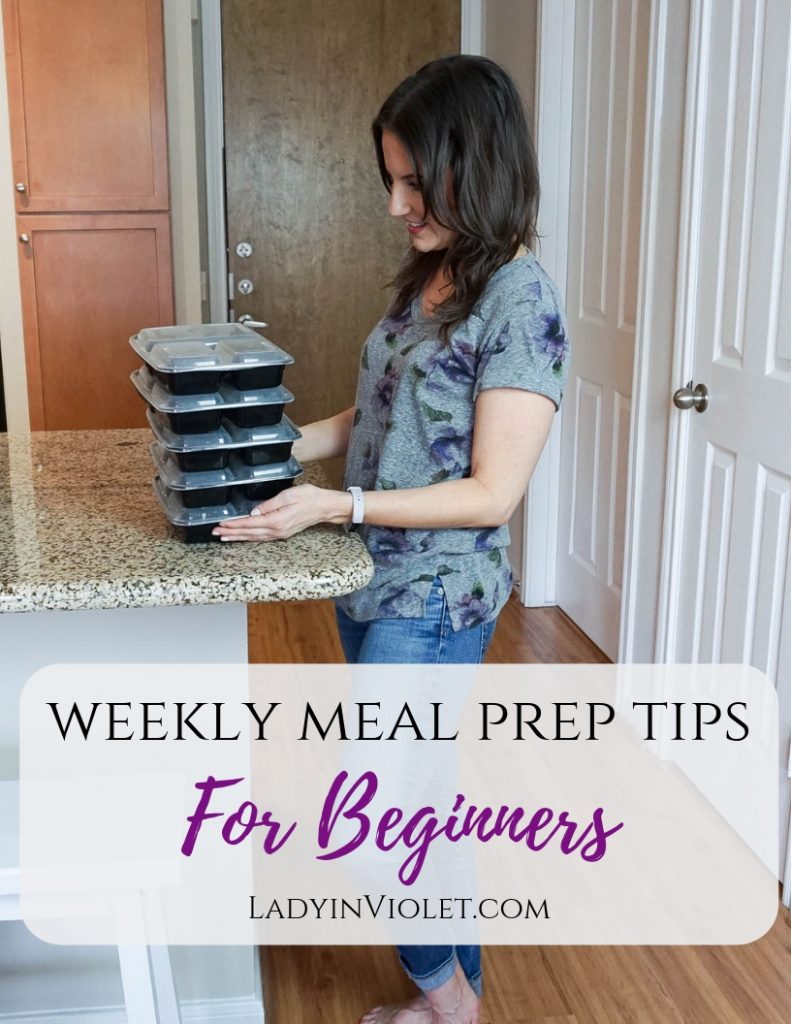
Hello Friends!!! I’m so excited to share today’s post. It’s a little follow up to my post about What I Eat in a Week. I talked about how I do some meal prep each week, and today I wanted to share some of my tips. These are perfect meal prep tips for beginners, and a closer look at how I plan and prepare my meals for the week.
TIP #1 – PLAN, PREPARE, & SHOP – Every week, usually Friday afternoon or Saturday morning, I sit down with Pinterest and my recipe books and make a meal plan for the week. I make a plan for 3 meals for the next 7 days. I then use this plan to create my shopping list. At the store, I try to stay as close to my list as possible and avoid temptation aisles, I’m talking to you chip and dip aisle.
As you will learn in a later tip, I don’t meal prep every single meal. I do like having a plan for every meal though. For dinners, I usually plan 2-3 different meals for the week and decide day of what I am in the mood to eat. I make note on my meal plan of which nights I have plans to eat out too. I also account for snack time and buy a few healthy snacks to keep in my fridge at work.
Keeping your meal plan in view during the week can help you stay on track. After a long day at work, I love being able to look at my dinner list on the fridge and pick one to cook.
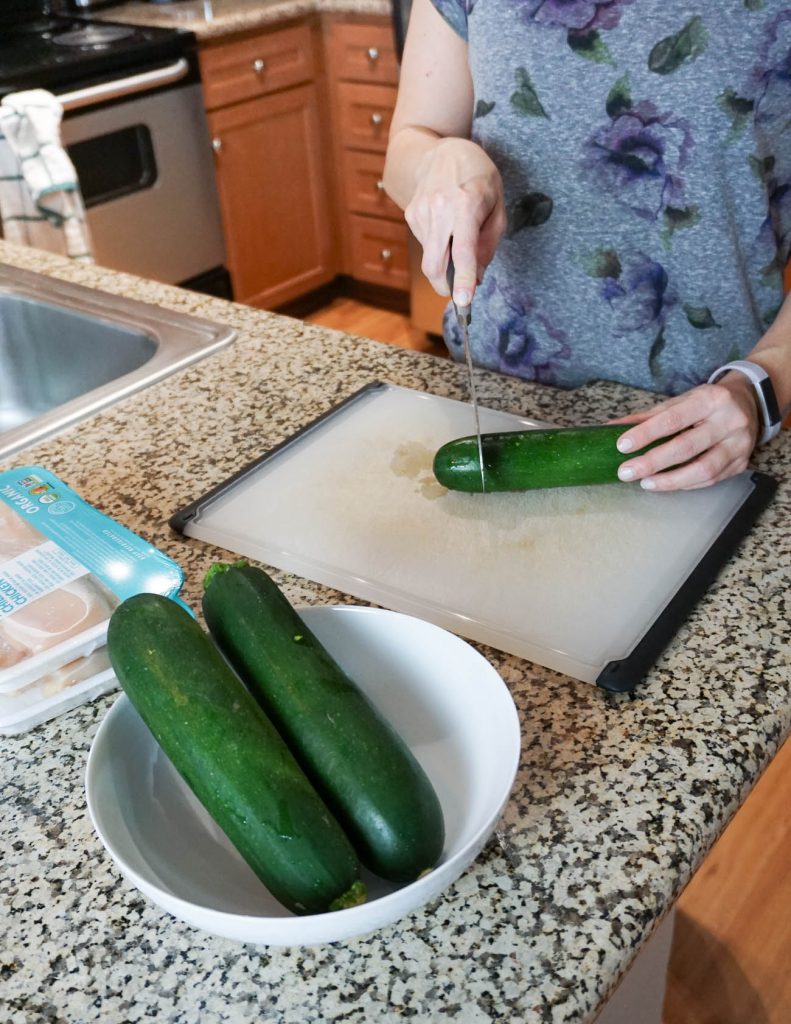
TIP #2 – SET A SCHEDULE – Set a time when you plan to do your meal prep and stick to it. I usually meal prep every Sunday night. It’s become routine for me. If I know I will not be home at that time, I set aside another time either earlier in the day or on Saturday. Cooking is relaxing to me, so meal prepping on Sunday night is perfect for me to wind down from my weekend and set up for a new week.
In addition to setting a time to meal prep, set a schedule for your actual meal prep. Look at your recipes, so you know how much time you need to cook each item. If something takes an hour to cook, start with that first and then work on the items that only need 15-20 minutes. Make sure anything that needs to marinate or soak is set up in time for your official meal prep time. I like to set up marinades Saturday when I get home from the store. For anything that soaks like nuts, I set it up Sunday morning.
TIP #3 – PREP & COOK IN BULK – Whether you meal prep all your meals or just one set of meals, bulk cooking is key! I mainly bake items, so I cook everything at once that needs a specific oven temperature setting. Occasionally on busy weeks, I will roast extra veggies for my dinners when I cook my lunch veggies. Another time saver is to pre-chop my dinner time veggies when I’m prepping my lunch vegetables.
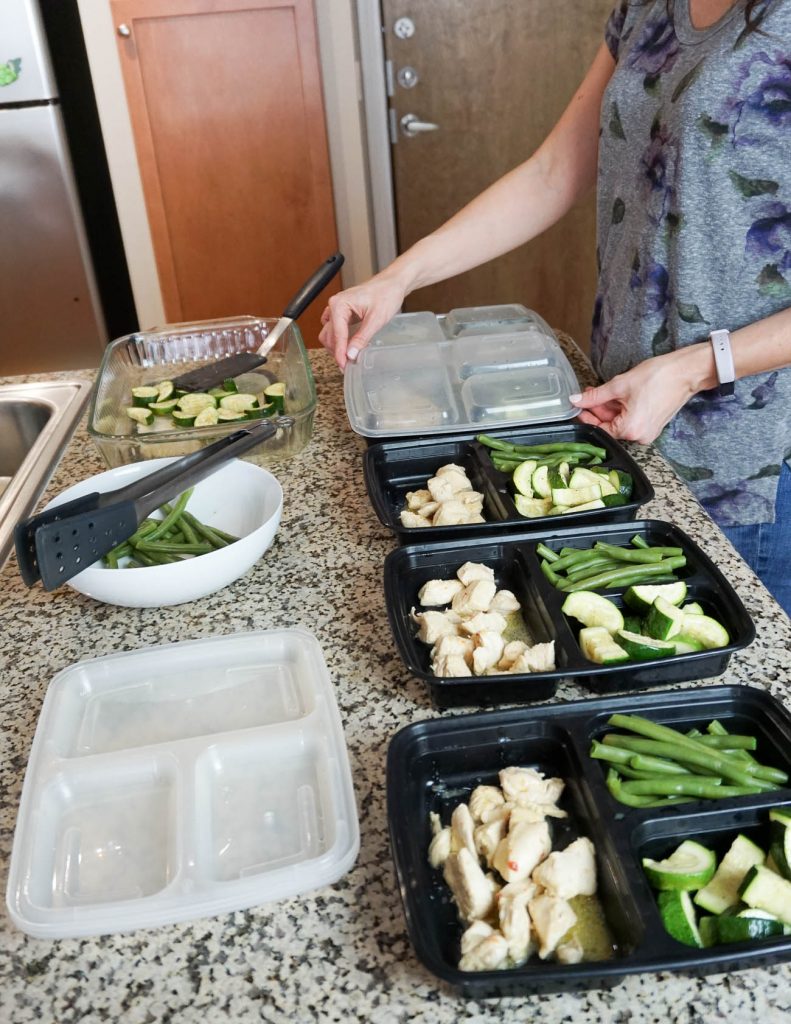
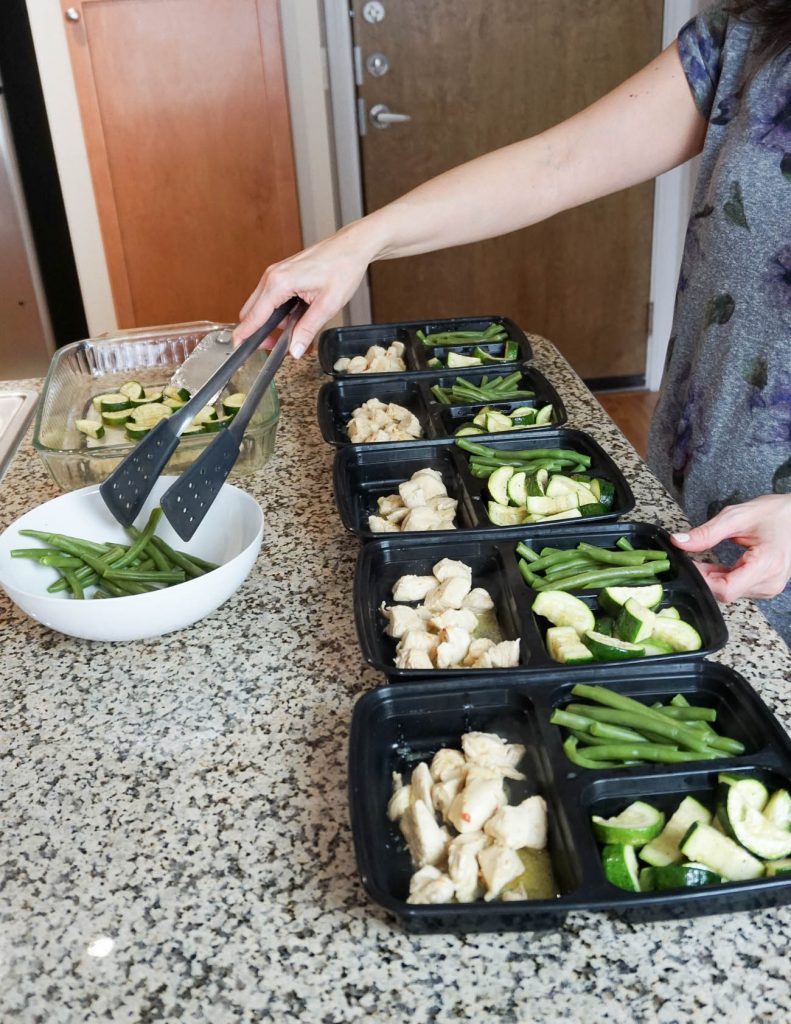 TIP #4 – GET YOUR CONTAINERS READY! – The first item to purchase before you start meal prepping is the right containers. Think about what kinds of meals you plan to prepare and how many you plan to prepare, so you know which style container to buy and what quantity. I like these 3 section ones for 1 meat and 2 sides. I also use 1 section Rubbermaid containers for bowl type dishes or pre-chopped vegetables for dinners, and I just purchased these 2 section ones to try out. I also have small Rubbermaid containers for any breakfast meal prep or snacks.
TIP #5 – START SMALL – If the thought of meal prepping all your meals in one day sounds overwhelming then just start with one meal. Most weeks I only meal prep my lunch. When I did Whole 30, I also meal prepped a scrambled egg breakfast for each day. Just like with starting a new workout routine, easing yourself into the habit of meal prep is ok. Start with one meal and once you have that down, add another if you would like.
TIP #6 – MEAL PREP 2-3 WEEKS AT ONCE TO ADD VARIETY TO EACH WEEK – This weekend, I am venturing into the multi-week lunch meal prep. I had the idea after talking to a friend about meal prep. They said they couldn’t eat the same thing everyday, and I suggested doing 3-4 meals that would last for the month. This way you can have a different lunch almost everyday of the week. With my weekends starting to get a little busier, I decided to give this a try. I plan to freeze all the meals after my meal prep and take out my 5 picks each week.
If you like the idea of monthly meal prep to weekly, Once A Month Meals is a great place to learn more about monthly meal prep! Years and years ago, this is where I first learned about meal prepping. Back then, it was called once a month mom and was free. For the amount of help and info she gives you, I think it’s worth the price. She creates monthly meal plans for like 7 different types of diets from Vegetarian to Whole30 to Quick & Easy. She gives you the recipes, a shopping list, and a meal prep day schedule. If meal prepping scares you and you want more guided help, this is a great place to start.
TIP #7 – KNOW YOUR WHY – Ok maybe not the most common tip you will see for meal prepping, but I think it’s important. I do have Sundays when I just don’t want to spend an hour or 2 cooking. I want to sit on my couch and be lazy. These are the days, I remember my why. For me, meal prepping my lunch keeps from ending up at restaurants and fast food lines. It gives me a healthy lunch option and saves me money so I can buy more important things like shoes. 😉 I don’t like wasting food. If I have a meal ready to go in my work fridge, I will pass on lunch out because I don’t want that meal to possibly not be eaten and go to waste.
On busy weeks, I do a little bit more meal prep for my dinners and breakfast to ensure I’m not tempted by a quick fast food fix. If I know I have something waiting for me at home that requires little work, I will pass by the drive thru lanes.
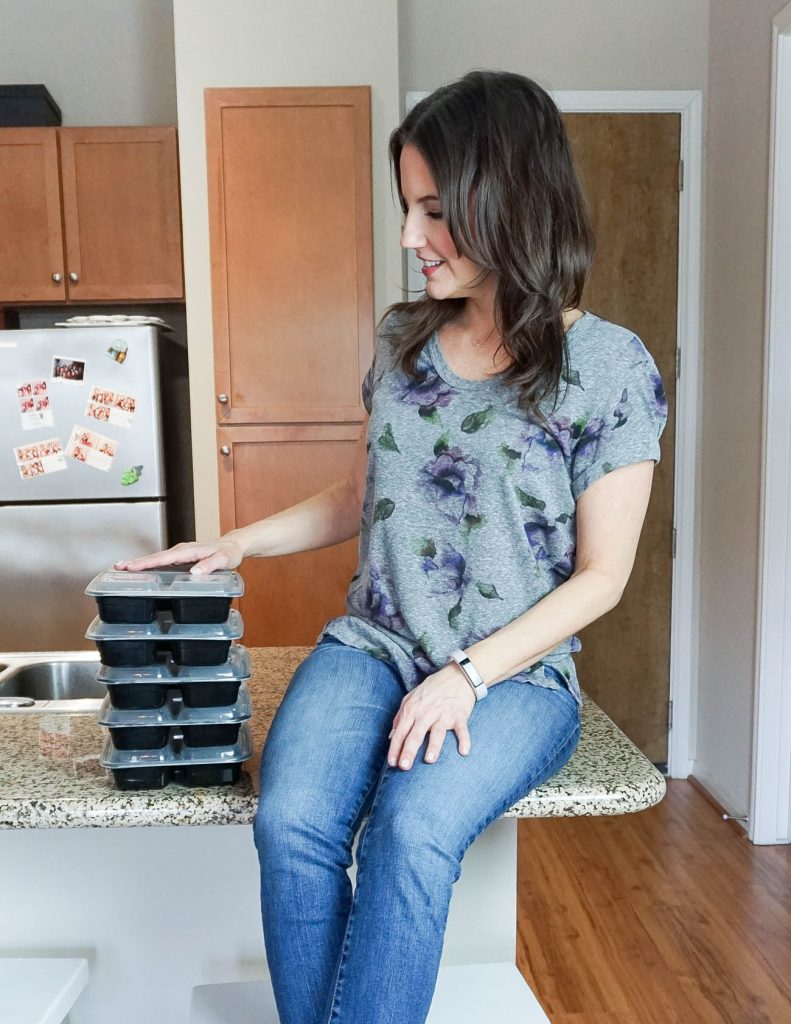 (Featured Meal: Lemon Ginger Chicken with Boiled Green Beans and Baked Zucchini)
I hope these meal prep tips will help any of you looking to start prepping your meals or gave you a few ideas if you already meal prep. If you want to see a little more of what types of meal I eat each week, you can check out my post about it HERE.
Thanks for stopping by and have a fabulous weekend!
SHOP THE PRODUCTS
Floral Midi Skirt for the First Day of Spring
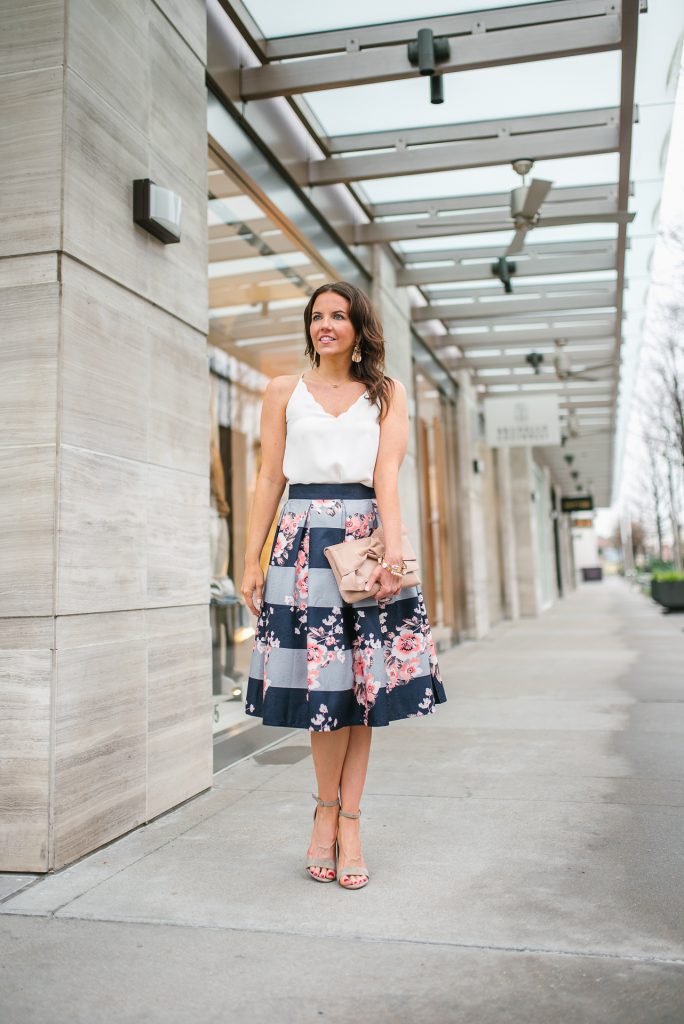
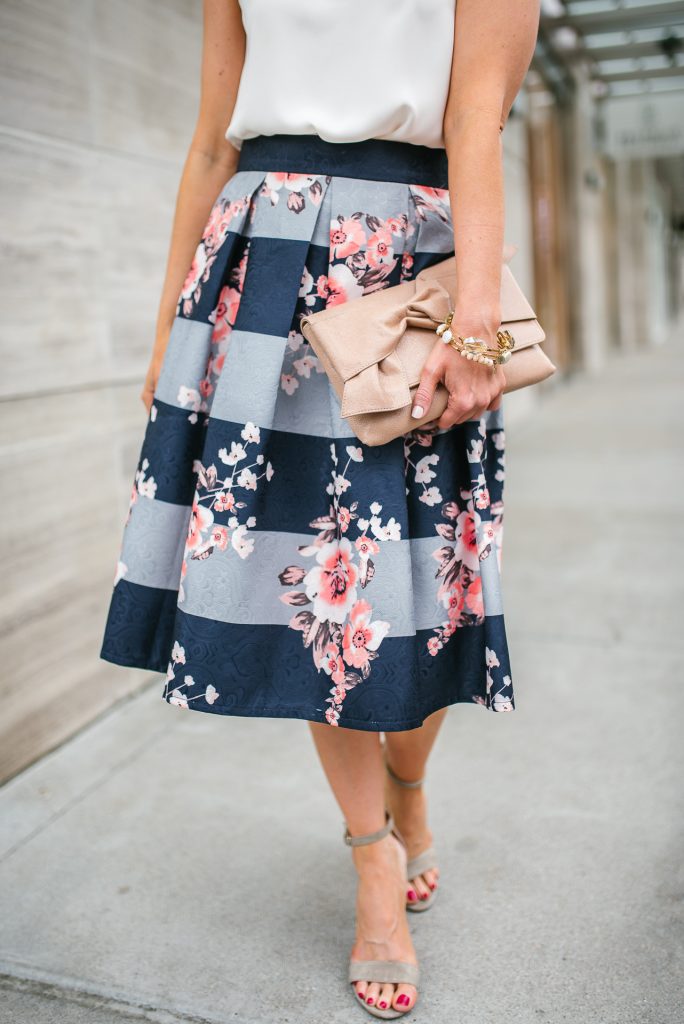
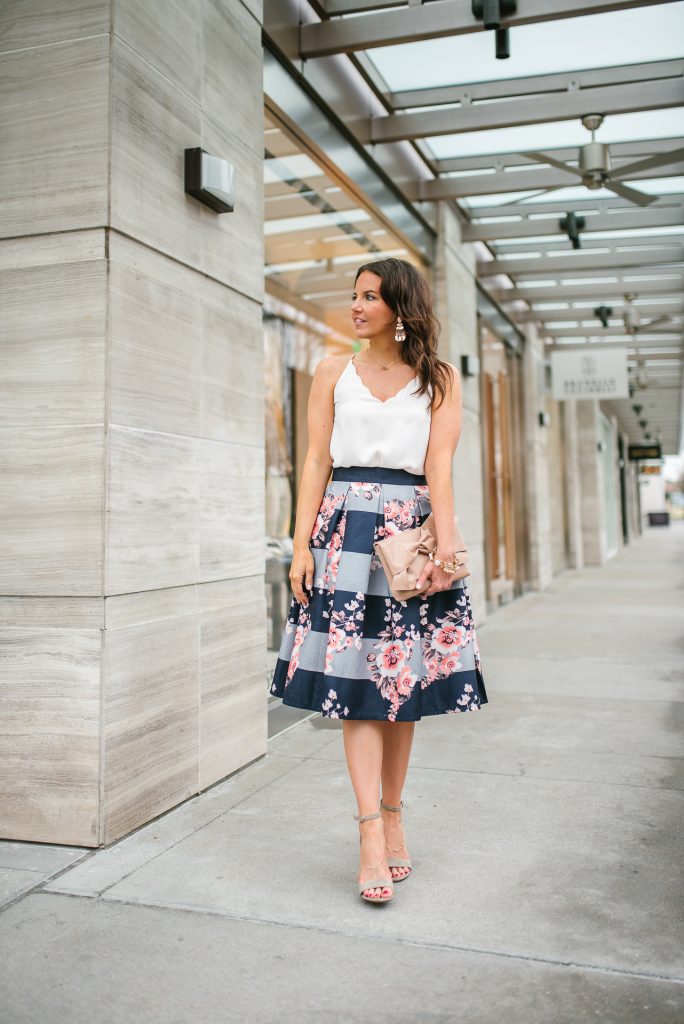
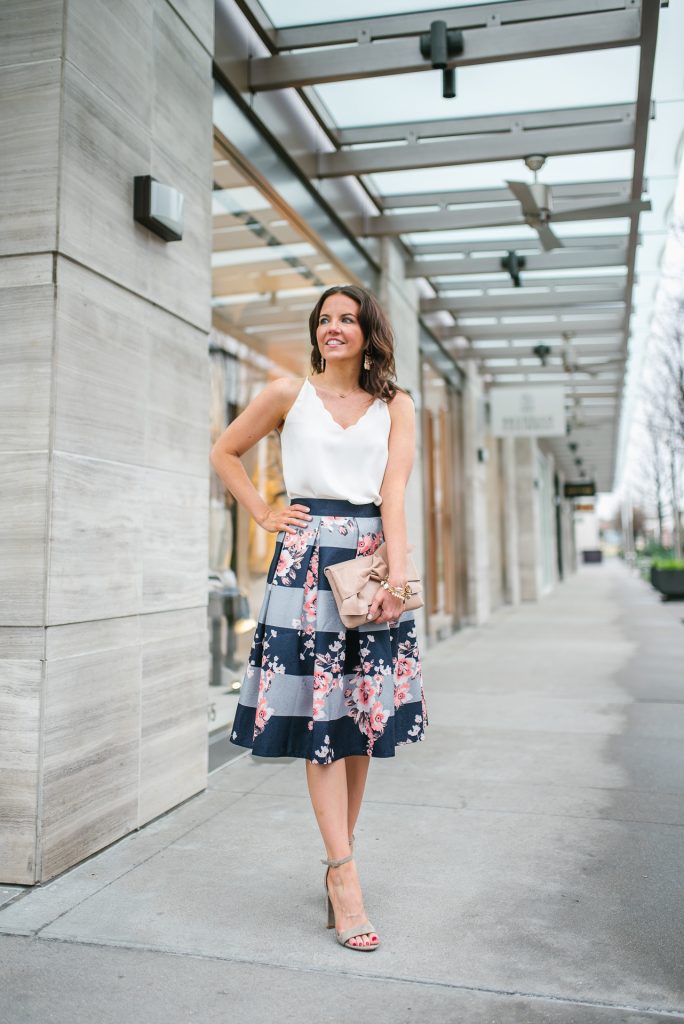
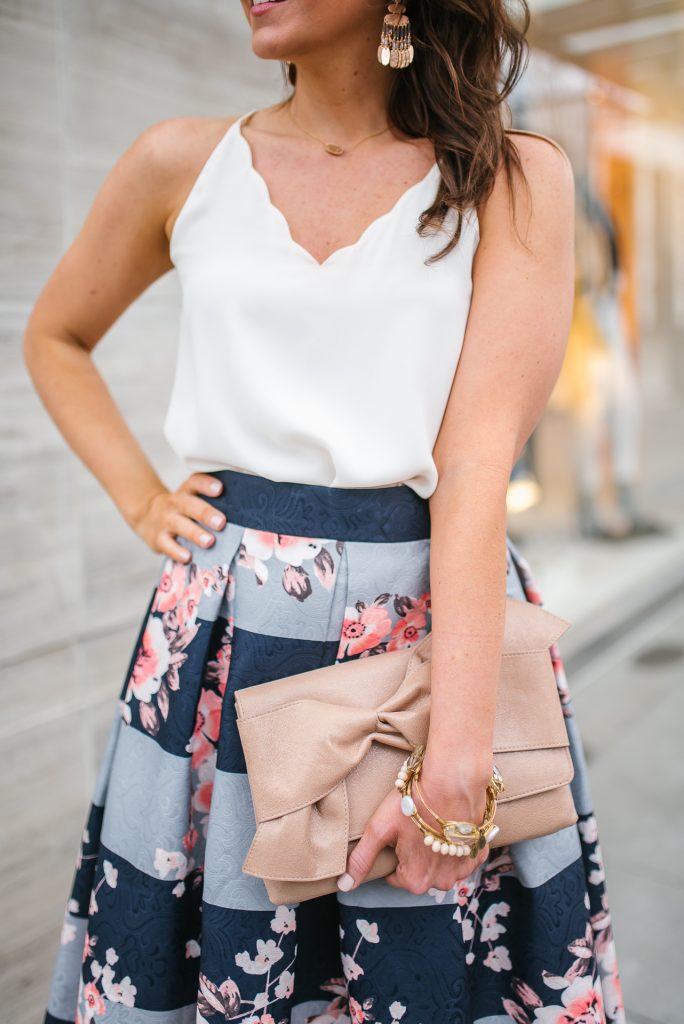
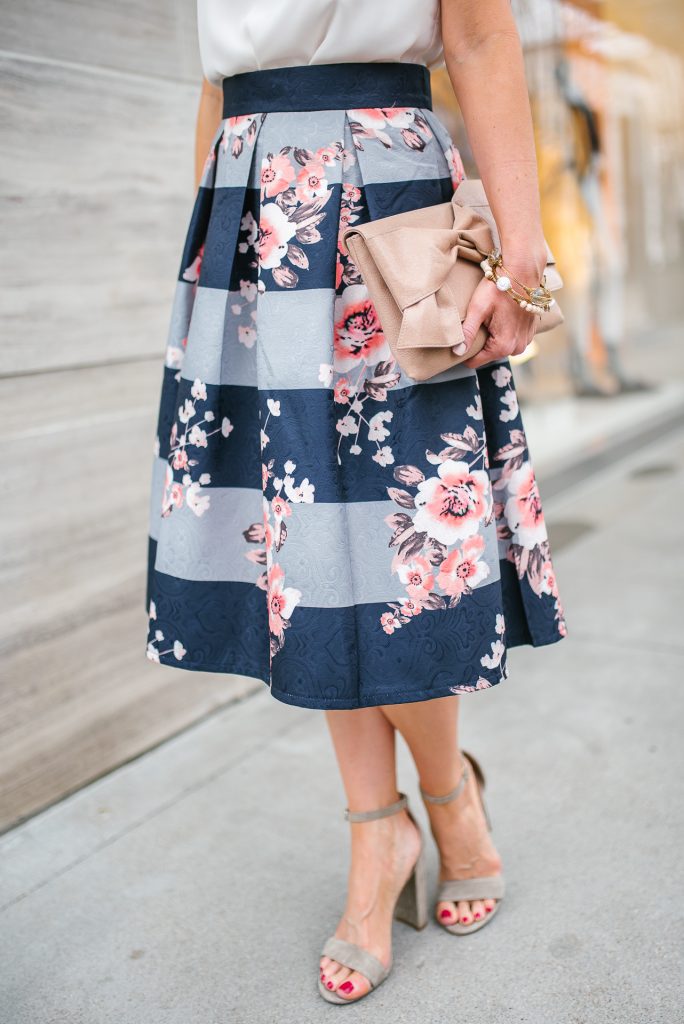
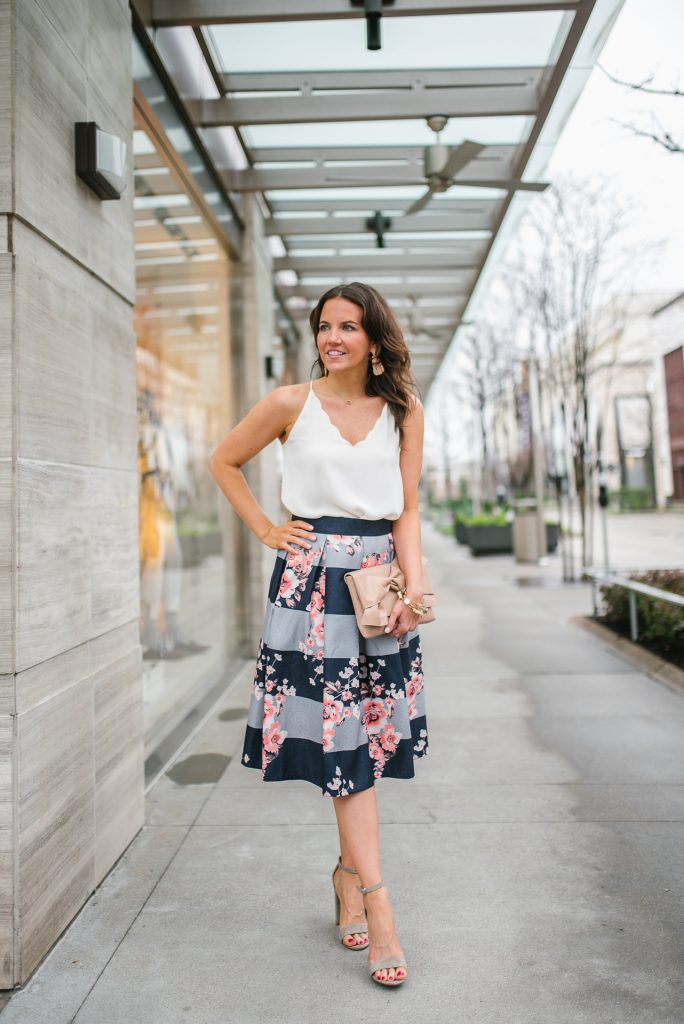
Happy First Day of Spring!!! I can not imagine a more perfect skirt to ring in the spring season. It’s one of my favorite print mixes in one. I love everything about this skirt from the flared style, the midi length, the thick stripes, the floral print, and oh the gorgeous colors. I am a fan of many things on the Chicwish site, but oh do they have some fabulous skirts! This is my 3rd skirt in this style, and I always receive so many comments, questions, and compliments when I wear them out. I love that the look and quality of this skirt looks like it would be pricey, but it’s only $45!
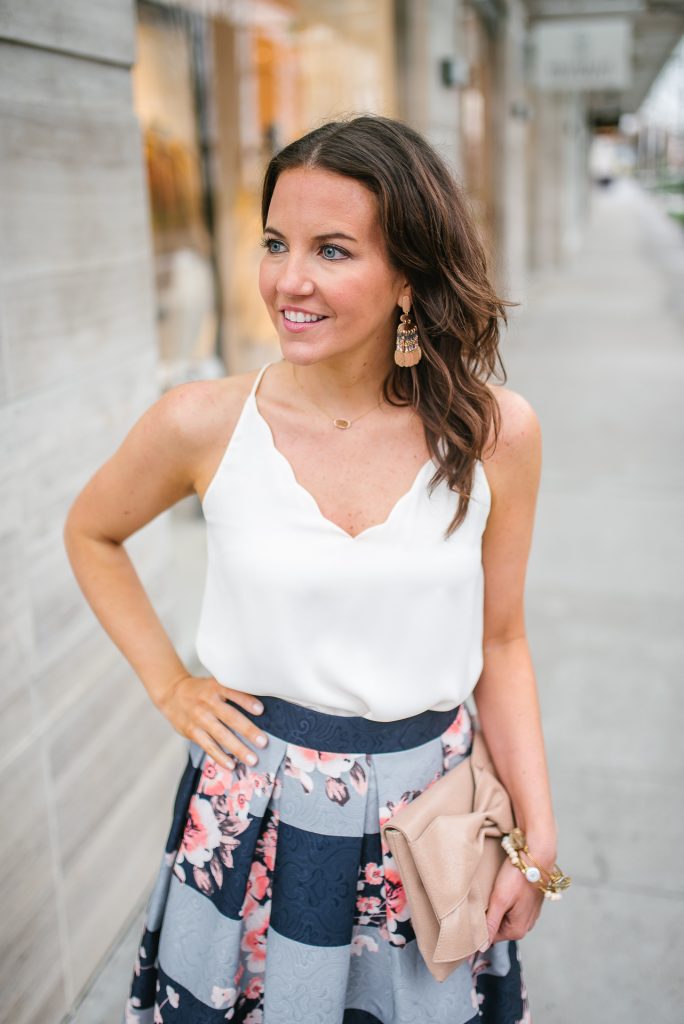
I couldn’t resist pairing it with my ivory scalloped cami for the perfect kick off to spring look. This outfit combo would be perfect for a shower or luncheon. You could also make this work for Easter Sunday, add a pink cardigan or denim jacket if you don’t do strappy tops in church.
For the office, pair this skirt with a solid color tee or white button down top. If you have a fitted pink top, it would be perfect to play on the colors of the flowers in the skirt. I opted to wear my rose gold jewelry to work with the pink of the skirt.
I know some of you aren’t quite experiencing the sunny and warm spring weather yet, but I hope you still get out and enjoy the start of the season! Tell me in the comments what item you are most looking forward to wearing this spring!
| OUTFIT DETAILS |
Scalloped Cami | c/o Floral Midi Skirt | Block Heel Sandals | Similar Clutch | Bourbon & Boweties Bangles | Rose Gold Necklace | c/o Rose Gold Earrings | Nails: CND Cashmere Wrap
Photography By: Banavenue
SHOP THE LOOK
Naturally Plumper Lips in 30 Seconds a Day
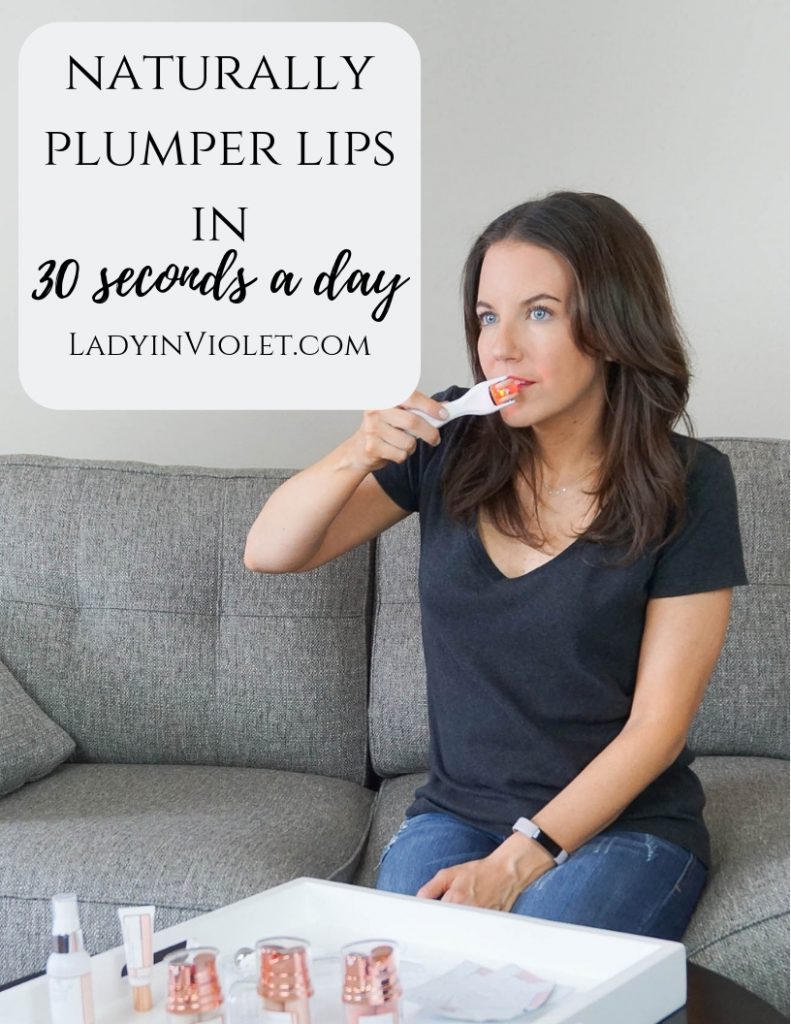
Hello friends!! Ok remember last month when I shared a review of my new GloPro microneedling tool. Well, today I’m back to share all about the lip attachment. At the time of my last review, I had only been using the lip attachment for a few days. I wanted a little more time to assess the results with a full month of using the attachment.
Well, the results are in, and ya’ll I’m obsessed!! After the first use, I immediately noticed my lips looking more full and plump. I was actually surprised, because I didn’t think it would work so well so quickly. I have continued doing the 2 step system every morning. Below is the 2 step system I use for naturally plumper lips in 30 seconds, plus my results and opinions on the lip microneedler and the Pout Lip product.
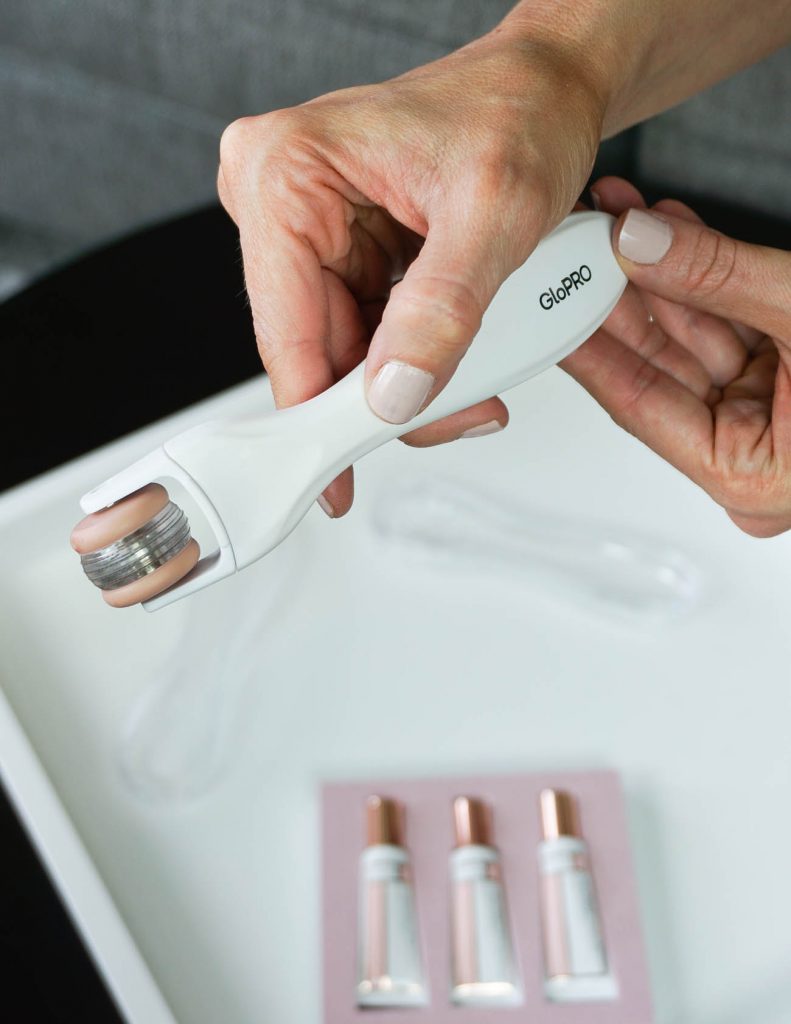
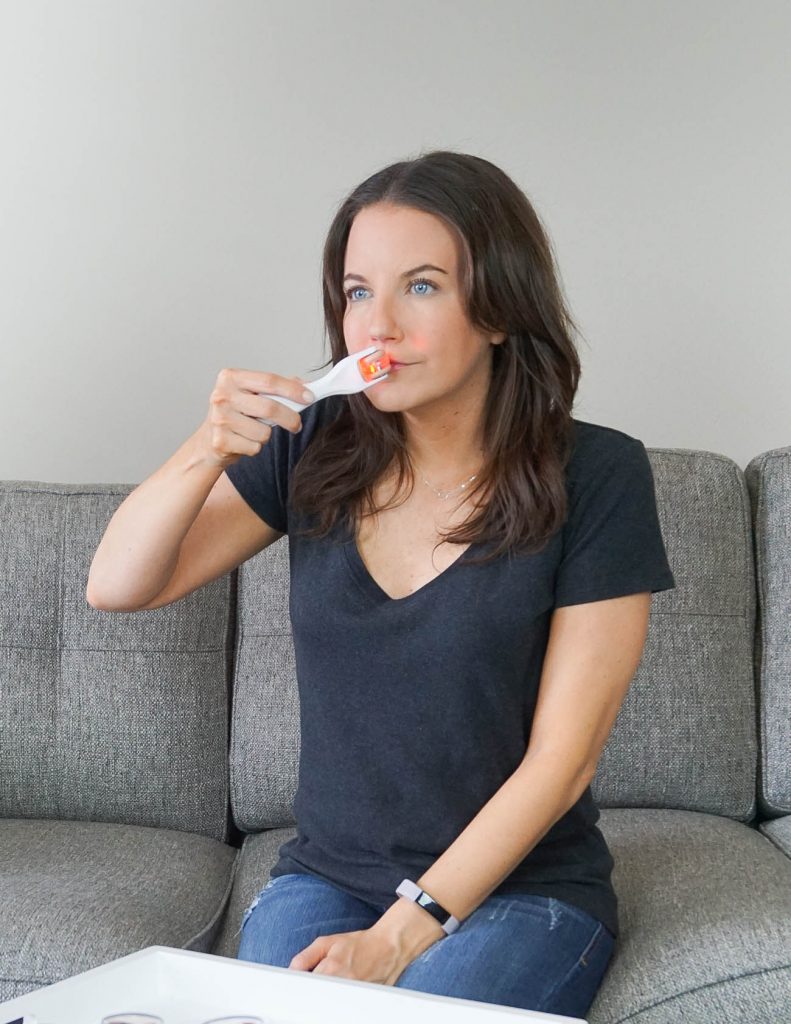
STEP 1: Attach the lip microneedler attachment to your GloPro tool. Turn on and roll over your lips. The fullness of my bottom lip never really bothered me, but I always wished my top lip was a little fuller. I roll the microneedler over my lips for about 20 seconds. I typically roll over my bottom lip 2-3 times and my top lip a little extra since I want more fullness in that lip.
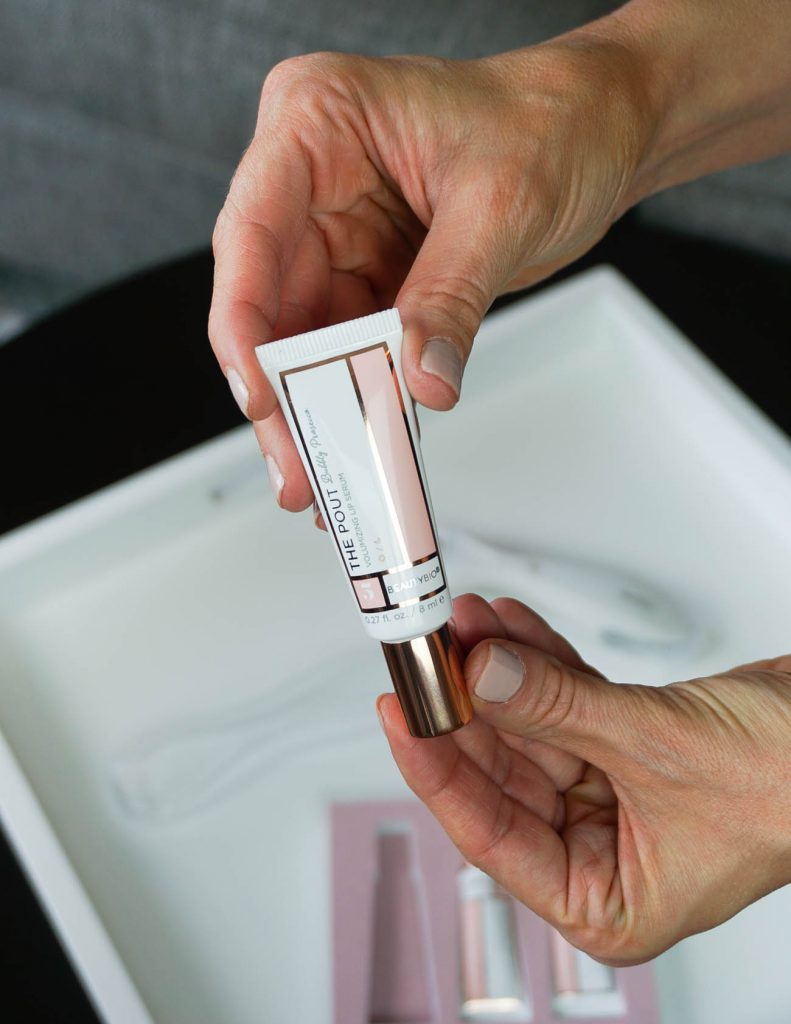
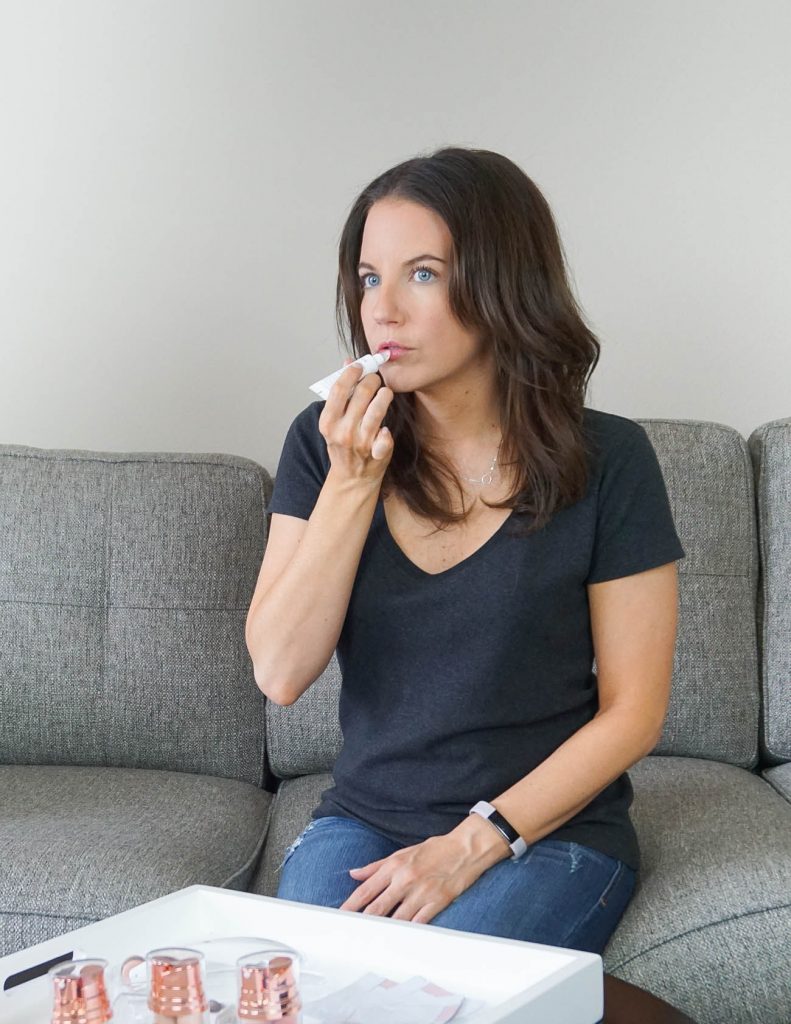
STEP 2: Apply The Pout Lip Serum over lips immediately after using the Lip microneedler. You can also apply just the lip serum with out GloProing your lips first, but the results are not as dramatic.
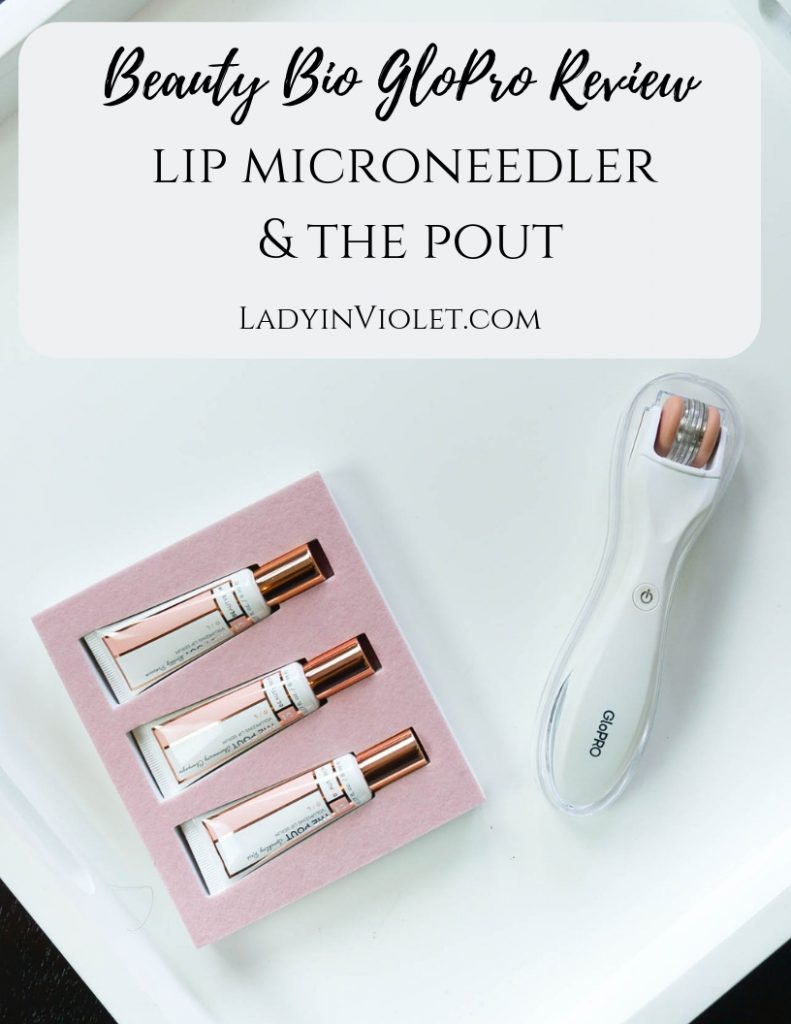
So the first day I used this 2 step process, my lips looked fuller for a couple hours. I did feel a slight stretching in my lips from the added fullness. I only noticed this on day one. The lip microneedler does not hurt or leave my lips chapped. I also did it once before drinking red wine and no lip staining. Each time you use it, the fullness lasts a little longer. It’s definitely a product you have to use daily to see long lasting results.
It’s been an easy addition to my makeup routine. I do it at the end, and this has made it easy to stick too. I sometimes just use the glossy pout serum as the finished product since it’s shiny, but I have applied lipstick over the serum too.
My results: It’s a subtle change, but I do notice my lips looking fuller especially my top lip. Before using this product, I felt my top lip was so thin and barely there. Now I can definitely tell a difference in the fullness, it’s not hiding anymore.
The founder of BeautyBio mentioned these products were created to help achieve fuller, plumper lips without injections. I definitely think they hit the mark on this one. I plan to keep up this part of my beauty routine!
SHOP THE PRODUCTS


