Connect


Author Archives: Karen
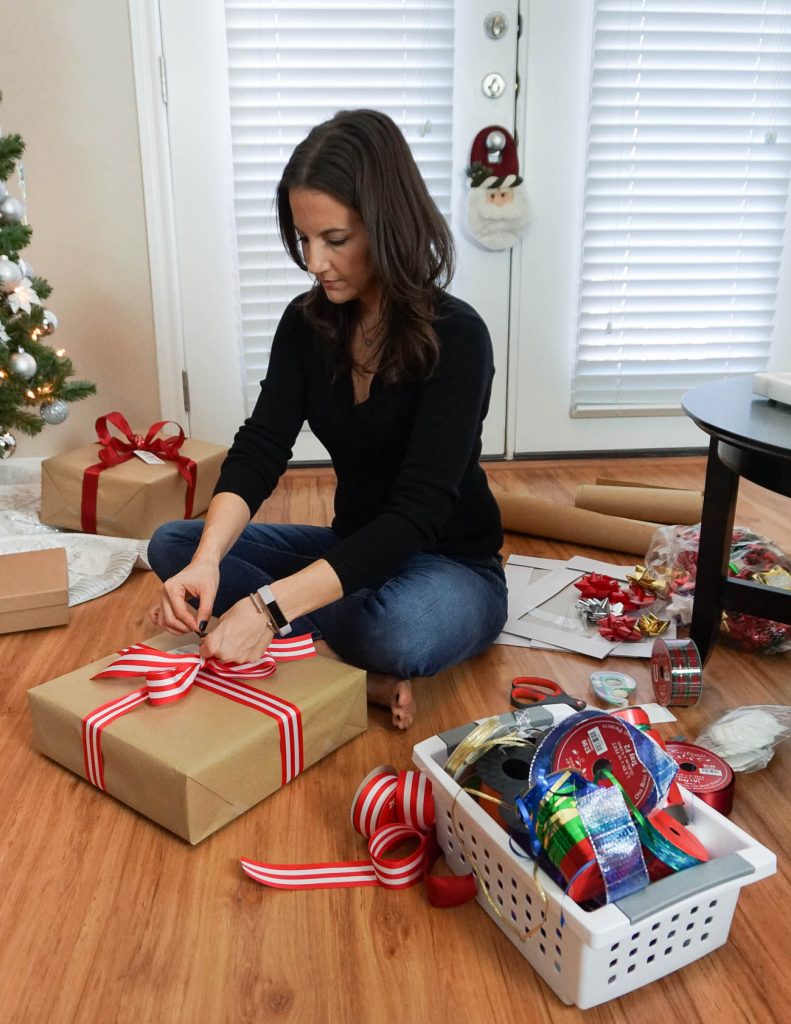
A Simple Way to Wrap Beautiful Christmas Gifts

I’m definitely one of those people who loves giving others gifts. I like trying to find the perfect gift and the excitement of watching them open it. Part of the fun of gift giving for me is also wrapping the gifts. I think it makes the gift feel more special and it’s bonus Christmas decor under my tree all month long. I wanted to share one of my simple ways to wrap beautiful Christmas gifts with you. It’s so easy and I included pics of the whole process! Instead of buying tons of different paper for every gift giving season, I buy brown paper and white paper and use colorful ribbon instead. It’s easy to wrap and looks gorgeous! I buy all my Christmas ribbon after Christmas when it’s on sale.
| DETAILS |
Brown Gift Wrap Paper | White Name Tags
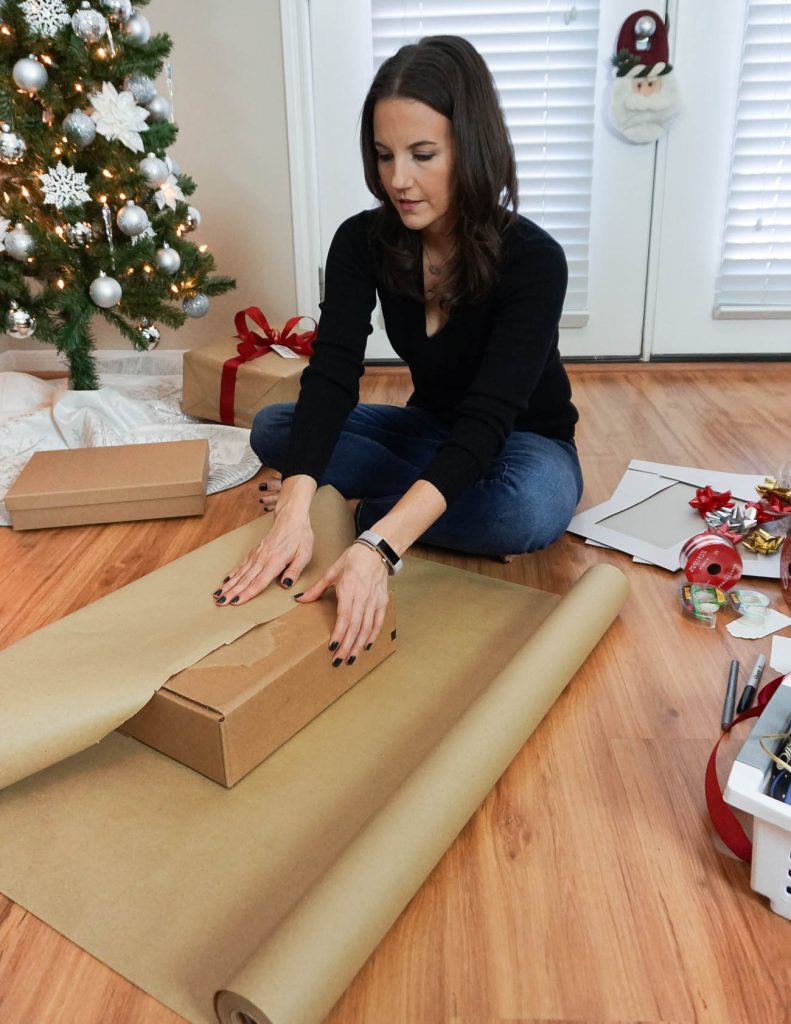
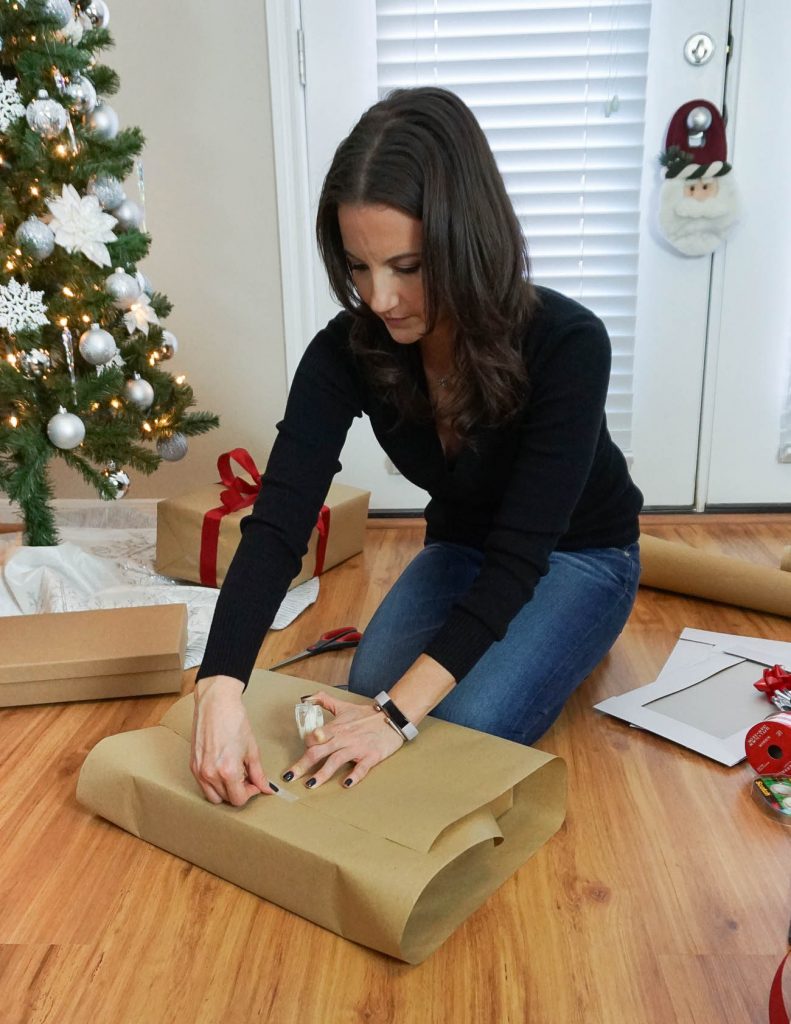
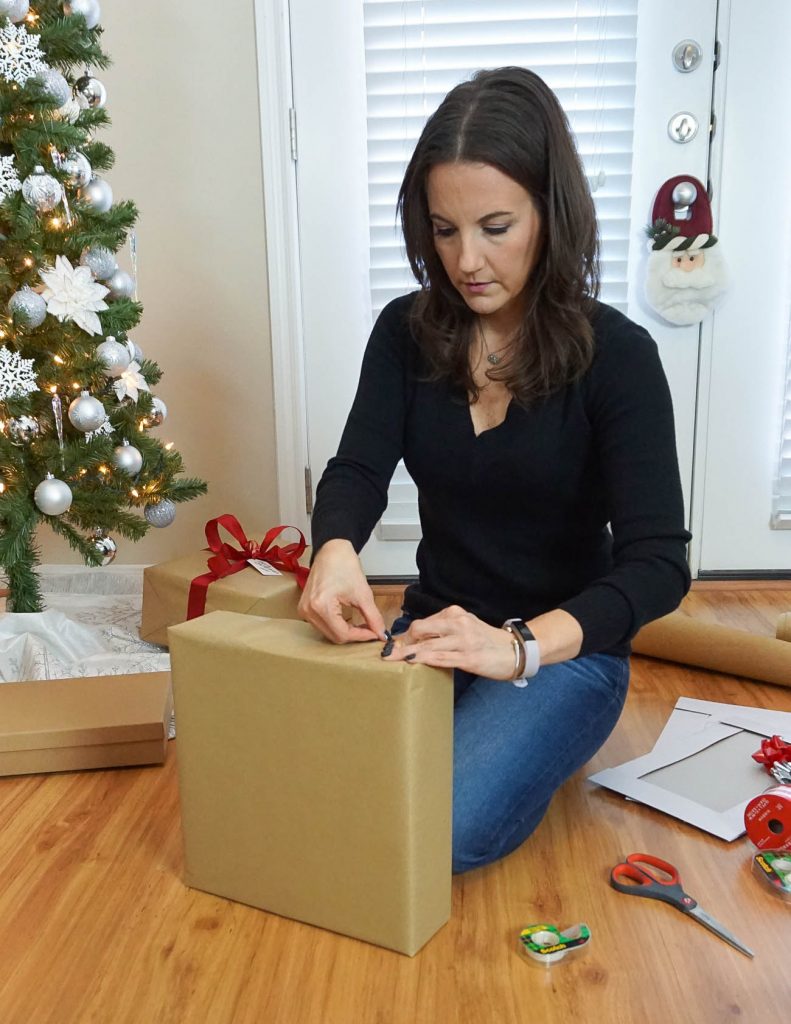
STEP 1: I start by wrapping my gifts in the brown paper. Measure out and cut the amount of paper you will need and tape all sides.
STEP 2: Measure out your ribbon. You want to start by pulling more than you need out because you will need this to go around the whole box, plus tie the bow. You can always roll some back in if you pull too much.
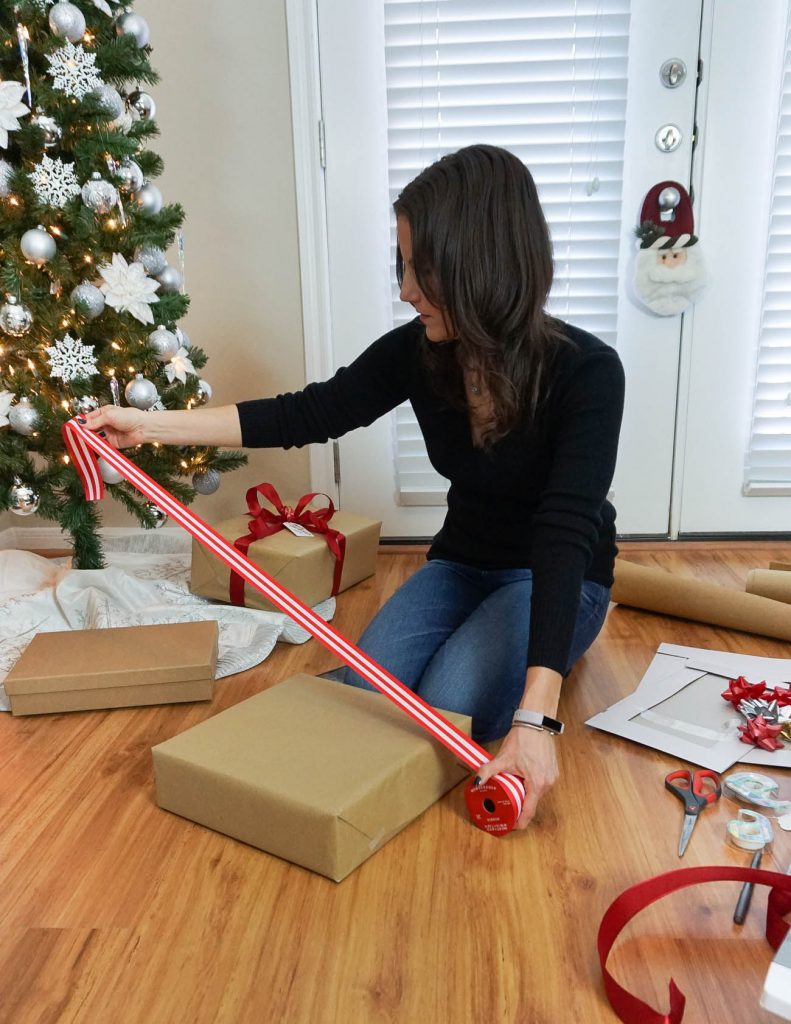
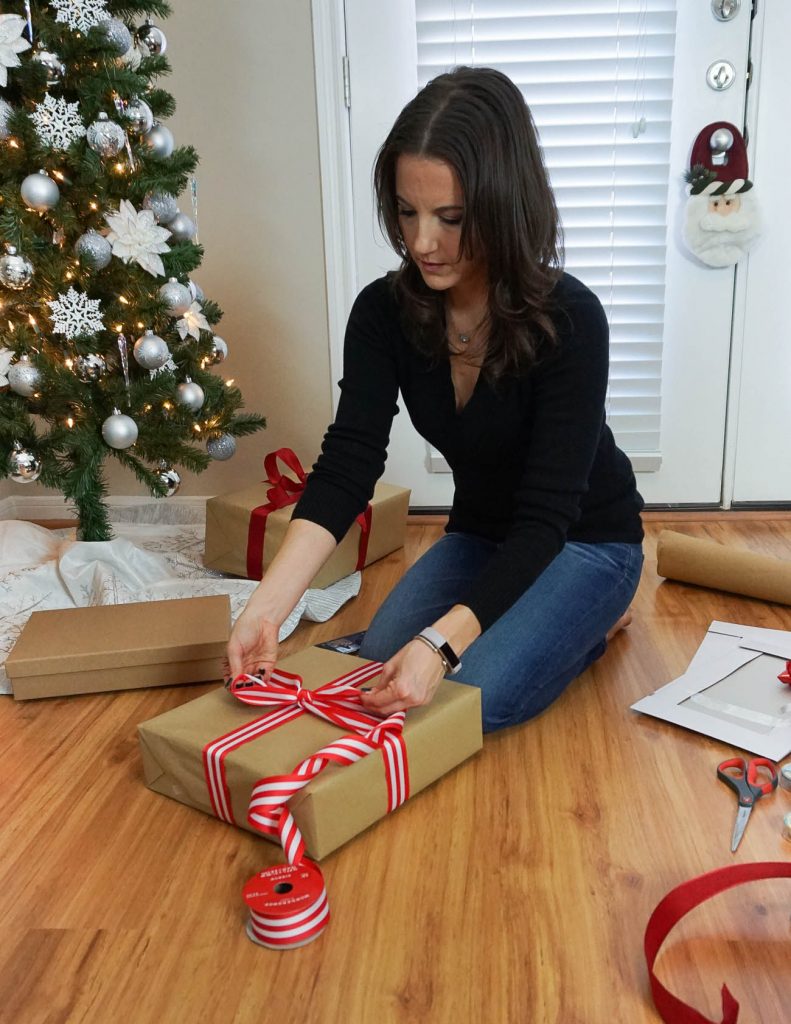
STEP 3: Lay the box over the ribbon with top of the gift facing the floor. Then take your ribbon and lay it side by side across the box.

STEP 4: Twist the two strands of ribbon together at the middle of the box and cross to the other side of the box.
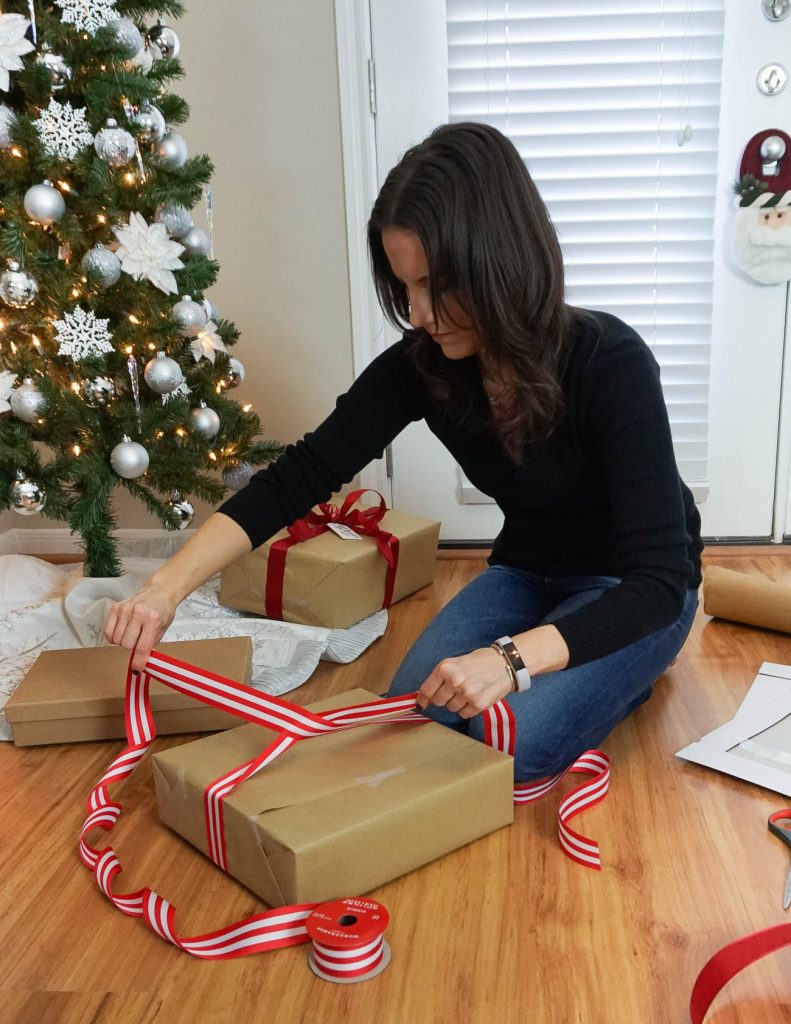
STEP 5: Pull snug on the ribbon so it will not loosen and will stay laying flat against the box. Then turn the box over.
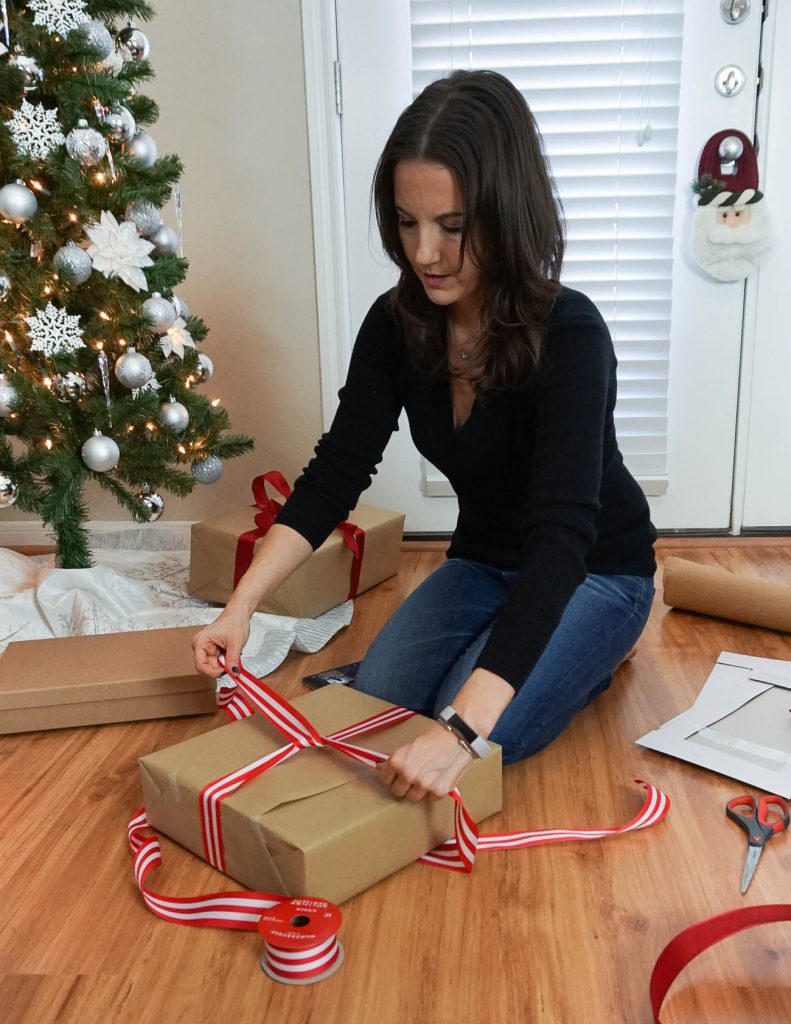
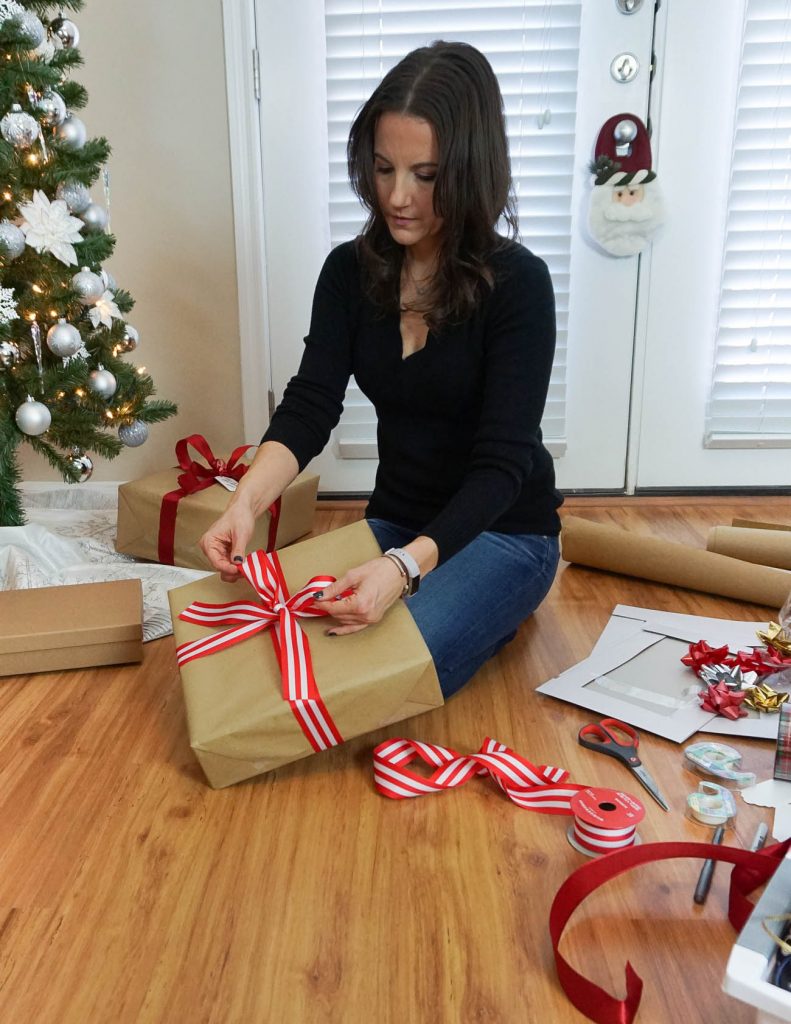
STEP 6: Bring the two pieces together and tie a loose bow. If you have too much excess ribbon, you can turn the box back over and roll a little back up buy loosening the twist in the back.
STEP 7: Measure the two loose ends and cut the ribbon off from the roll.
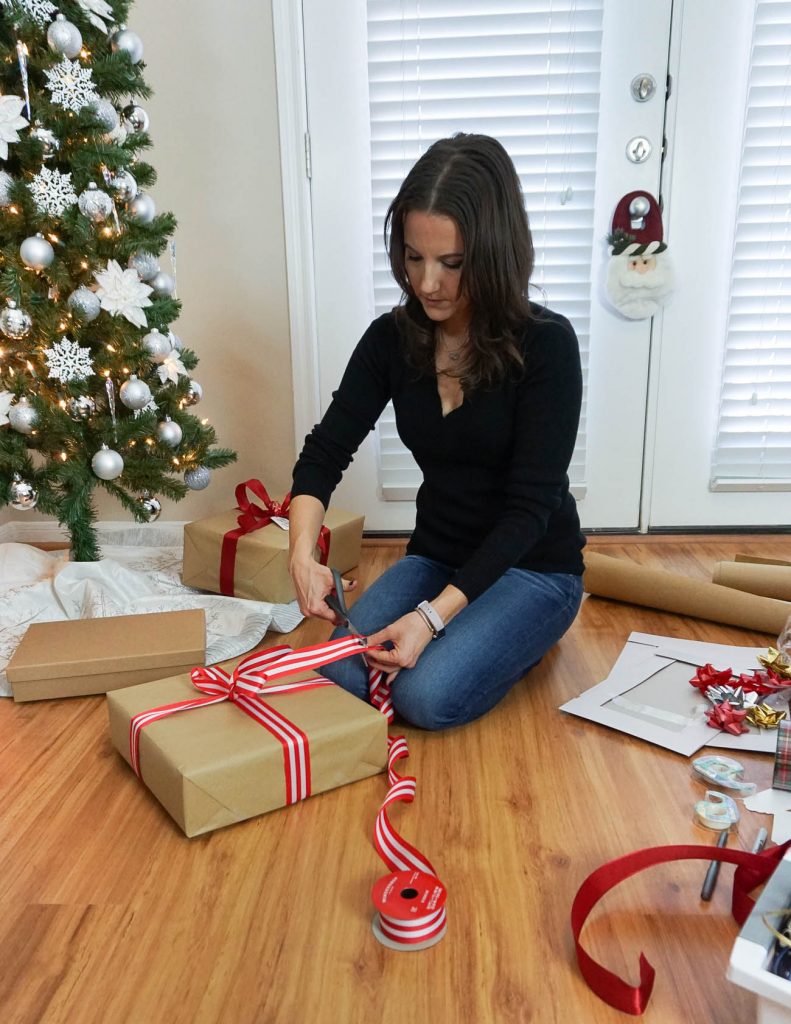
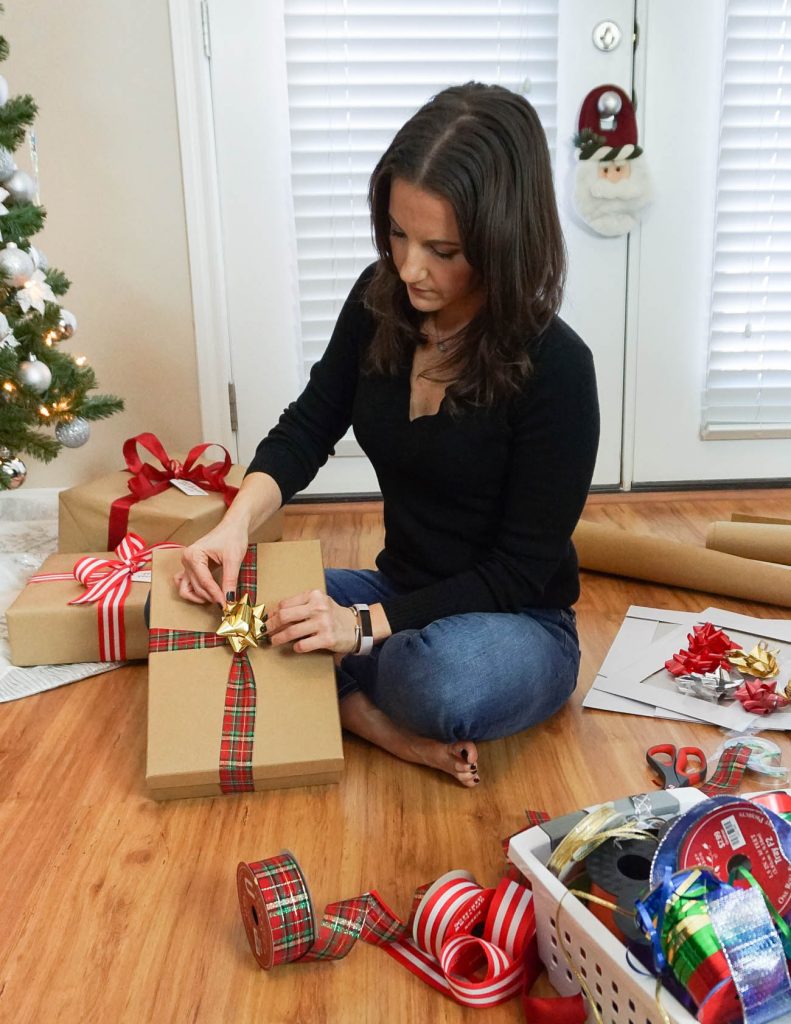
STEP 8: Re-tie your bow creating a tighter bow that will hold. Fluff the circle portions of your bow to help give them shape.
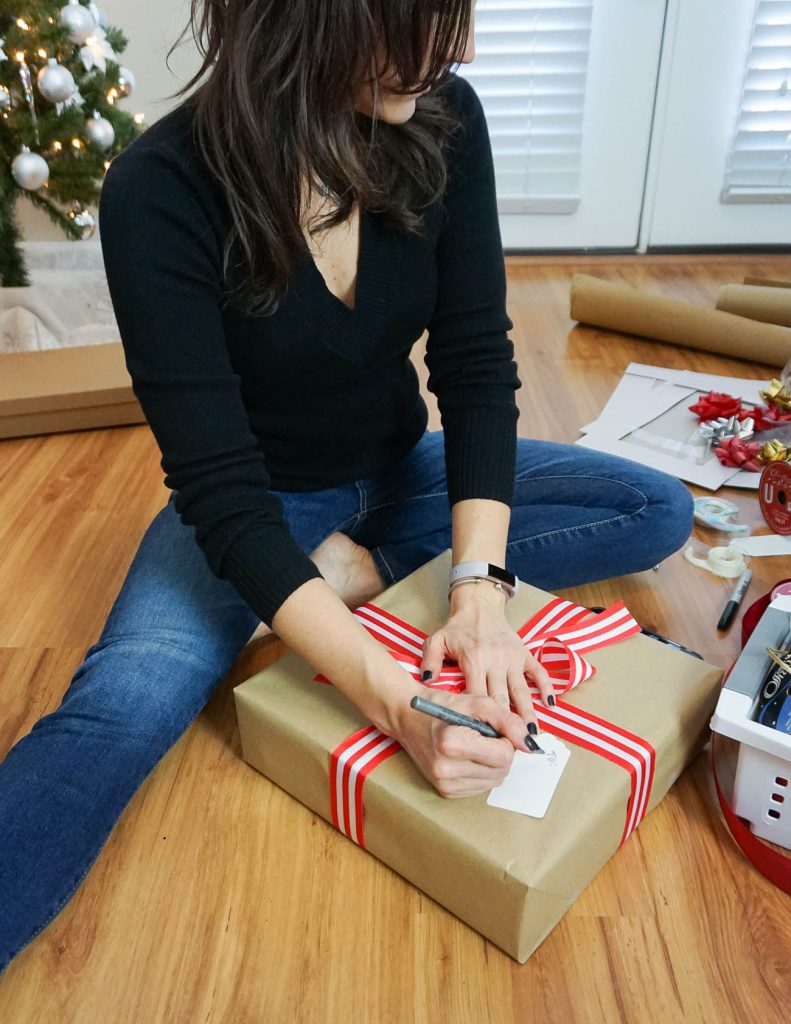
STEP 9: I use simple white gift tags to write the to/from on. Then use a skinny ribbon to tie this to the ribbon just under the bow.
That’s it. Super simple and easy once you get the hang of the process. When picking ribbon, I usually prefer to go with non-wired ribbon for a flat bow and wired ribbon for bows with more shape. The gift wrapped in solid red ribbon is using wired ribbon, so you can see the difference. If bow tying is not your thing, you can also just add a bow on top the ribbon too like below. It still creates a beautiful gift, just double knot the ribbon and cut it off. Then attach the bow.
Let me know if you have any questions about the process or if any steps seem confusing. If you want more info on my holiday decor, you can check out my HOLIDAY HOME TOUR!


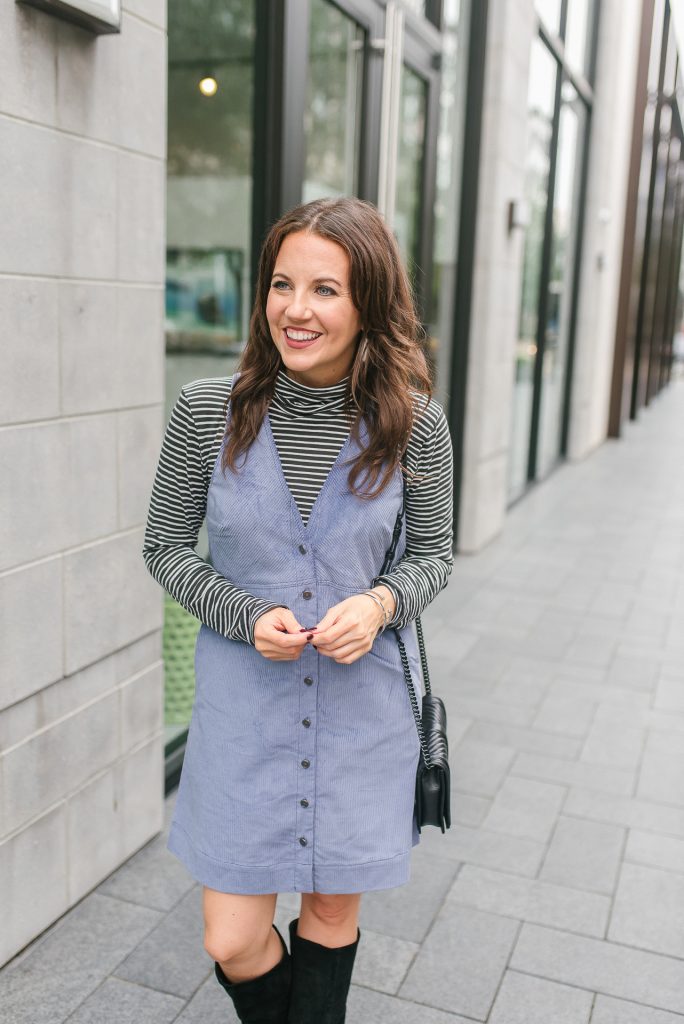
Corduroy Jumper Dress


Hello Hello! How was your weekend? I had so much fun with friends on Saturday checking out Christmas lights and catching up. It was super rainy Friday night, so I decided to stay in watch tv and have a spa night. It was so relaxing! I have a busy week of holiday parties, so it was just what I needed.
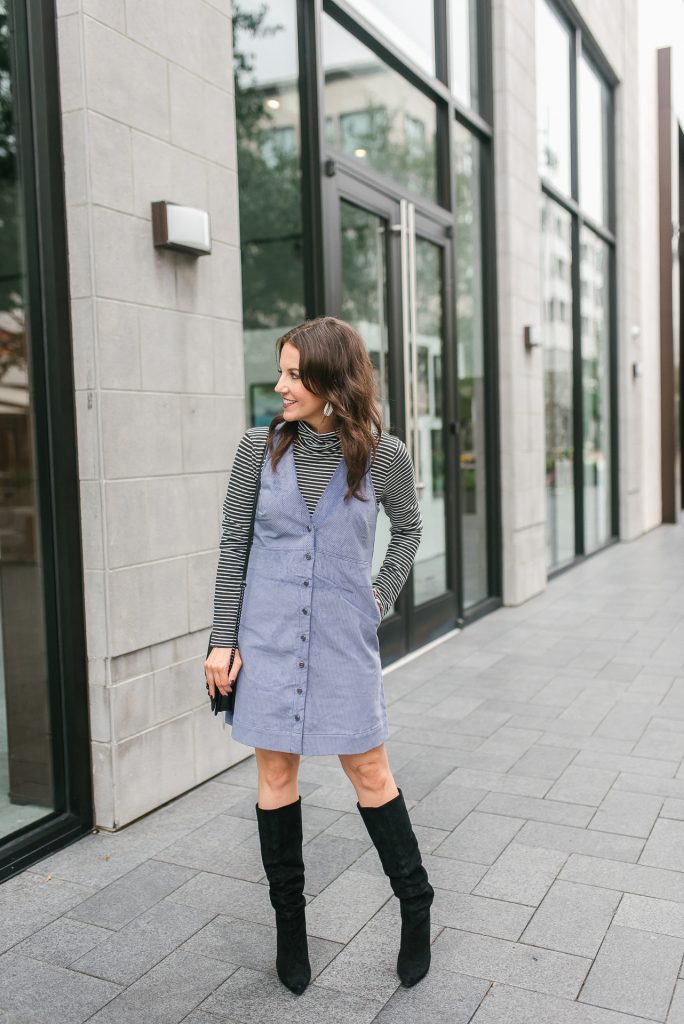
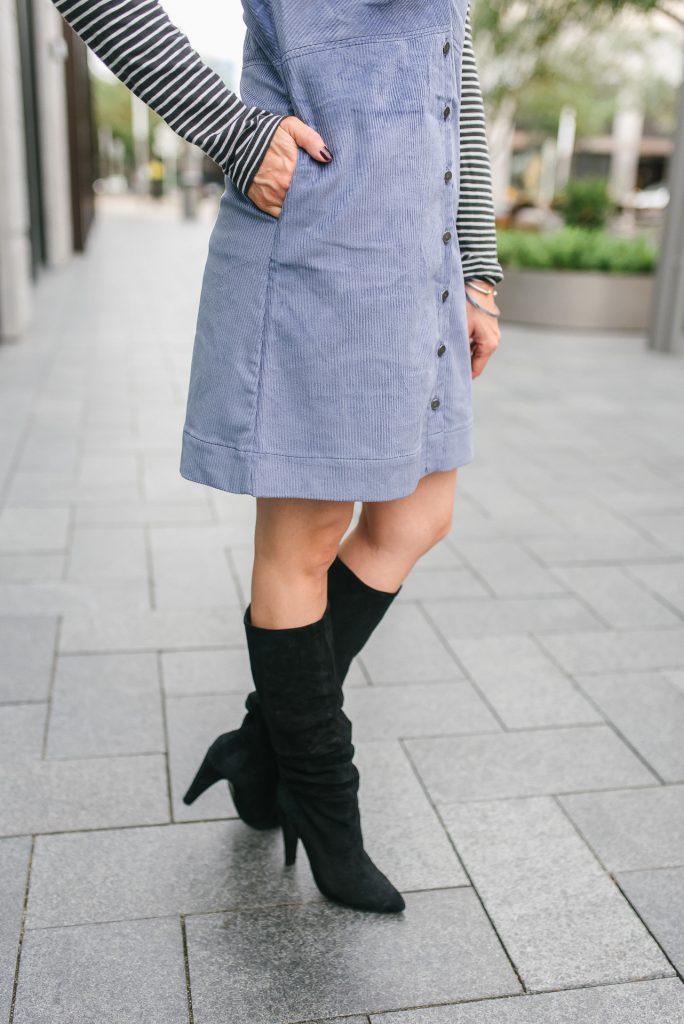
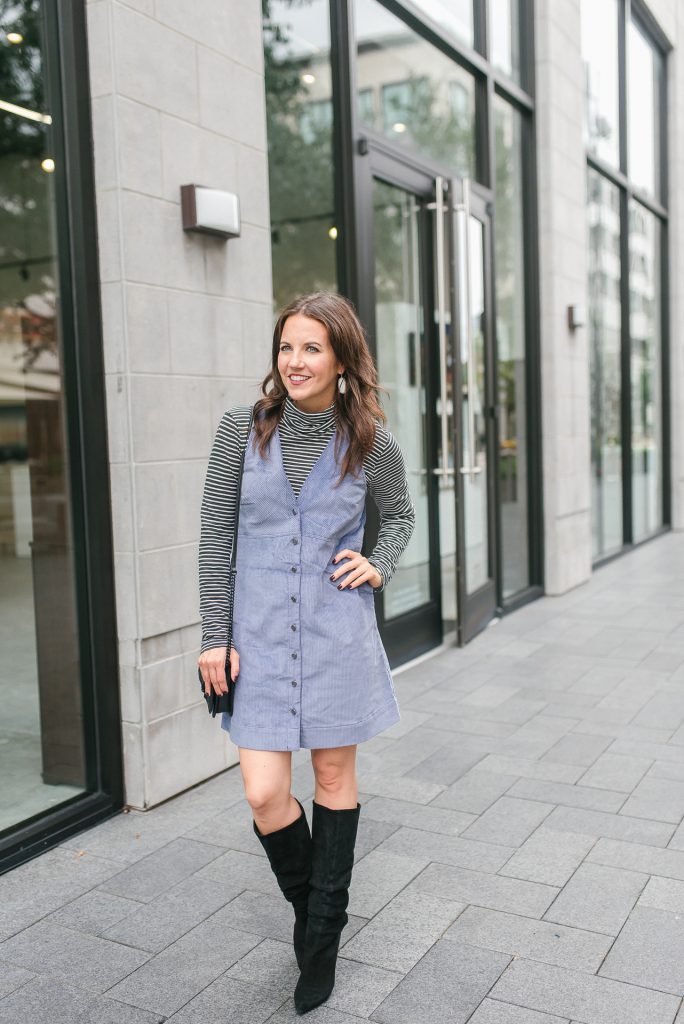
I have been on the market for a corduroy jumper dress for a few months. Originally, I was on the hunt for a brown, orange, or burgundy one. Then, I found this blueish purple one. I couldn’t resist and immediately added to cart. FYI, this brand always runs big. I’m wearing an XS. The color is even more gorgeous in person. This dress is perfect for layering over casual tees and turtlenecks. I loved it with this striped one, but you could also do a solid black or white crew neck tee. For spring, this dress can be paired with a short sleeve tee to get even more use out of it. I found it ON SALE for ya’ll too!
I have one more fun holiday post coming for you this week along with my last gift guide of the holiday shopping season, and of course another fabulous outfit. Stay tuned to the blog for all the fun! I hope you all have a wonderful week!
| OUTFIT DETAILS |
Corduroy Jumper Dress | Striped Turtleneck | Black Suede Boots | Black Crossbody Bag | Elle White Earrings | Silver Bangle | David Yurman Cuff | Nails: Essie Sole Mate
Photography By: Banavenue

SHOP THE LOOK

Workwear: Blush Pink Sweater


 Happy Friday!! Ending the week with a little work outfit inspiration for you. I love cozy chunky knit sweaters, but with our winter weather usually on the warmer side most days I tend to gravitate to lightweight sweaters. Also, you know I like to find sweaters that will work with both an office and casual outfit. This blush pink sweater fit the bill perfectly.
The ruffle sleeve details paired with the blush pink color adds such a pretty femininity to this sweater. The burgundy ribbon just adds to this feel. It’s a beautiful sweater to wear to work with slacks or tucked into a pencil skirt. I opted for gray pants because I LOVE gray and pink together. You could also wear black or play up the secondary color and go with burgundy skirt or pants.
For a more casual look, toss on a pair of gray or white jeans. White jeans and a taupe boot would be perfect for a casual night out. I paired this with silver jewelry and decided to skip the necklace. If I paired this with jeans, I think it would perfect with a long rose gold necklace.
I’m officially kicking off holiday season this weekend with my first holiday party of the season. I’m heading to the mall today to pick up the last of my gifts, and then it’s off to gift wrap. I always take a a few days off work in December for holiday shopping. I find it so much easier to do during the weekdays with less crowds. Stay tuned next week for a post all about my easy and beautiful way to wrap Christmas presents. Also, did you catch yesterday’s Holiday Home Tour?? You can check it out HERE for a little Christmas decorating inspo plus a few of my tips for decorating a small space.
Ya’ll have a fabulous weekend, and thank you so much for taking some time to stop by this week!
| OUTFIT DETAILS |
Blush Pink Sweater (50% off) | Gray Work Pants | Black Heels | Similar Tory Burch Tote Bag | Silver Drop Earrings | Silver Bangle | Nails: Essie Sole Mate
Photography By: Banavenue


SHOP THE LOOK
Holiday Home Tour: How to Decorate for Christmas in an Apartment

I’m so excited for today’s post. I LOVE decorating for the holidays! My usual plan is to transform my house into a beautiful magical Christmas wonderland. This year I moved and downsized to an apartment. With a smaller space, I still wanted to create a beautiful winter wonderland feel but I didn’t want to overwhelm my small apartment. In addition to sharing some holiday decorating ideas, I also wanted to share some of my personal tips on how to decorate for Christmas in an apartment.
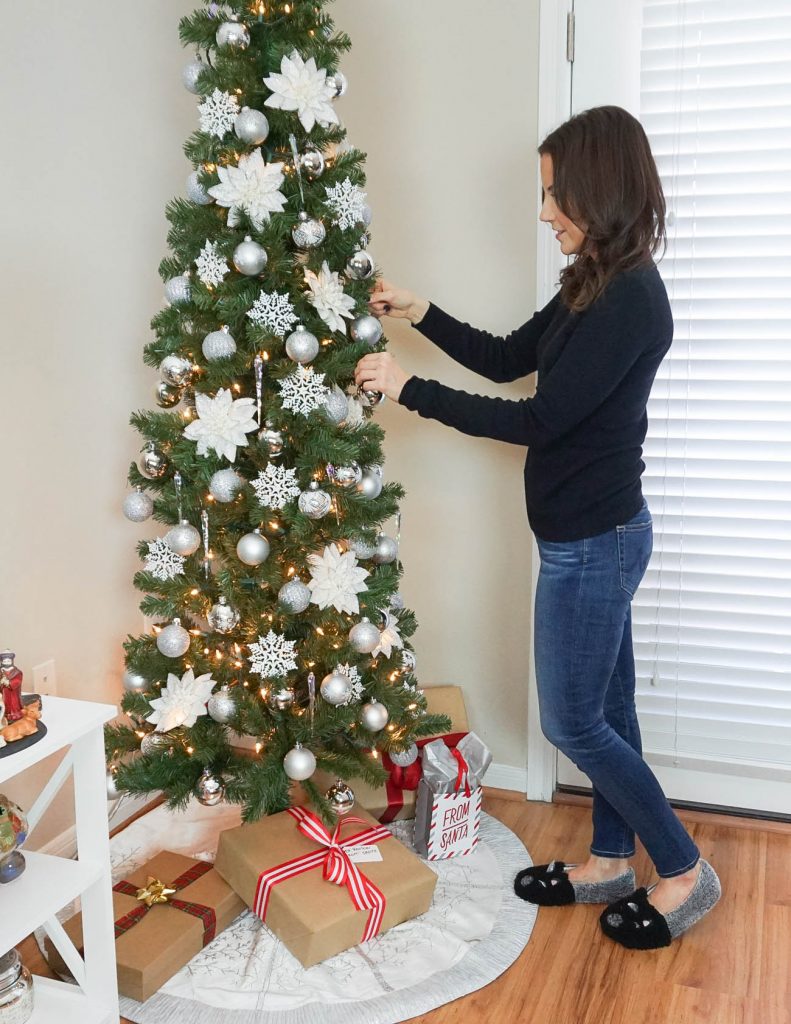
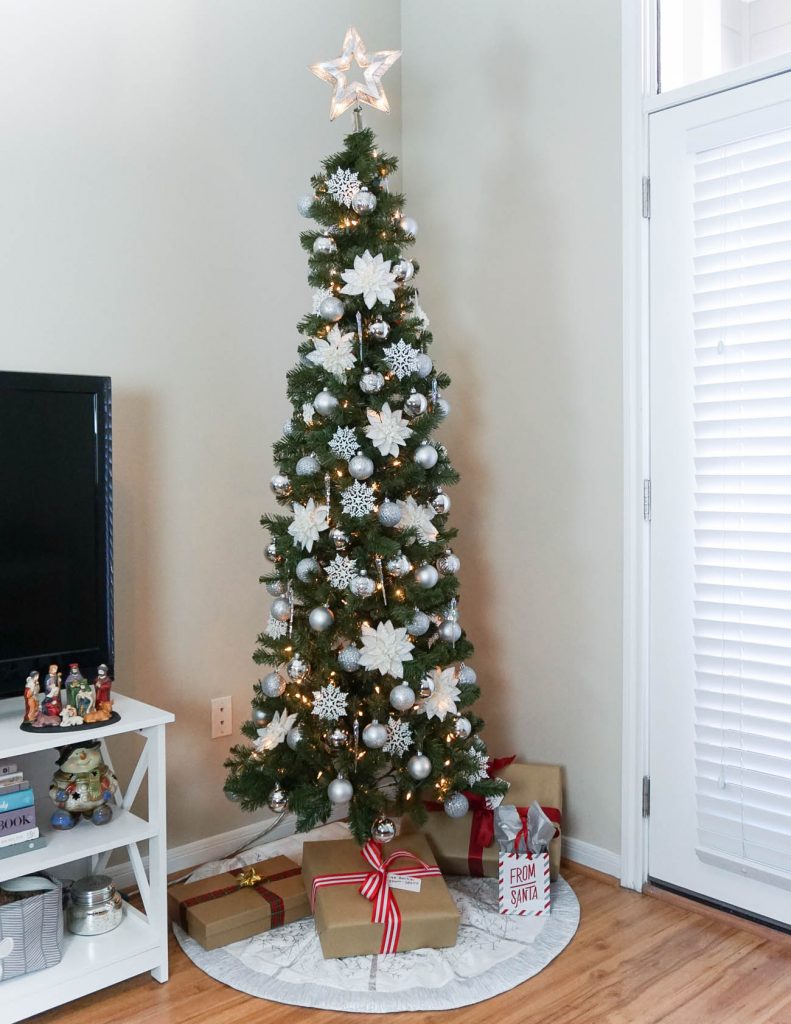 I love big, grand trees, but I needed a tree that would not take over my living room. I started looking into skinny and slender trees. One helpful tip, measure the space where you plan to place your tree. I knew my tree could not be larger than 35 inches wide for this space. Also, I took my measuring tape to the store and measured the tree there too. I found some trees were slightly different than the box measurements. I also considered the height of the tree. I have 10 foot ceilings, so I knew a 7 foot tree would look better with my tall ceilings than the 5-6 foot options.
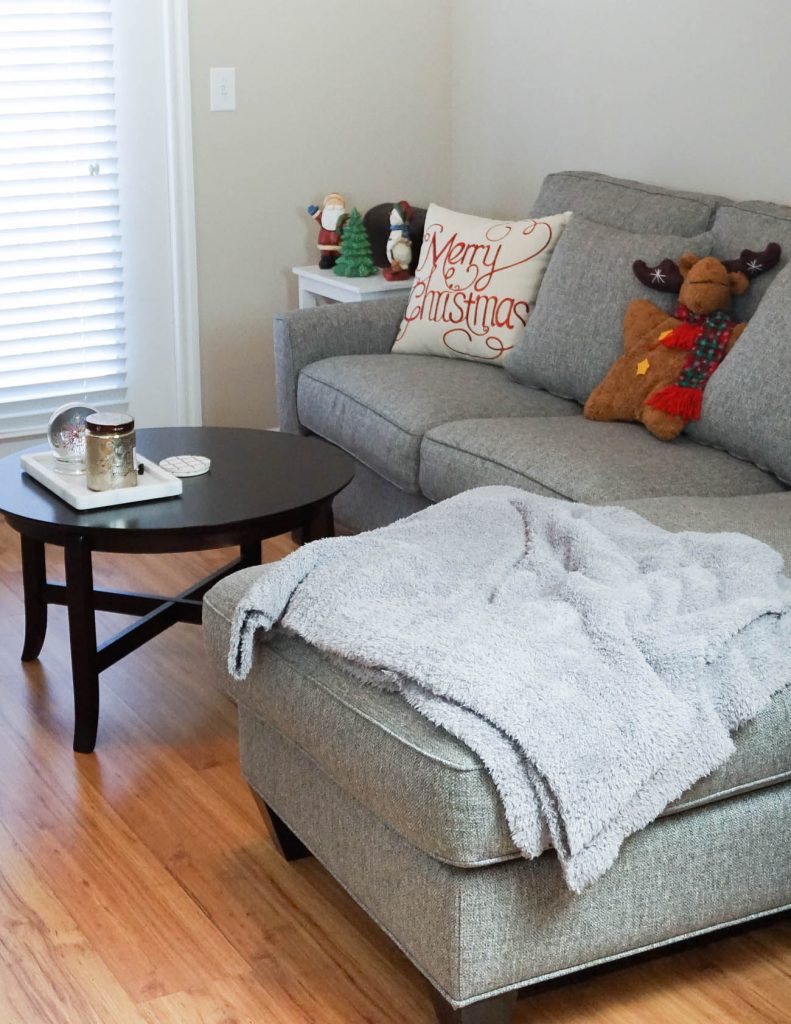
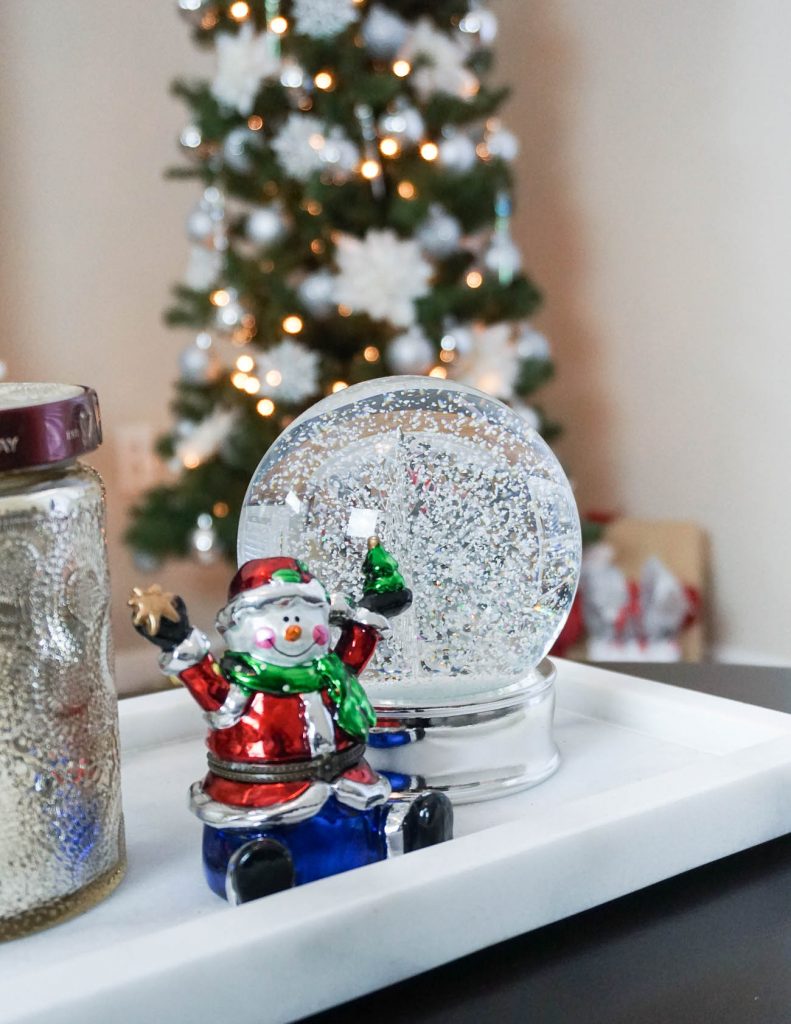
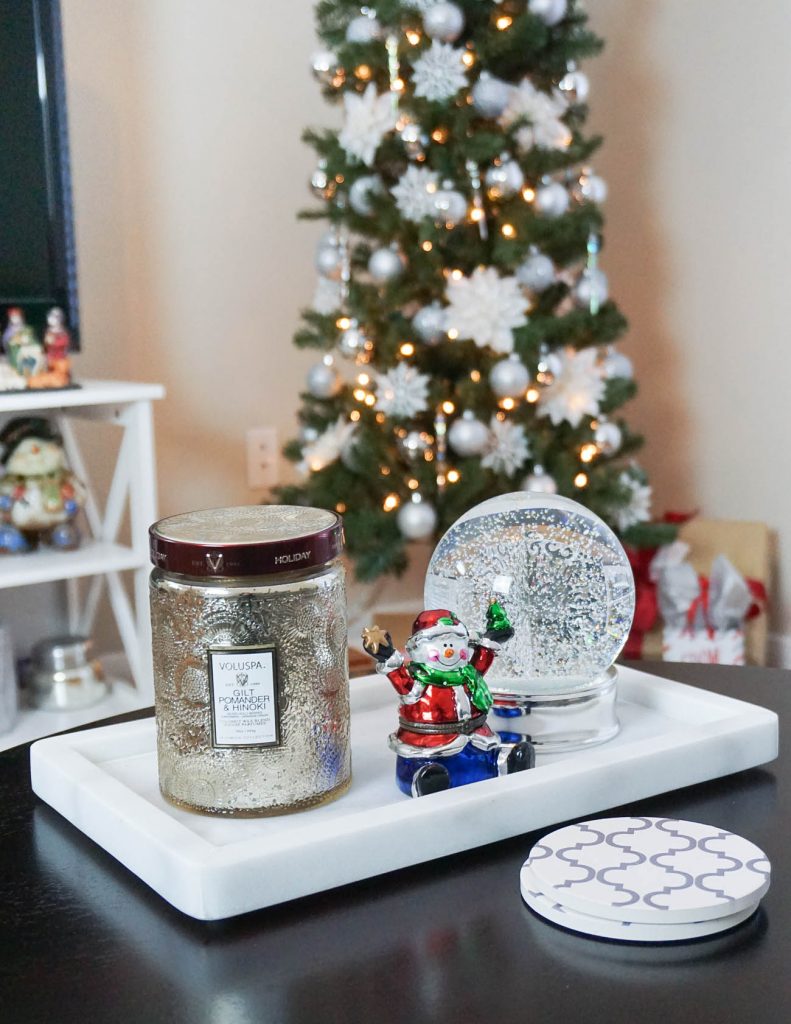
When I decorate for the holidays, I remove all of my normal everyday decor and replace it with my Christmas pieces. It helps the Christmas decorations fit seamlessly into your existing decor. On my coffee table, I replaced my succulent plant with a snow globe and traded out my candle for a Holiday scented candle. I added in a few holiday pillows and filled in other accent pieces on my tv stand and end tables.
The color theme in my living room is silver, gray, white, and purple. When adding in Christmas decorations, I kept many of my holiday pieces to the silver and gray theme. I also added in a few colorful and more traditional pieces. I think keeping with my existing gray and white theme helps my Christmas decorations become part of the room. It also keeps the room from feeling smaller with too many colors and ideas happening. The few colorful pieces add a little extra holiday whimsy to the room. For my silver and white holiday decor, I tried to pick items that could both blend in to my room and also stand out. It’s similar to how I pick my fashion statement pieces.
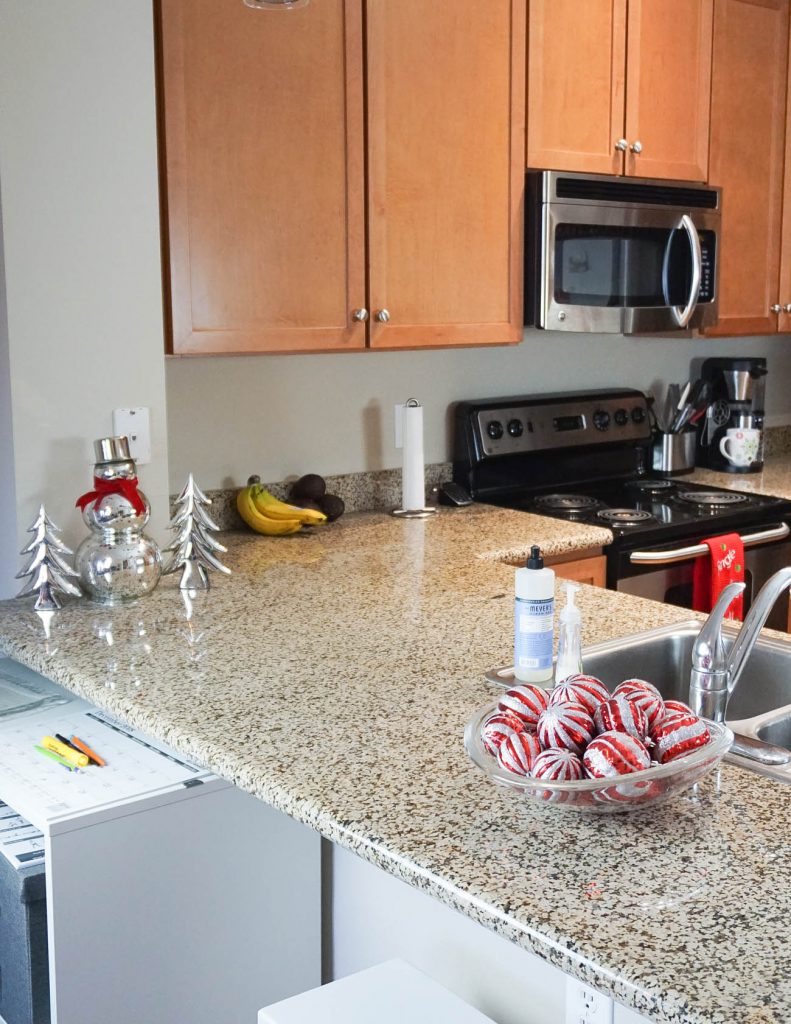
 My layout is an open floor plan, so I transitioned the silver color from my living room into my kitchen to keep my overall look cohesive. I also added in a few red touches to help give this room a side theme to set it apart from the living room. I think having an overall theme in a small space really helps keep the overall look cohesive and prevents the space from looking smaller.
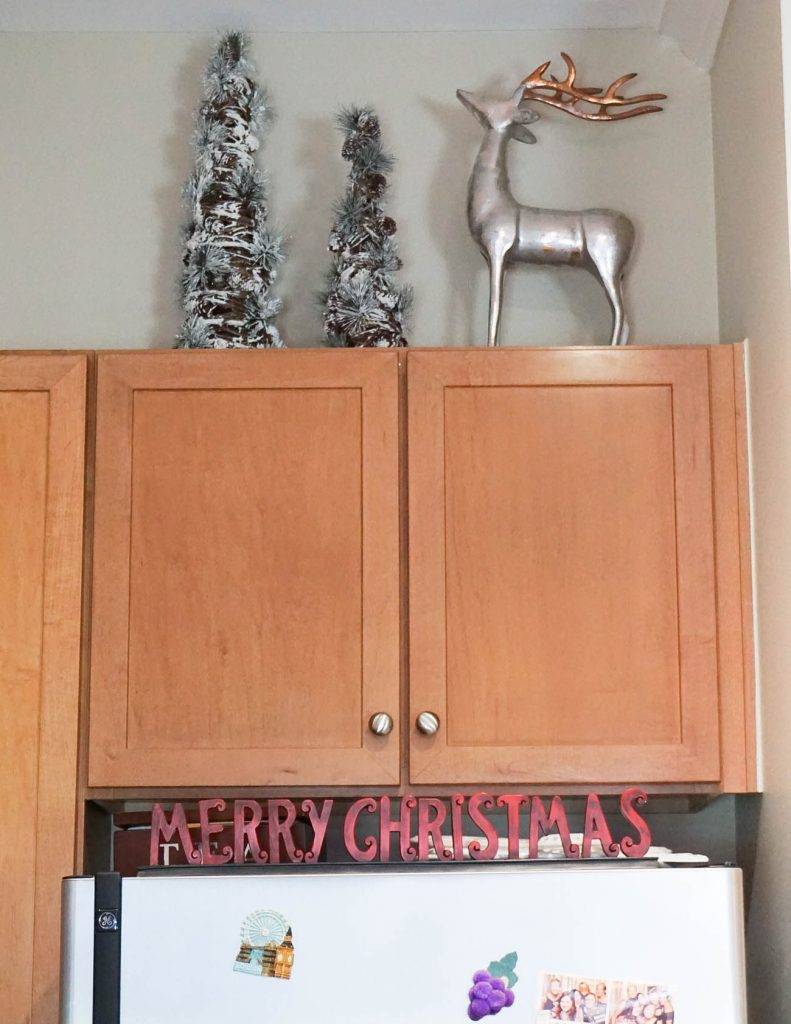
Don’t let that area above your cabinets go to waste! This is great for tall trees and bigger pieces. Since it’s set apart from the rest of the room, it’s also a good place for pieces that maybe don’t blend as well with the other but still match your theme. If your space is not as high as mine, you can also consider laying garland in this space.
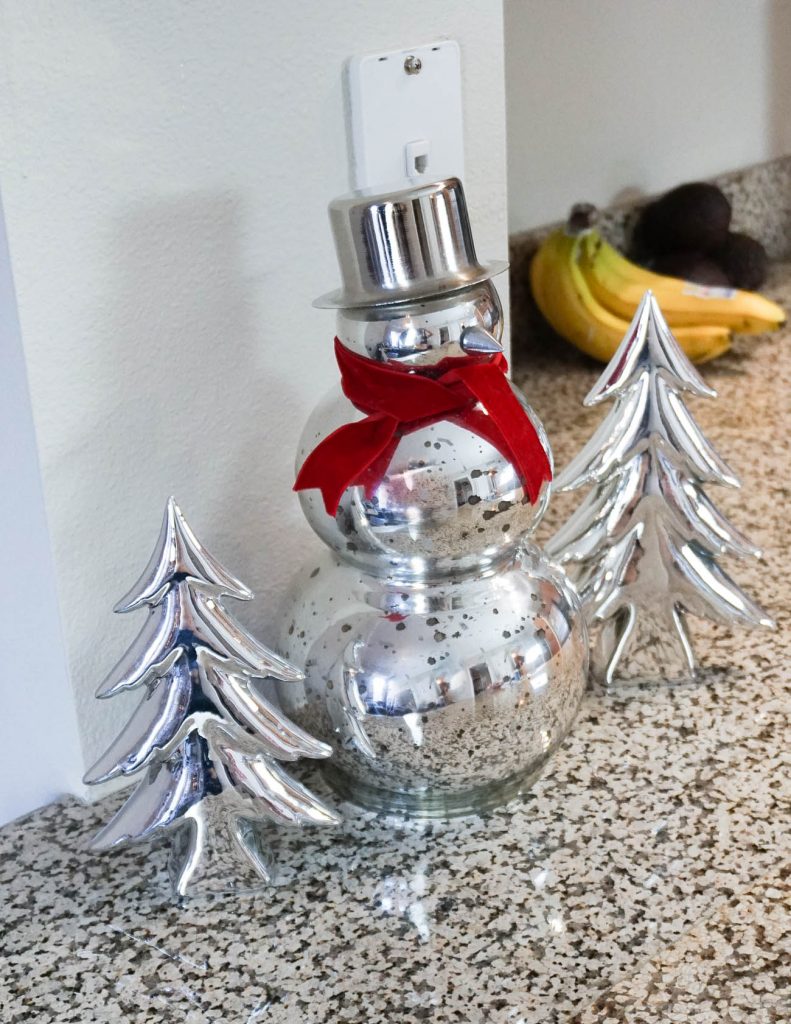
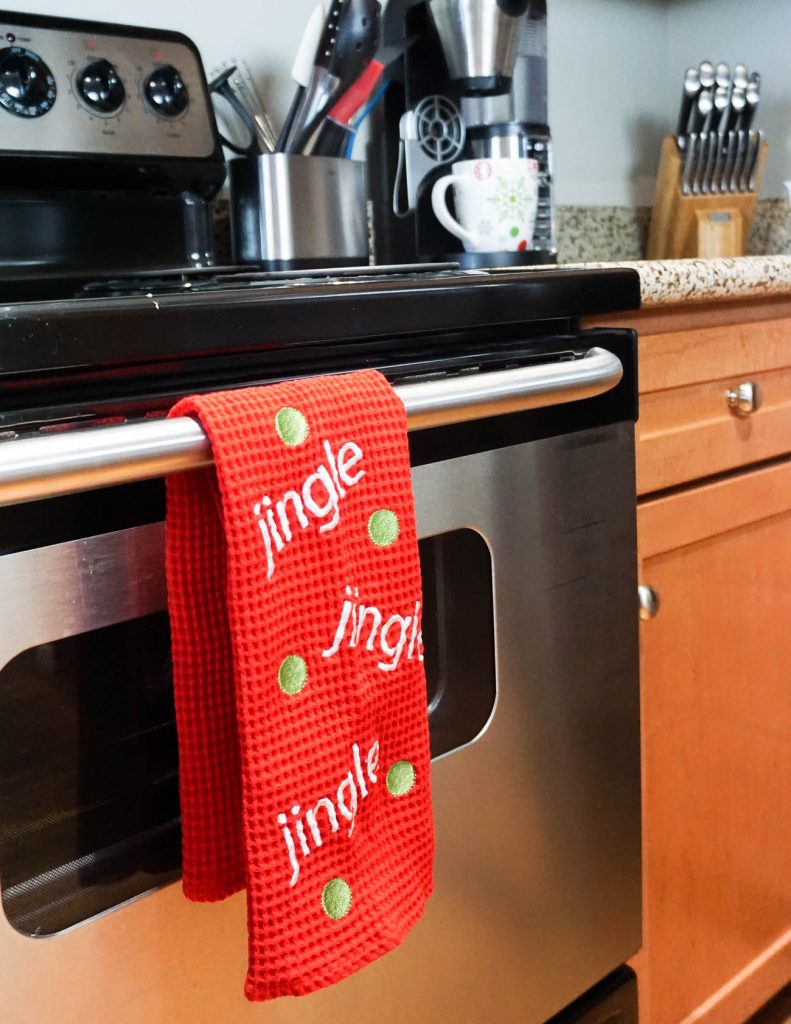
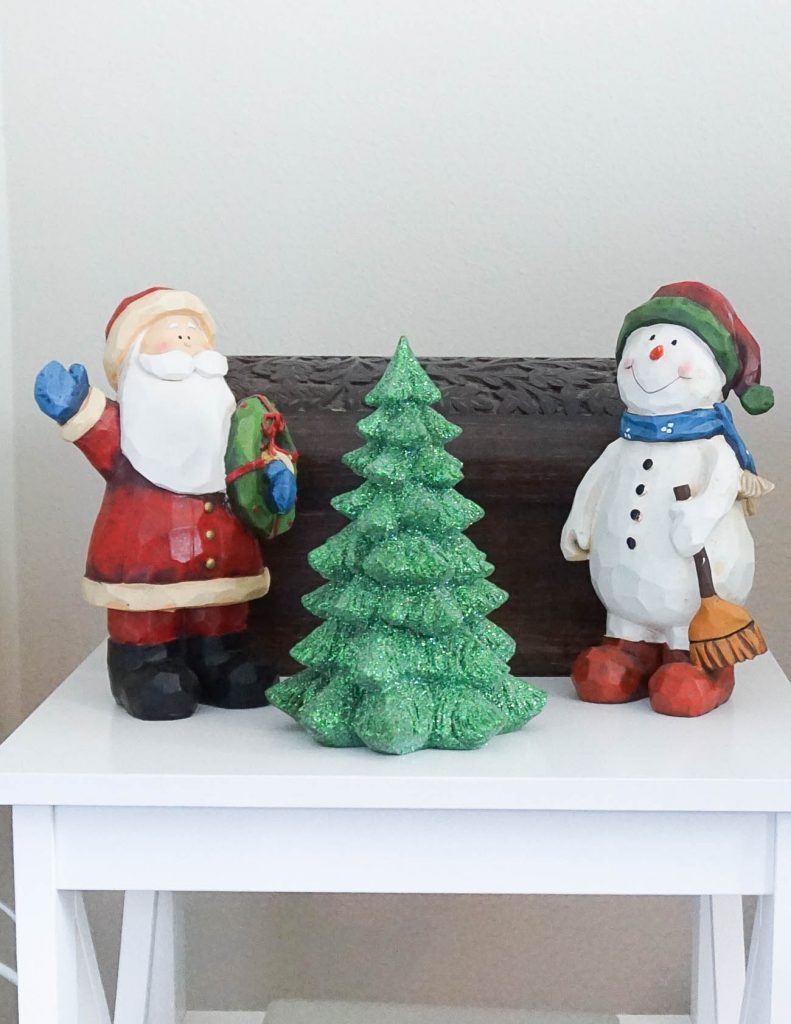
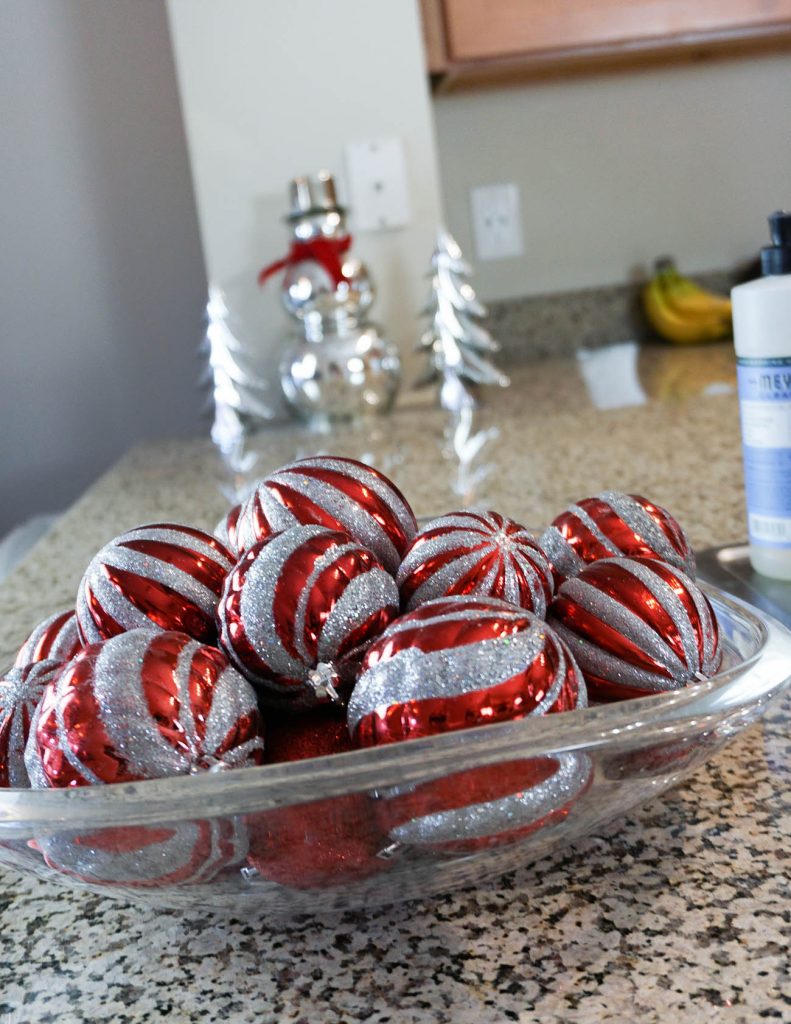
I cook almost everyday, so I didn’t want my kitchen decorations to interfere with my prep space. I opted for a small snowman and trees that fit alongside the wall. I also added touches like a coffee mug and hand towel to replace my normal decor. A simple and easy holiday decorating idea, fill a clear bowl with leftover ornaments. I pulled all my silver and red ones for this bowl. One main requirement for decorations in my kitchen, especially those on the counter, they need to be able to get wet. I wash dishes and cook here, these items may be splashed or spilled on. I also use some of my counter space and fridge for displaying Christmas cards.
I really think there is no such thing as too much or too little when it comes to Christmas decorations. It’s all about what kind of space you want to create. This year, I wanted my space to feel like Christmas, but I didn’t want to overwhelm the size of the space. Everywhere I look in my apartment, I see little touches of Christmas, but I also still see my normal cozy space. If you are new to decorating an apartment, I hope these tips helped inspire some ideas for your space. Thanks for checking out my Holiday Home Tour!
Looking for gift ideas? Check out my Holiday Gift Guide page for the best ideas all in one place!
| CHRISTMAS DECORATION DETAILS |
Items available online: Skinny Christmas Tree | Star Tree Topper | Holiday Candle | Trees above Kitchen Cabinets | Green Glitter Tree | Ball Ornaments | Merry Christmas Sign | Silver Trees |
Items not Available Online:
Hobby Lobby: Tree Skirt | Icicle Ornaments (similar) | White Poinsettias | Snowflake Ornaments (similar)
Homegoods: Silver Snowman, Silver Snowglobe, Silver Deer
Other items from Kirkland’s and Houston Nutcracker Market
| APARTMENT FURNITURE & DECOR |
TV Stand | End Table | Coffee Table | Marble Tray | Gray Blanket | Coasters (Super Absorbent!!)
SHOP THE DECOR