
Happy Friday! As I mentioned earlier this week, I’m headed to South Texas this weekend for a fun little weekend getaway. And yes, I succeeded in packing in a carry on. I love little weekend getaways around Texas. It’s nice to get out of Houston every now and again, and Texas has so many places to visit and explore.
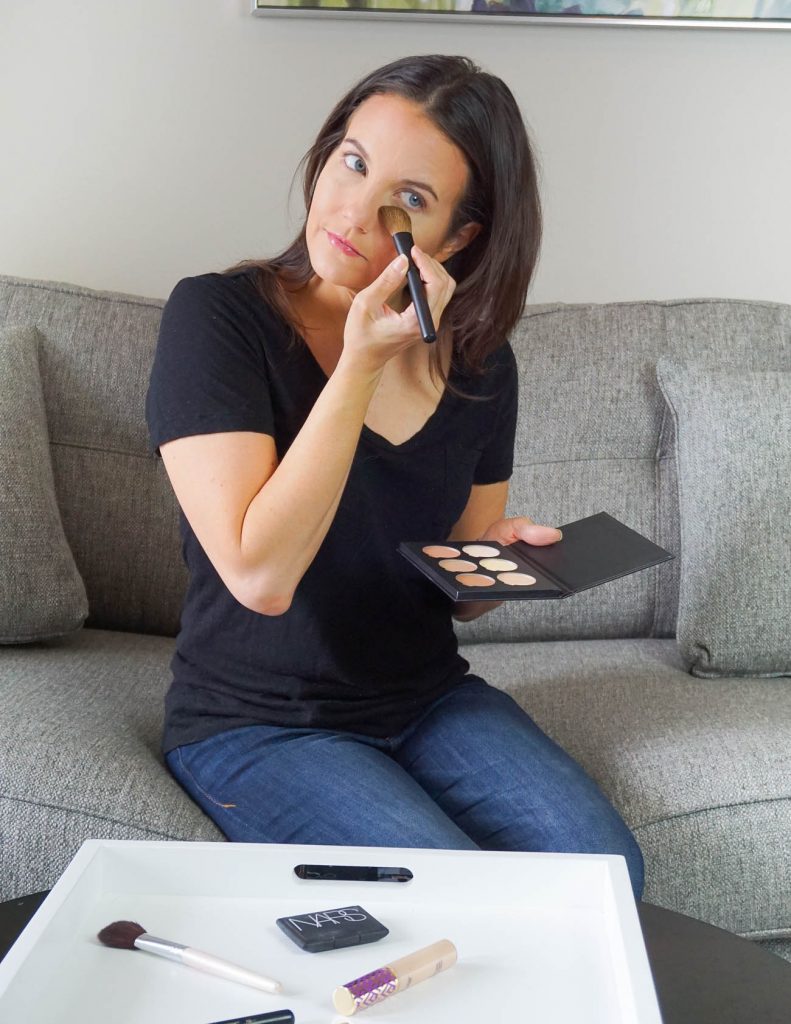
I’m excited to bring you another beauty tutorial today. A couple years ago, I started playing around with face contouring. Contouring can help define your face and even give a thinner looking appearance. Personally, I like the added definition it gives me. I’m all about quick and easy when it comes to my everyday makeup routine. After a little bit of practice, contouring takes me only a couple minutes. I’ve made it super easy and simple, perfect for beginners to contouring!
Let’s start with what you will need –
Contour Kit – This one is made for light/medium skin. When shopping for a kit, look for one that has shades slightly darker for contouring and slightly lighter for highlighting. The first kit I purchased was too dark, and I ended up only using one of the dark colors which felt like a waste of money. I use all 6 of these colors! I also opt for powder contour kits because I think they blend easier.
Concealer – I use this for highlighting and under eye coverage
Blush (color: orgasm) – I love vibrant pinks to add a slightly flushed and natural look.
Contour Brush – I opt for one with a dense, structured, angled brush. I also have a thin round brush for a more defined line.
Blush and Highlight Brush – I use a similar brush for these, opting for thin angled brushes.
Kabuki Brush – A full dense structured brush perfect for blending.
Beauty Blender Sponge – I use this for blending in my concealer.
STEP BY STEP TUTORIAL: CONTOURING FOR BEGINNERS
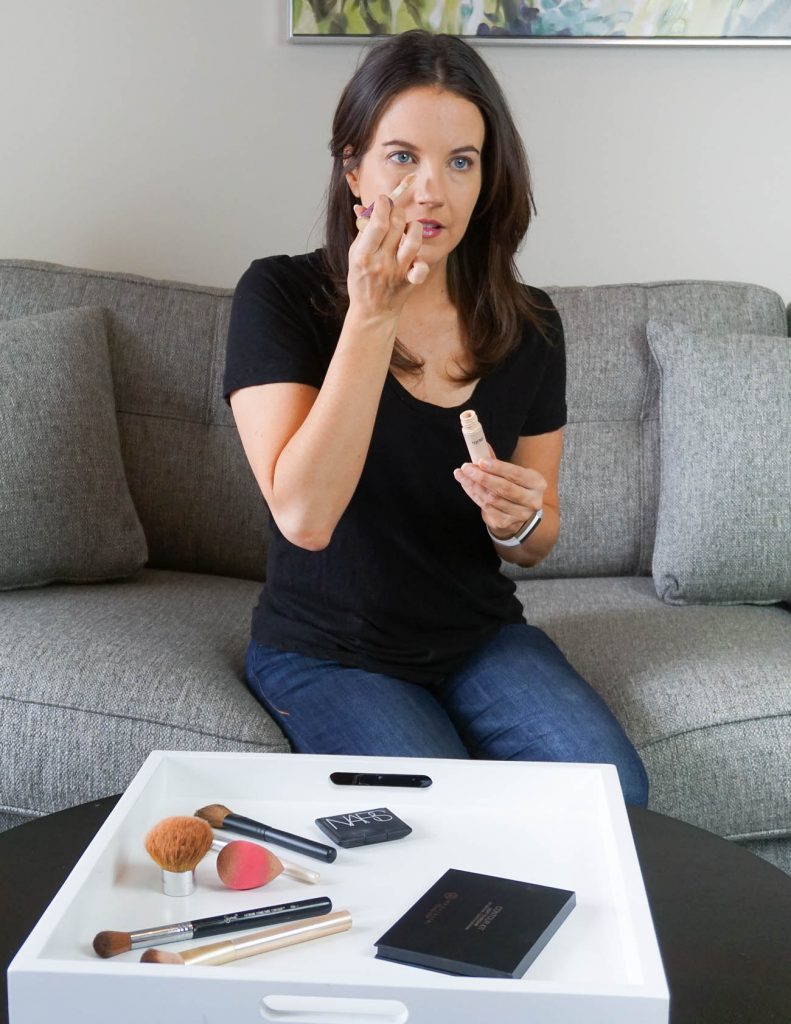
STEP 1: After applying my foundation to my entire face, I start my contour routine by adding concealer under my eyes. I use this to both conceal under eye circles and add a highlight. Since I use it for both, I opt for a a shade 1-2 shades lighter than my foundation.
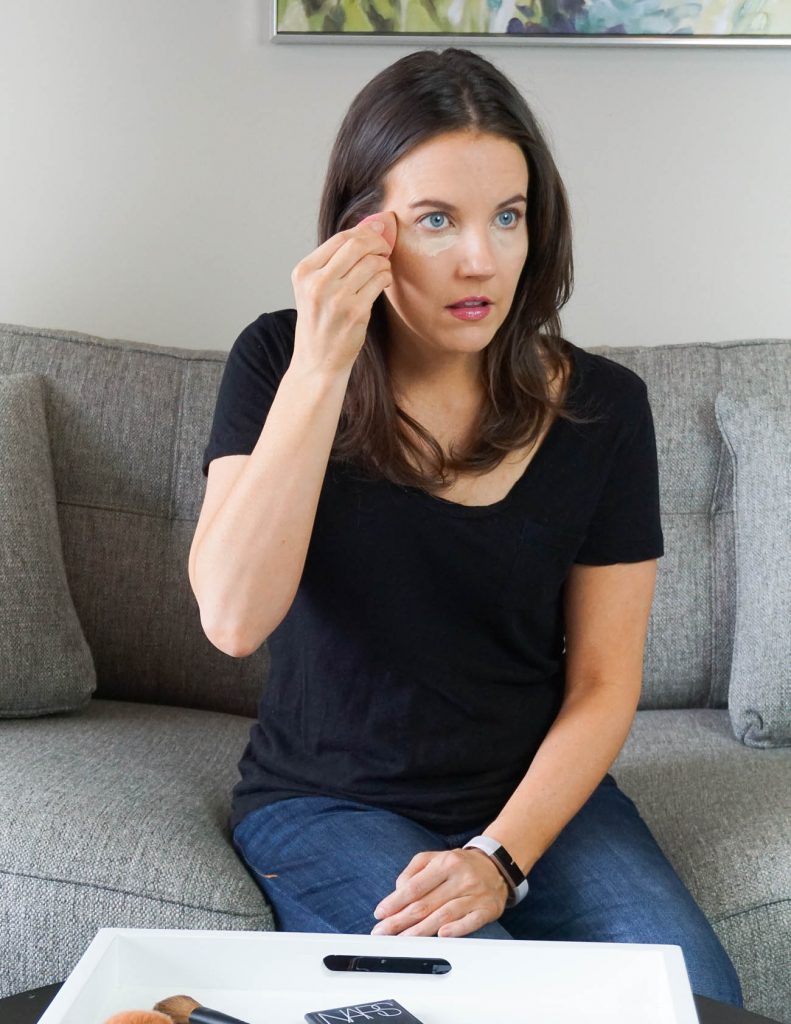
STEP 2: Use the smaller end of the beauty blender to start spreading the concealer out under your eye. I spread to cover my under eye to just above my cheek bone and extend to the side of my face slightly. Once spread, I use the bigger end in a blotting motion to blend the color into my foundation.
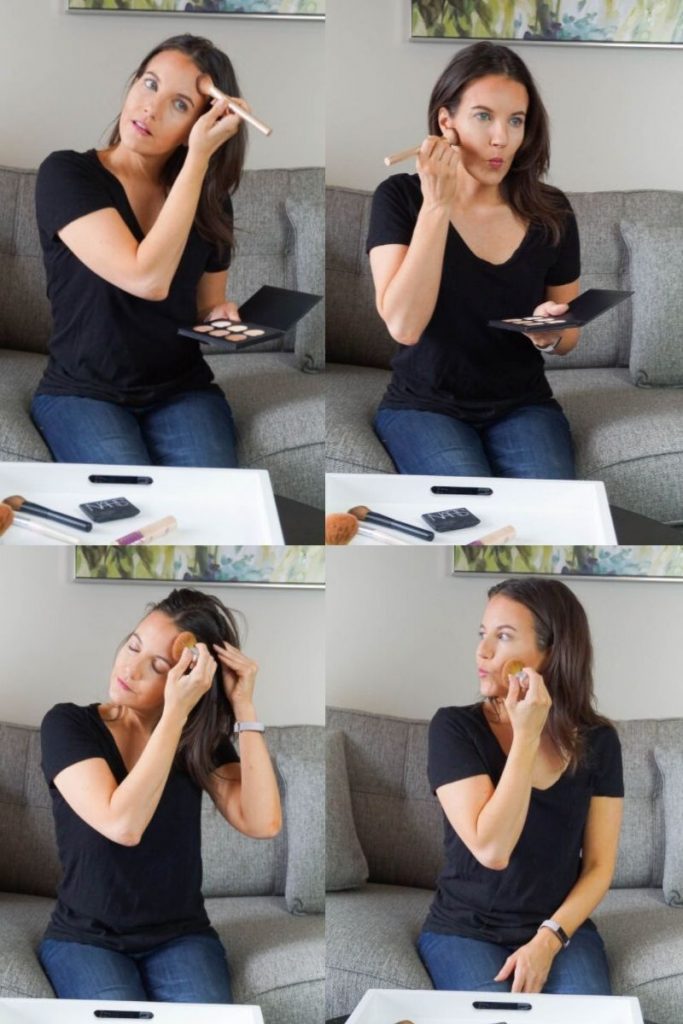
STEP 3: Using the angled contour brush, apply your darkest contour shade around the frame of your face. I apply along my hairline across my forehead, down each side to my ears. Make a kiss or duck face and apply from your ear along the crease created along the bottom of your cheekbone. With one of the lighter dark colors, apply to the sides of your nose. You can use the more defined brush for this part.
STEP 4: Blend, blend, blend! Using the kabuki brush blend the lines to create a natural blended in look. I blend along the line in both horizontal and vertical motions. Once complete, you should not see defined lines or look like you have dirt on your face.


Both of the photos above show where I applied the dark colors prior to blending.
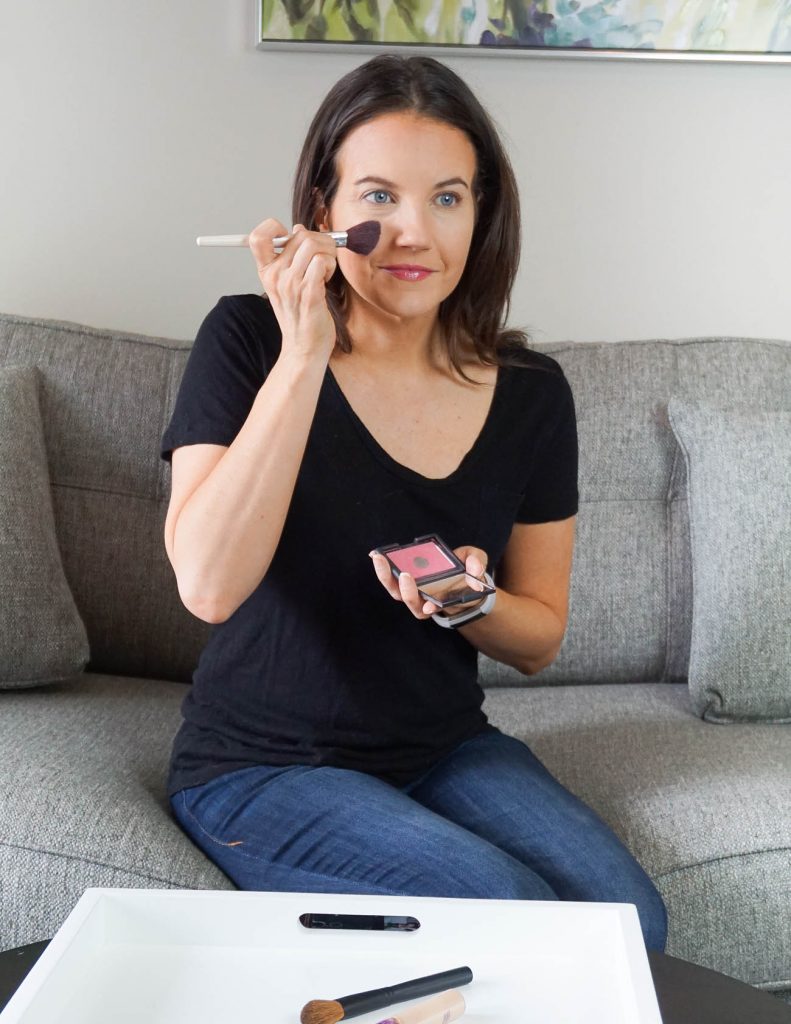
STEP 5: Using a blush brush, smile slightly and apply blush to the apple of your cheek swiping up at a slight angle. Then, use your kabuki brush to very lightly blend this color around your cheek area to create a blended look with even color distribution and no harsh lines.
STEP 6: Apply your highlighter using your highlighting brush. I apply the yellow tinted highlighter under my eyes, the lighter highlight color in a t shape across my forehead and down the front of my nose and chin, and the shimmer color just above my blush color between my under eye and cheek bone.
That’s it, just a few quick steps and the contour portion of your makeup routine is complete! The first few tries will take a little longer as you learn how much color to apply and blending for a natural look. Over time, this part of your routine will be second nature and only take a couple minutes.
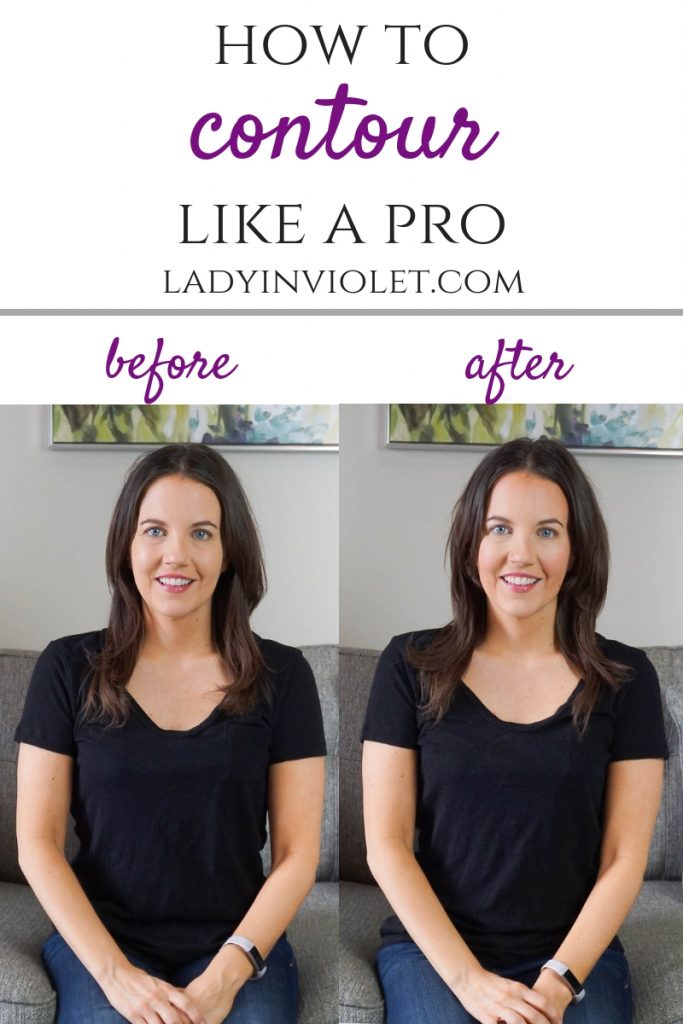
Check out the below image for a before and after look. Also, if you want to save this tutorial for future use, you can pin the below image to Pinterest for a quick and easy reference!
Hope ya’ll have a great weekend!
SHOP THE PRODUCTS


3 Responses to Contouring for Beginners: Step by Step Tutorial