Yearly Archives: 2019
Contouring for Beginners: Step by Step Tutorial
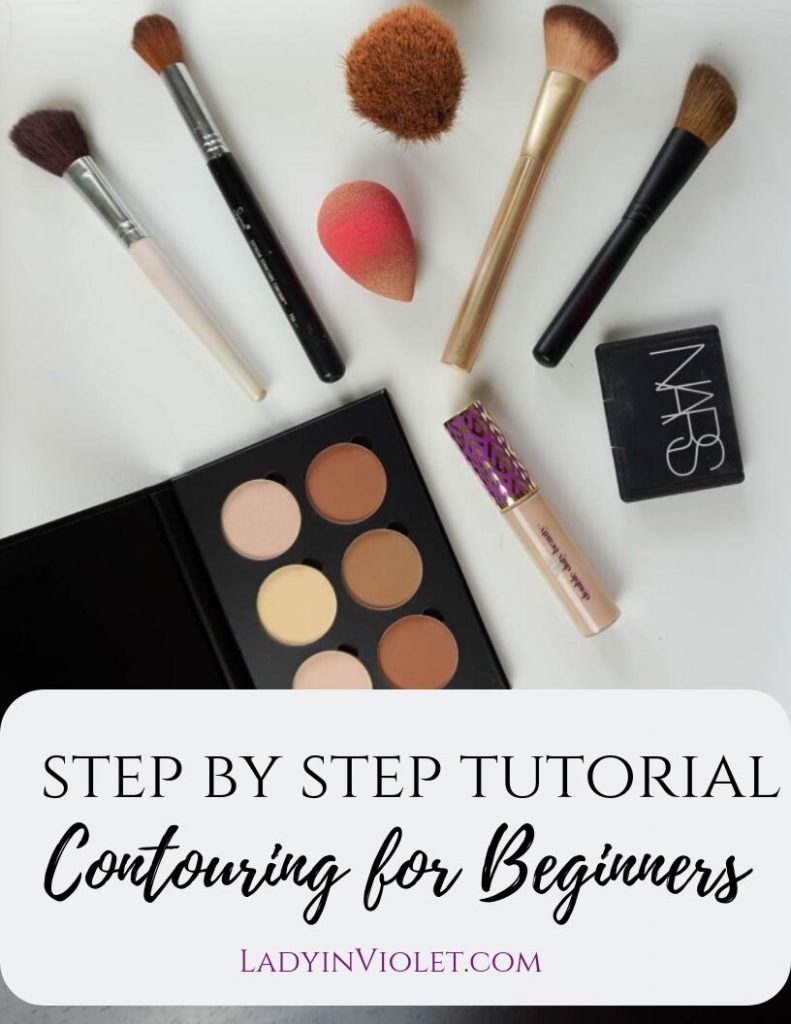
Happy Friday! As I mentioned earlier this week, I’m headed to South Texas this weekend for a fun little weekend getaway. And yes, I succeeded in packing in a carry on. I love little weekend getaways around Texas. It’s nice to get out of Houston every now and again, and Texas has so many places to visit and explore.
I’m excited to bring you another beauty tutorial today. A couple years ago, I started playing around with face contouring. Contouring can help define your face and even give a thinner looking appearance. Personally, I like the added definition it gives me. I’m all about quick and easy when it comes to my everyday makeup routine. After a little bit of practice, contouring takes me only a couple minutes. I’ve made it super easy and simple, perfect for beginners to contouring!
Let’s start with what you will need –
Contour Kit – This one is made for light/medium skin. When shopping for a kit, look for one that has shades slightly darker for contouring and slightly lighter for highlighting. The first kit I purchased was too dark, and I ended up only using one of the dark colors which felt like a waste of money. I use all 6 of these colors! I also opt for powder contour kits because I think they blend easier.
Concealer – I use this for highlighting and under eye coverage
Blush (color: orgasm) – I love vibrant pinks to add a slightly flushed and natural look.
Contour Brush – I opt for one with a dense, structured, angled brush. I also have a thin round brush for a more defined line.
Blush and Highlight Brush – I use a similar brush for these, opting for thin angled brushes.
Kabuki Brush – A full dense structured brush perfect for blending.
Beauty Blender Sponge – I use this for blending in my concealer.
STEP BY STEP TUTORIAL: CONTOURING FOR BEGINNERS
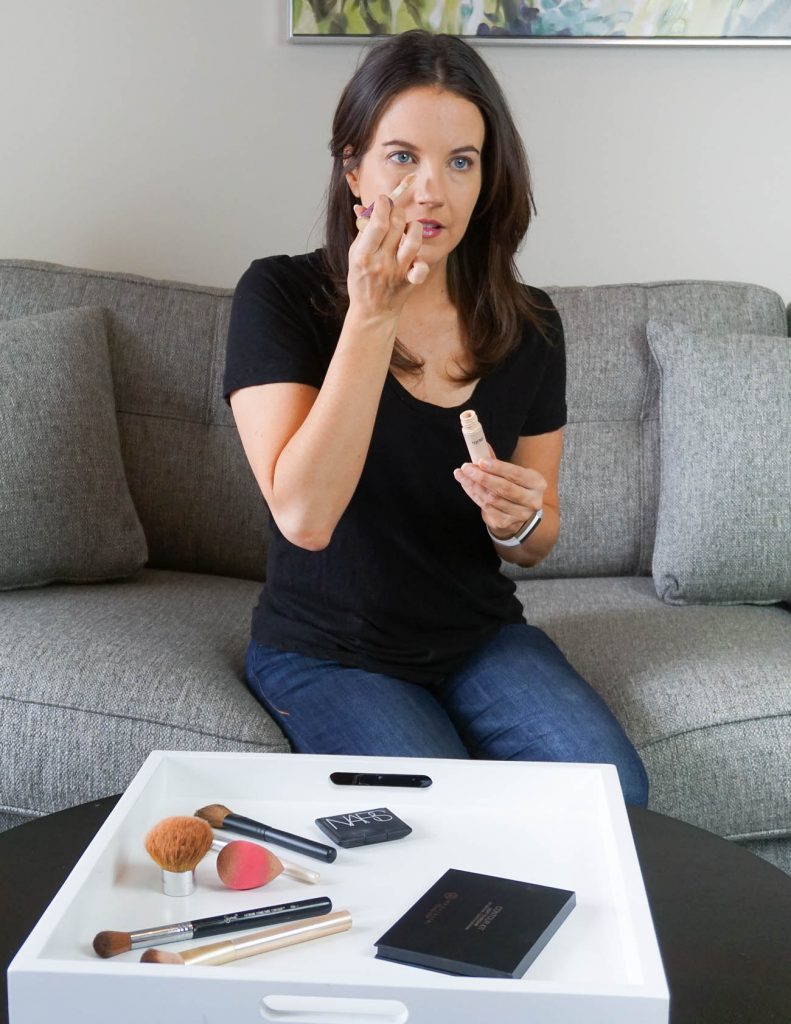
STEP 1: After applying my foundation to my entire face, I start my contour routine by adding concealer under my eyes. I use this to both conceal under eye circles and add a highlight. Since I use it for both, I opt for a a shade 1-2 shades lighter than my foundation.
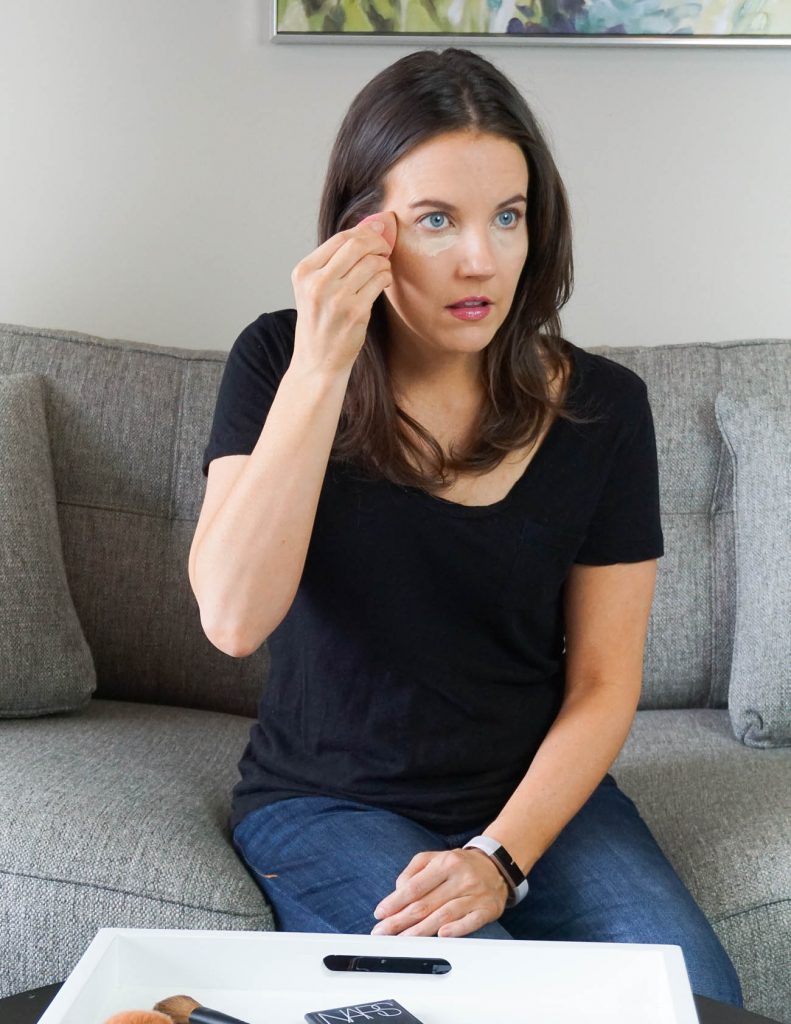
STEP 2: Use the smaller end of the beauty blender to start spreading the concealer out under your eye. I spread to cover my under eye to just above my cheek bone and extend to the side of my face slightly. Once spread, I use the bigger end in a blotting motion to blend the color into my foundation.
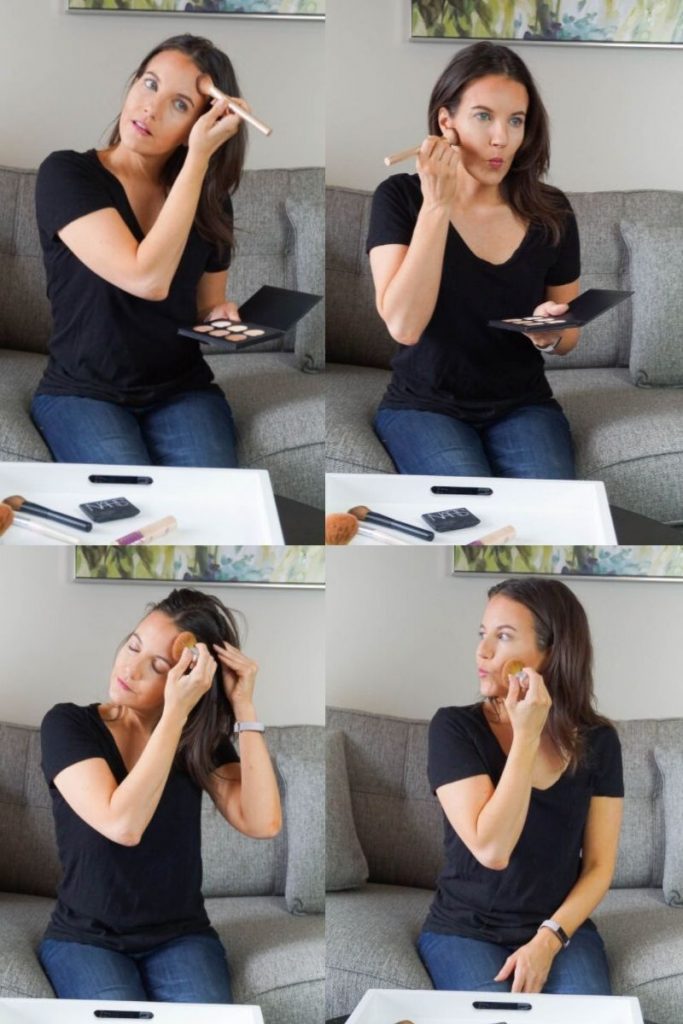
STEP 3: Using the angled contour brush, apply your darkest contour shade around the frame of your face. I apply along my hairline across my forehead, down each side to my ears. Make a kiss or duck face and apply from your ear along the crease created along the bottom of your cheekbone. With one of the lighter dark colors, apply to the sides of your nose. You can use the more defined brush for this part.
STEP 4: Blend, blend, blend! Using the kabuki brush blend the lines to create a natural blended in look. I blend along the line in both horizontal and vertical motions. Once complete, you should not see defined lines or look like you have dirt on your face.
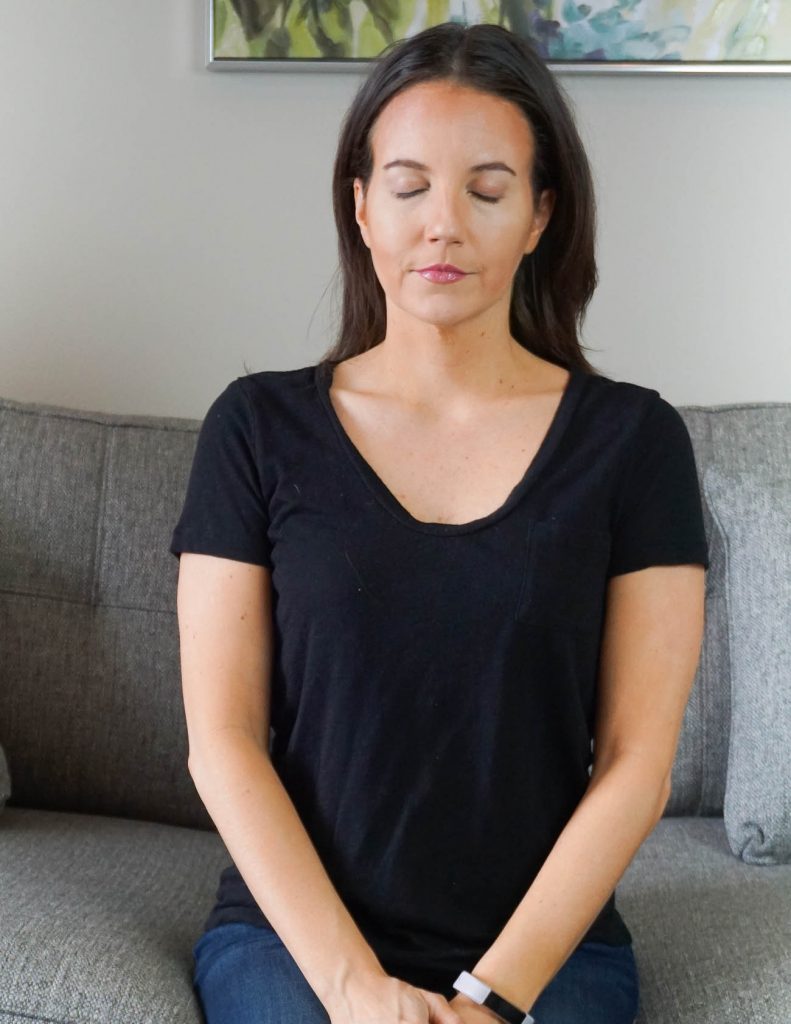
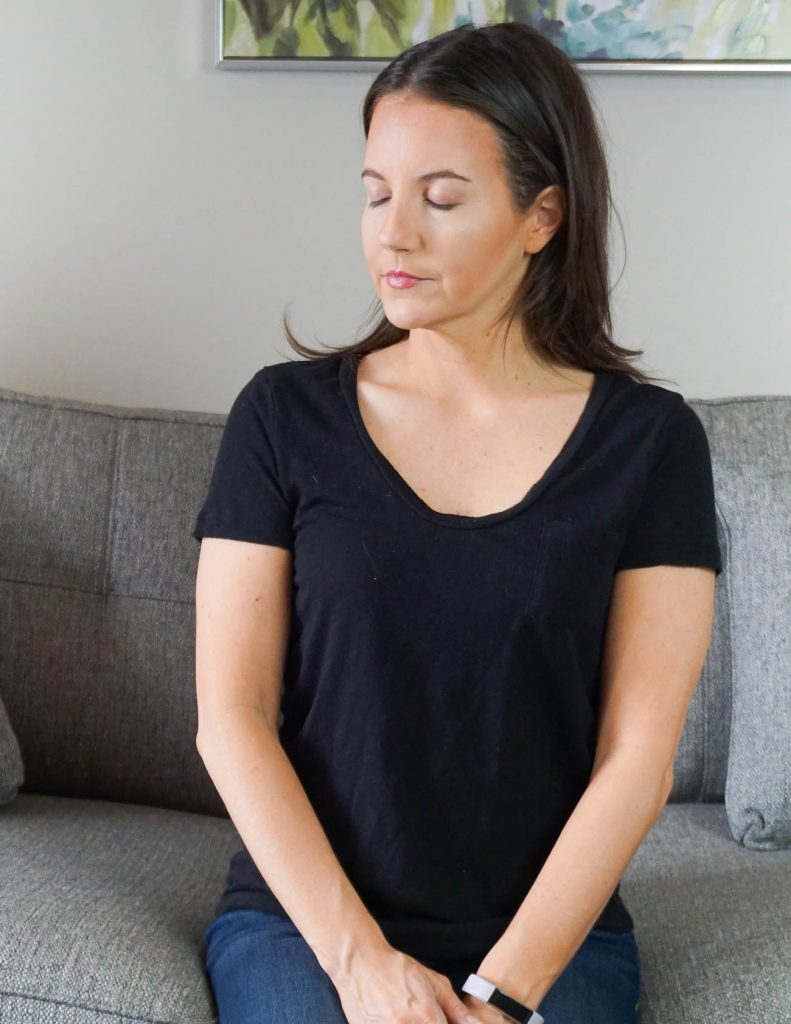
Both of the photos above show where I applied the dark colors prior to blending.
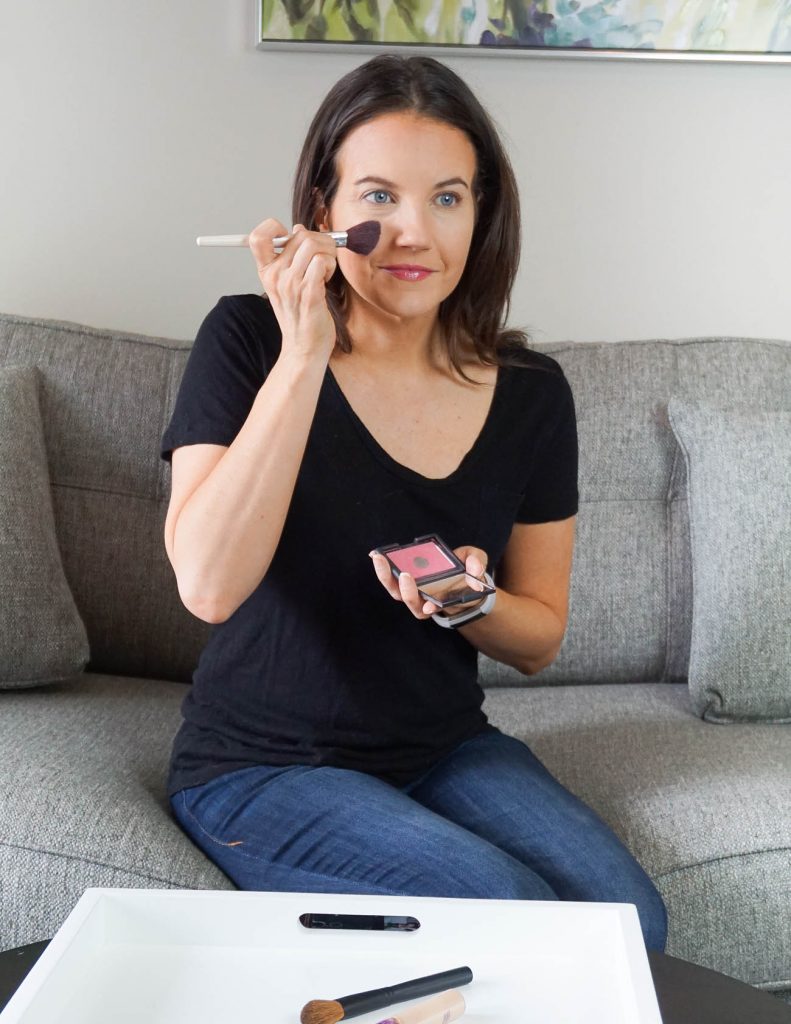
STEP 5: Using a blush brush, smile slightly and apply blush to the apple of your cheek swiping up at a slight angle. Then, use your kabuki brush to very lightly blend this color around your cheek area to create a blended look with even color distribution and no harsh lines.
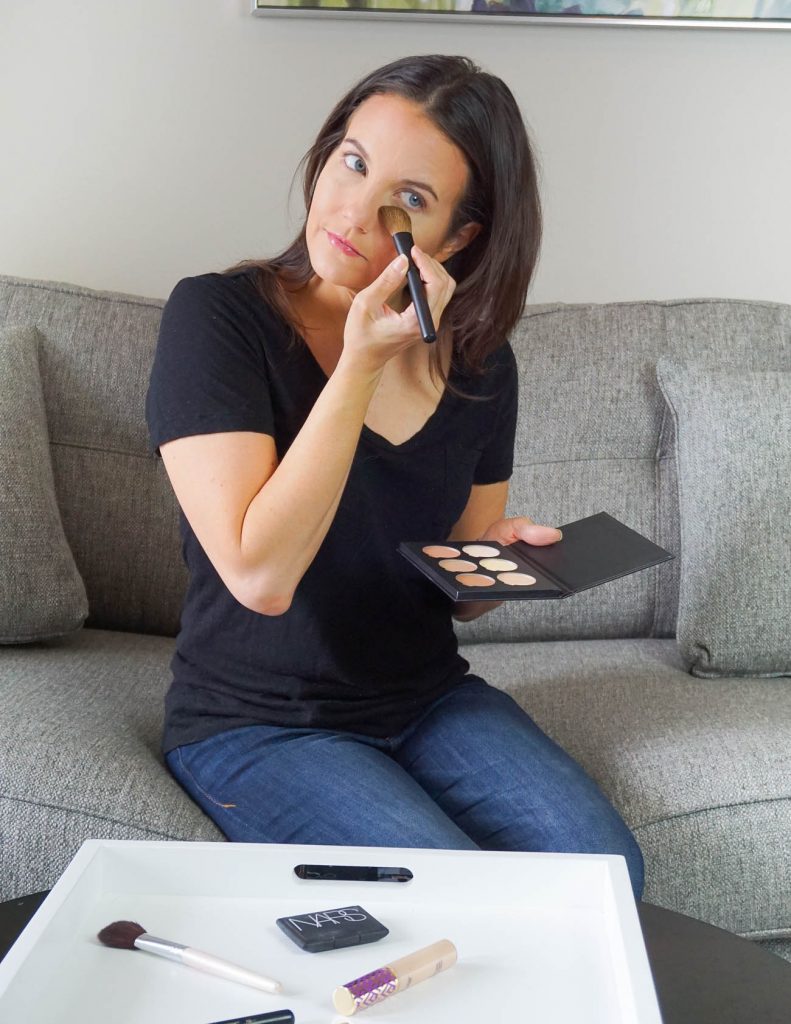
STEP 6: Apply your highlighter using your highlighting brush. I apply the yellow tinted highlighter under my eyes, the lighter highlight color in a t shape across my forehead and down the front of my nose and chin, and the shimmer color just above my blush color between my under eye and cheek bone.
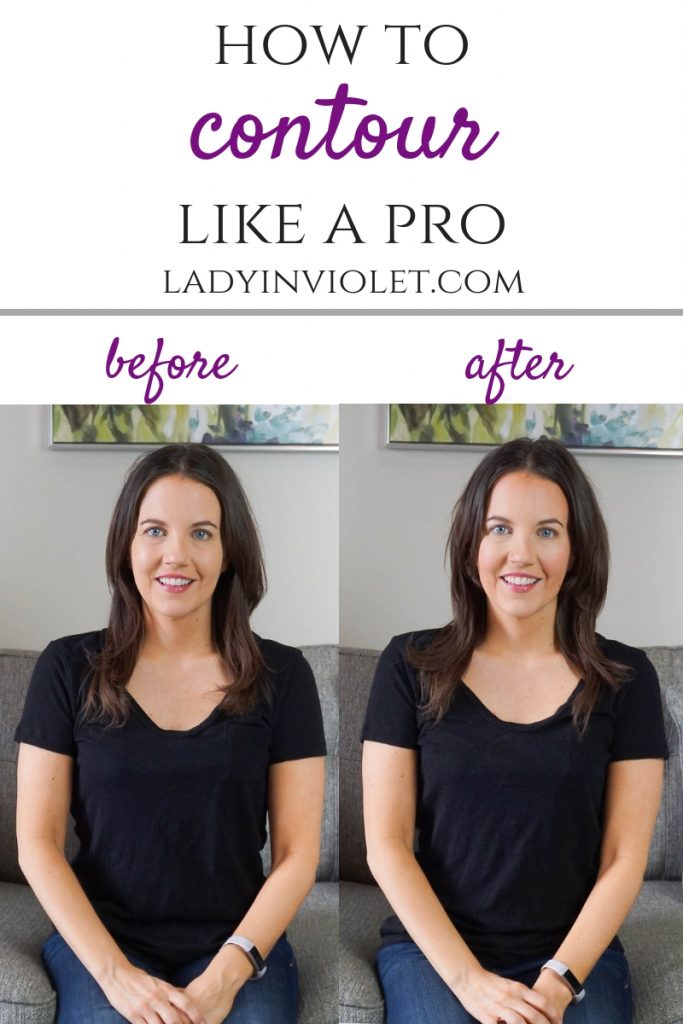
That’s it, just a few quick steps and the contour portion of your makeup routine is complete! The first few tries will take a little longer as you learn how much color to apply and blending for a natural look. Over time, this part of your routine will be second nature and only take a couple minutes.
Check out the below image for a before and after look. Also, if you want to save this tutorial for future use, you can pin the below image to Pinterest for a quick and easy reference!
Hope ya’ll have a great weekend!
SHOP THE PRODUCTS
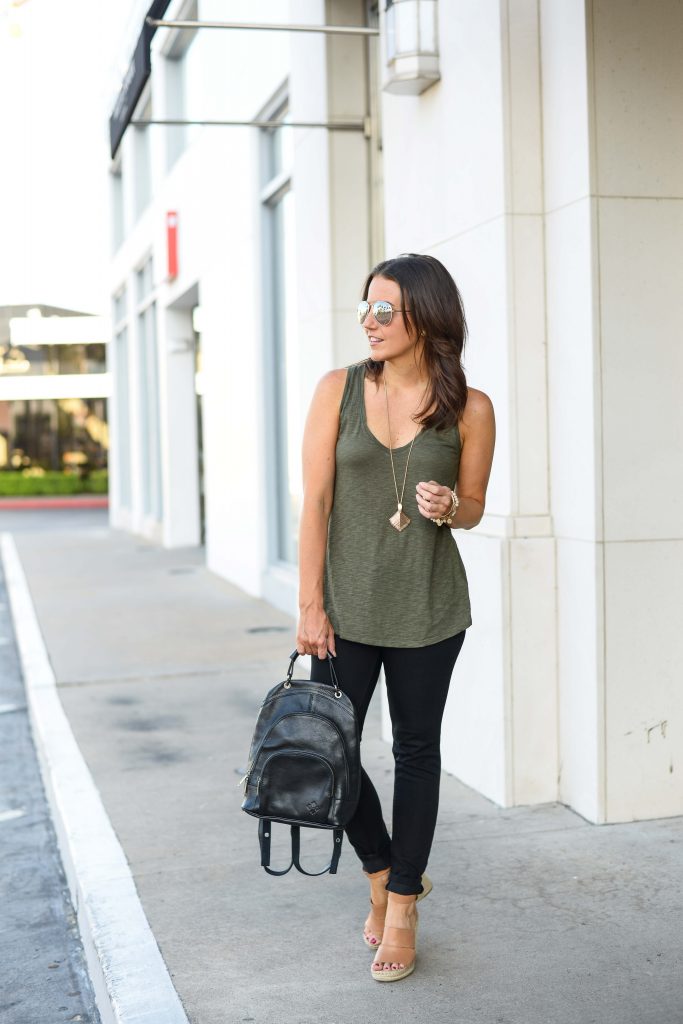
Olive Green Tank Top + Rose Gold Aviators
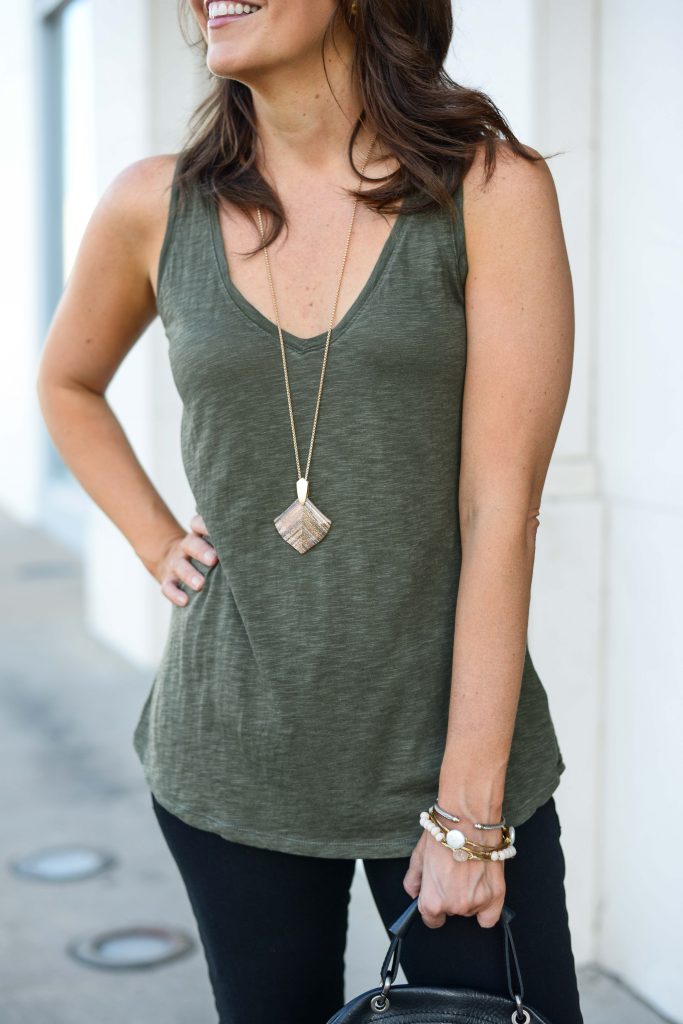
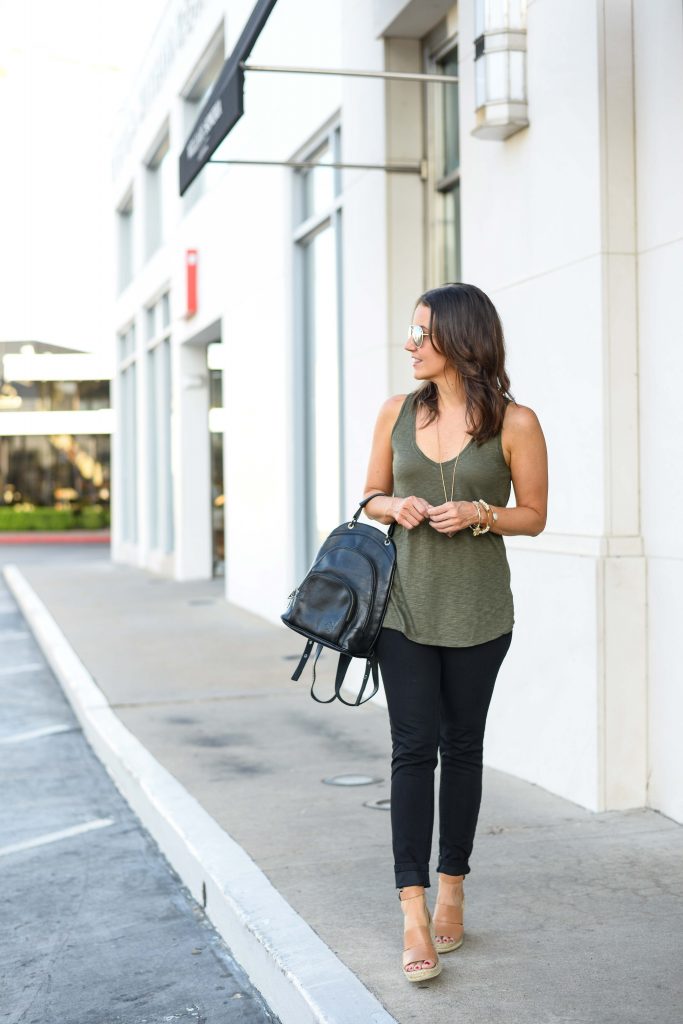
Hello Hello! How’s your week going? Mine has been smooth sailing so far. I’m headed out of town on a long weekend to South Texas, and I am ready for it. We are flying, and I thought it would be really smart to just pack a carry on since it’s such a short trip. I am so not a light packer. The next 2 nights will be filled with some outfit planning and probably a little editing, so I can fit all the things in my little bag. Any tips for flying with just a carry on are appreciated!
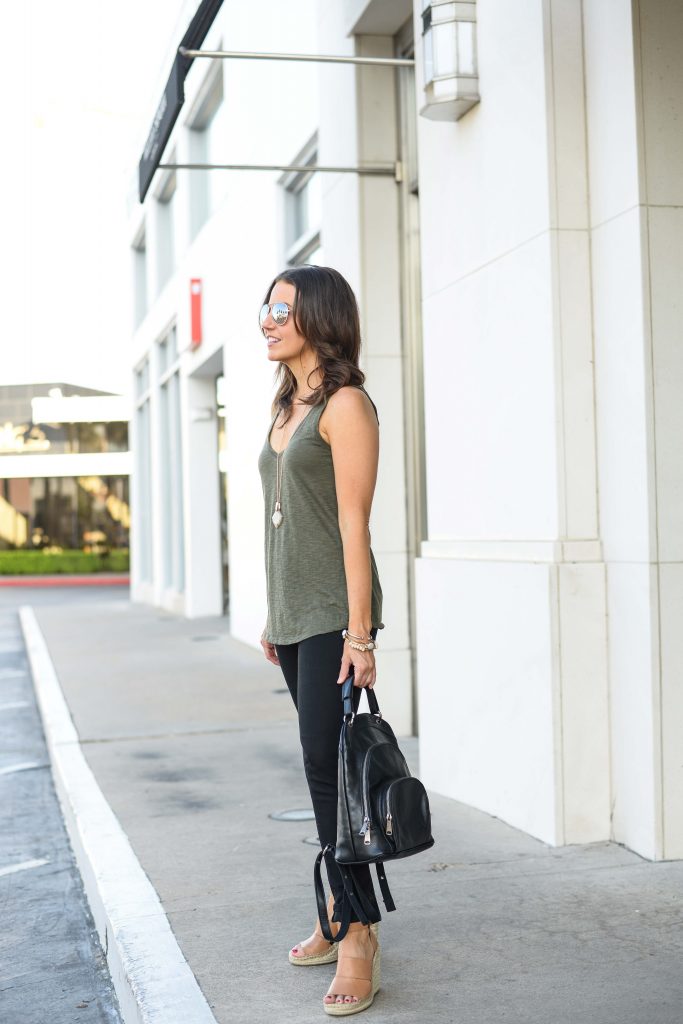
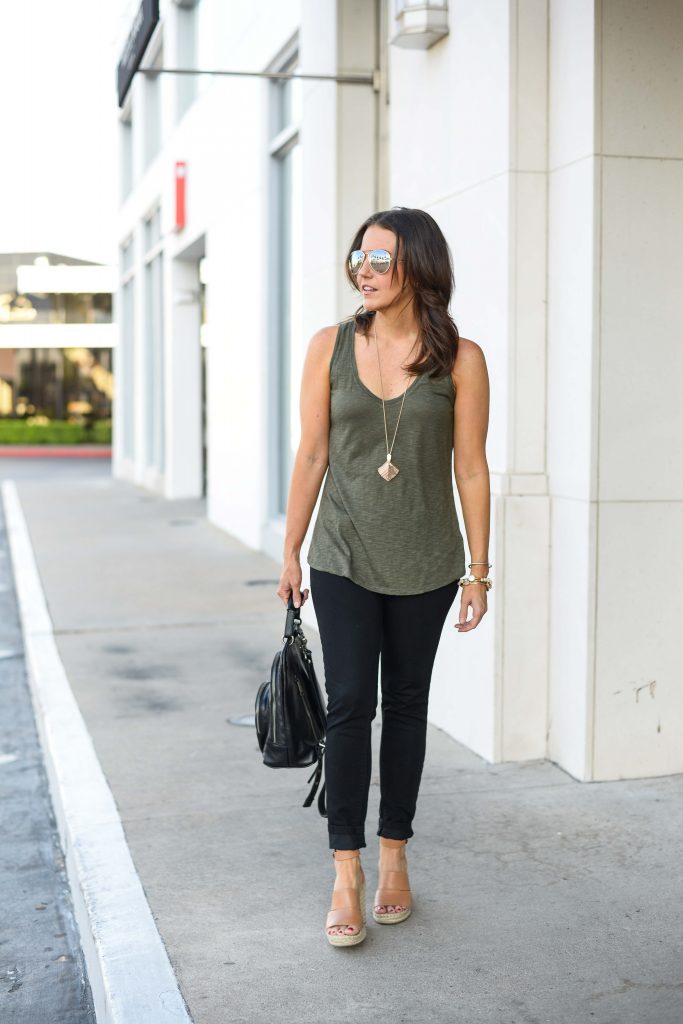
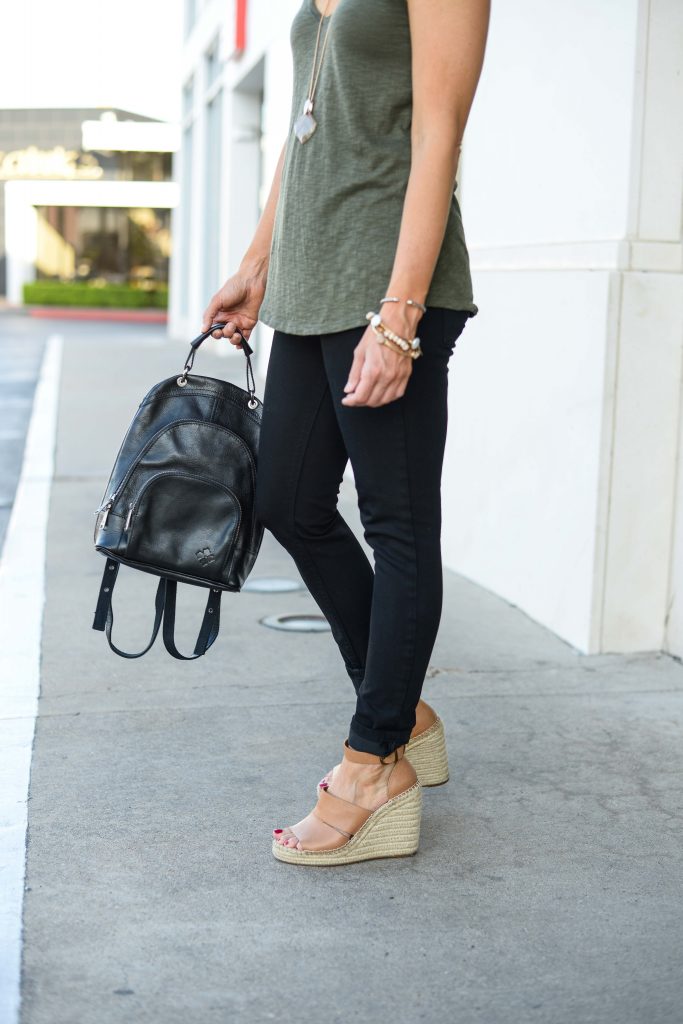
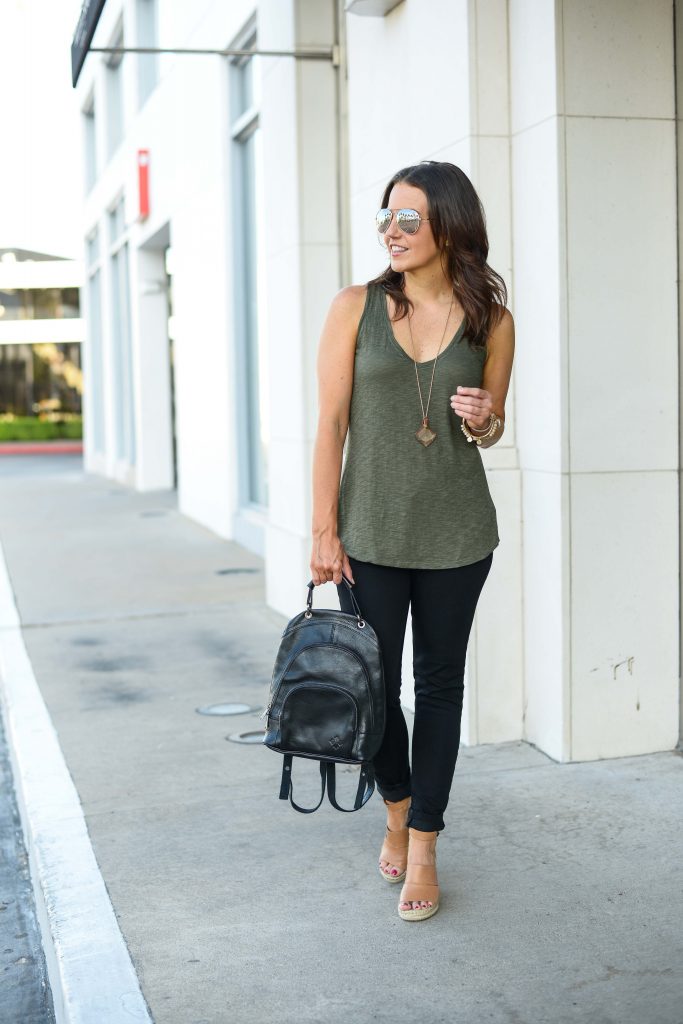
Now let’s talk fashion! This outfit is one that I would wear as a summer to fall transitional outfit. We stay in summer time temps through September and sometimes even October. My transitional outfits tend to feature summer pieces like wedges and tank tops, but in fall colors like olive green and brown. I also start pulling out my black skinny jeans just a bit more when September hits. If you want to amp up the fall in this outfit, you can change out my wedges for booties or even a pair of leopard flats. For cooler days, you can add a blue denim jacket to this look.
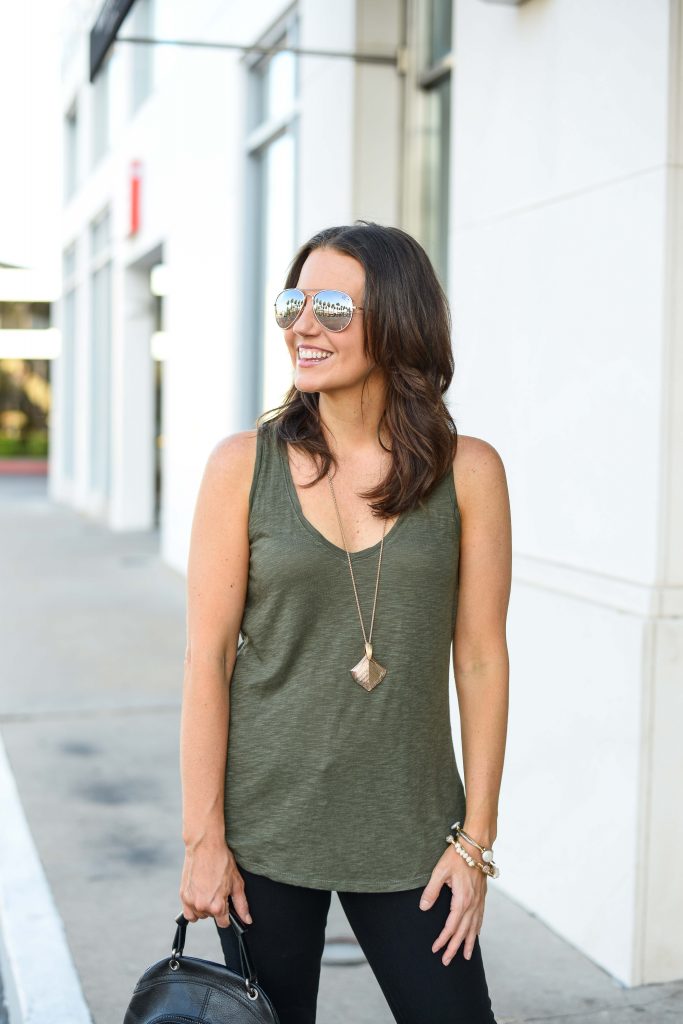
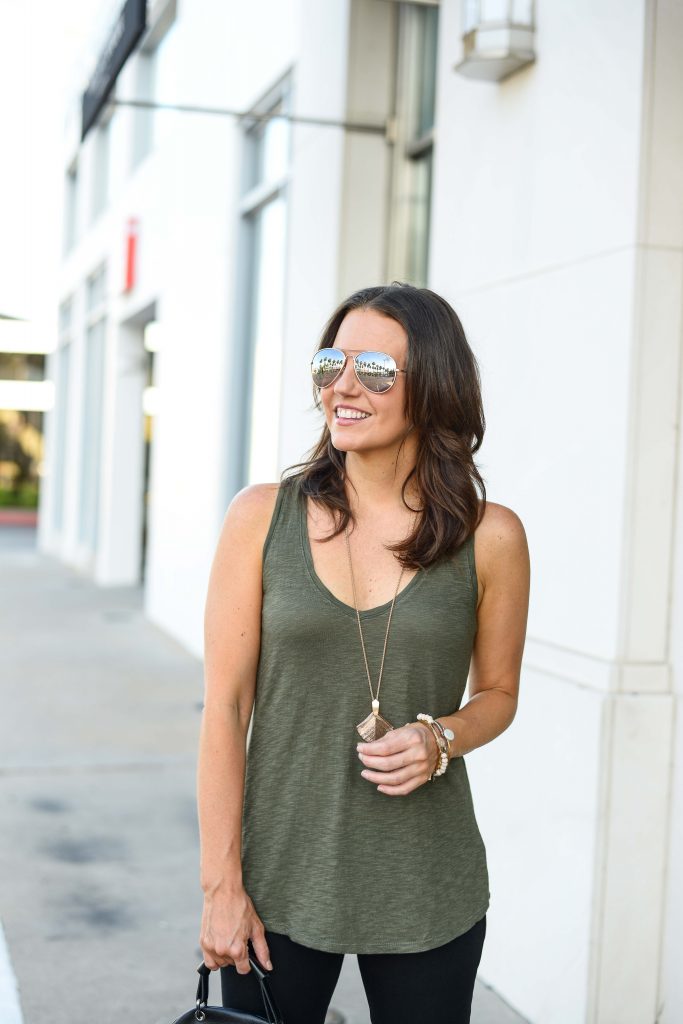
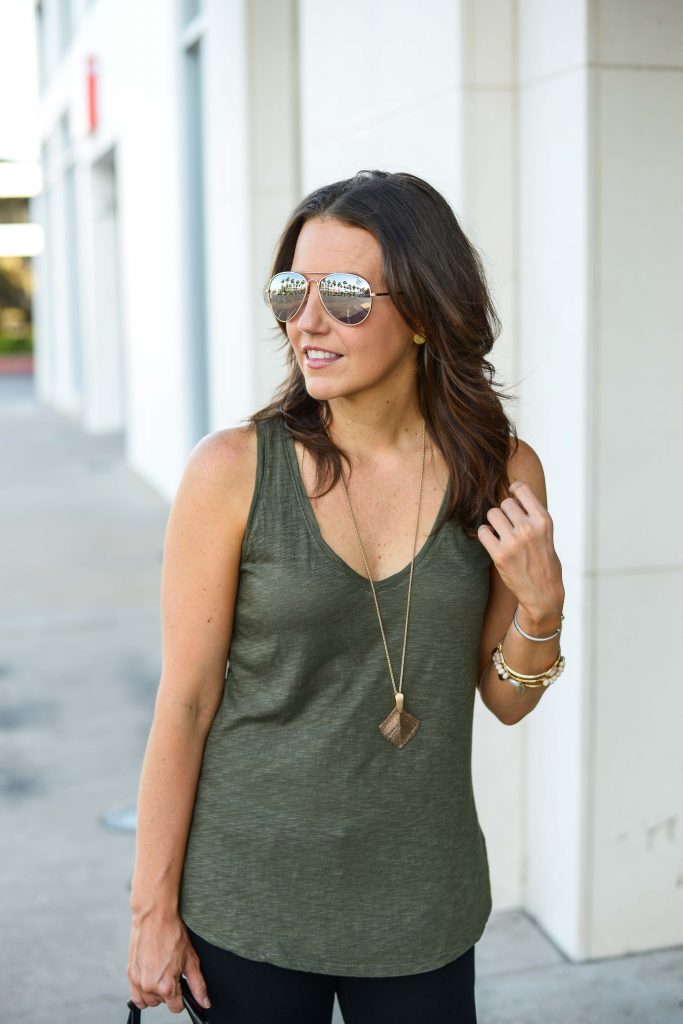
One color combo I love for the summer to fall transitional time is olive green and rose gold. Rose gold is a great jewelry color to wear year round, but it really shines against fall colors like olive green and burgundy. Over the summer, I added to my rose gold collection with a pair of rose gold aviators. It’s a decently affordable pair with a slightly bigger lens size compared to my other aviator sunglasses. The lens and frames are rose gold, but the lens is mirrored so you can’t really tell in the pics since it’s reflecting the pretty palm trees.
Hope the rest of your week goes well! Thanks for stopping by ya’ll!
| OUTFIT DETAILS |
Olive Green Tank Top | c/o Black Skinny Jeans | Brown Wedge Sandals | c/o Black Leather Backpack | c/o Rose Gold Aviators | c/o Rose Gold Necklace | Gold Stud Earrings | Stone Bangle c/o drusy, pearl, beads | David Yurman Cuff
Photography By: LA Photography
SHOP THE LOOK
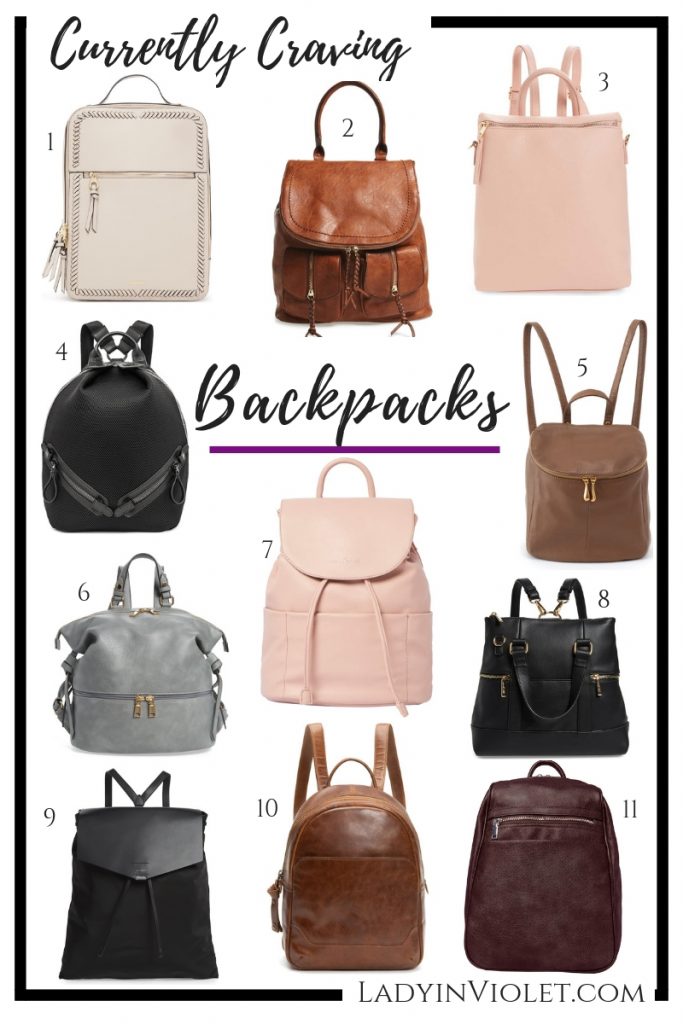
Currently Craving: Backpacks
Hello Ladies! Happy Monday! How was your weekend? Mine was pretty low key and relaxing. It was really nice to have a pretty chill Saturday night. We did venture out a little during the day on Saturday. The 100 degree day proved too much for us, and we eventually retreated to the a/c and Netflix.
This past weekend in Texas was Tax Free Weekend. It always happens just before school starts, and you can buy school supplies and clothes tax free. One of my favorite items to buy every school year was a new backpack. Thanks to this school day must have turning into a trendy must have handbag, I can still sport my favorite back to school accessory. I rounded up a few of my top picks for backpacks for fall perfect for work, travel, and weekends.
My top two color choices for me would be black or burgundy. I think both will work well with a variety of outfits and have a professional look. This black one is super similar to my favorite travel backpack by Henri Bendel. It can be worn as both a backpack and crossbody. If you weren’t able to grab the Bendel one before they went out of business, you are in luck with this one! Brown bags are great for casual weekend looks. Both the brown and light pink bags will transition well into Spring and Summer too.
Are you a fan of the backpack handbag? Which number is your favorite?
SHOP THE BACKPACKS
White Cuffed Shorts
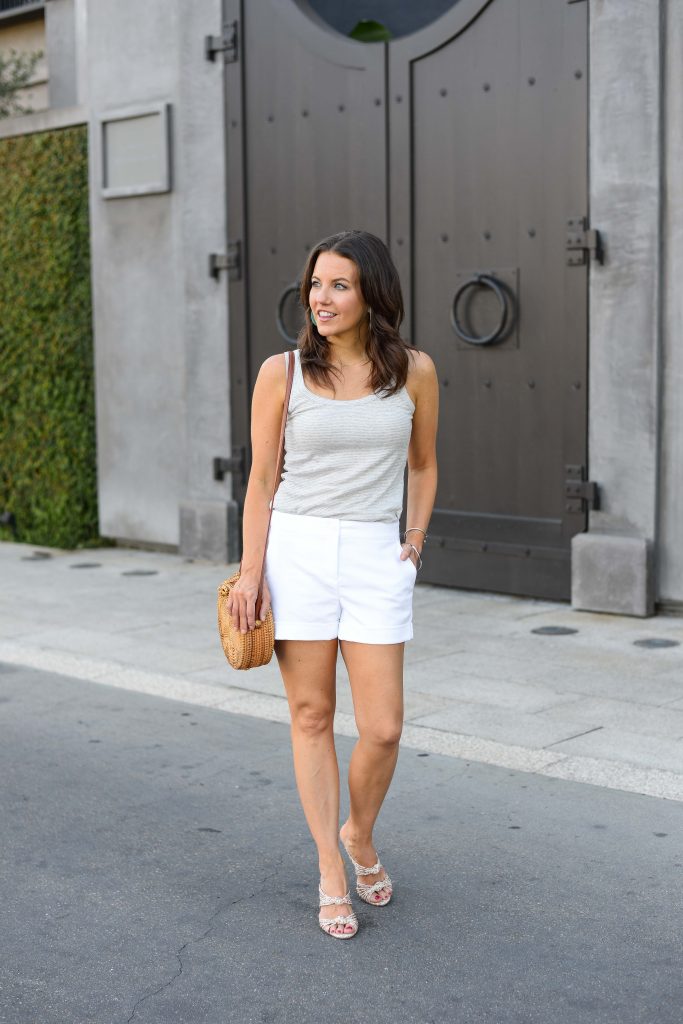
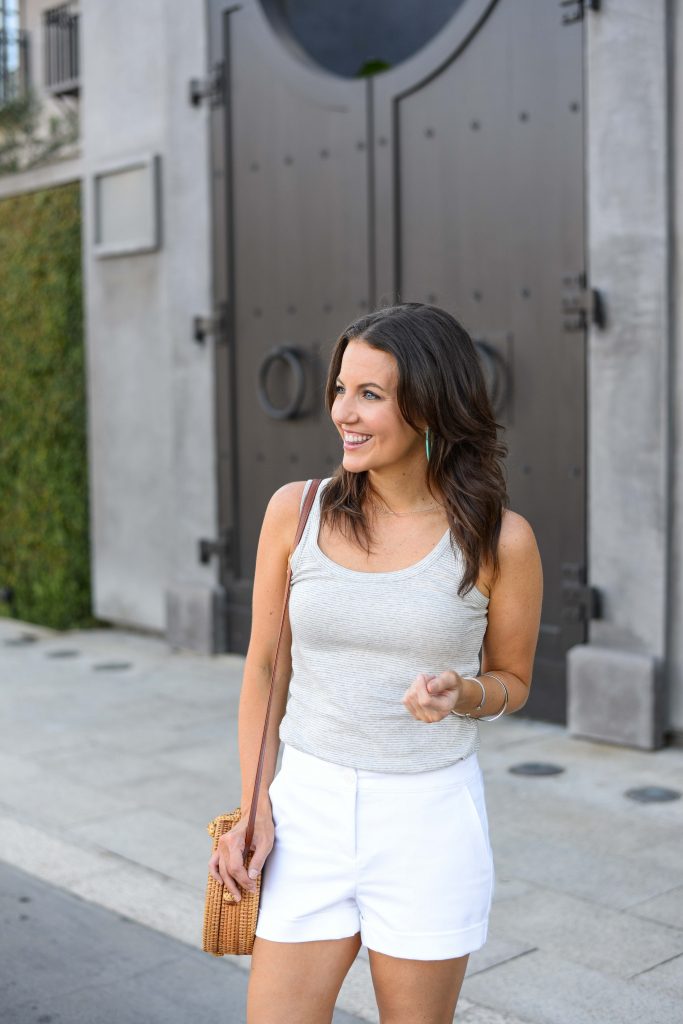
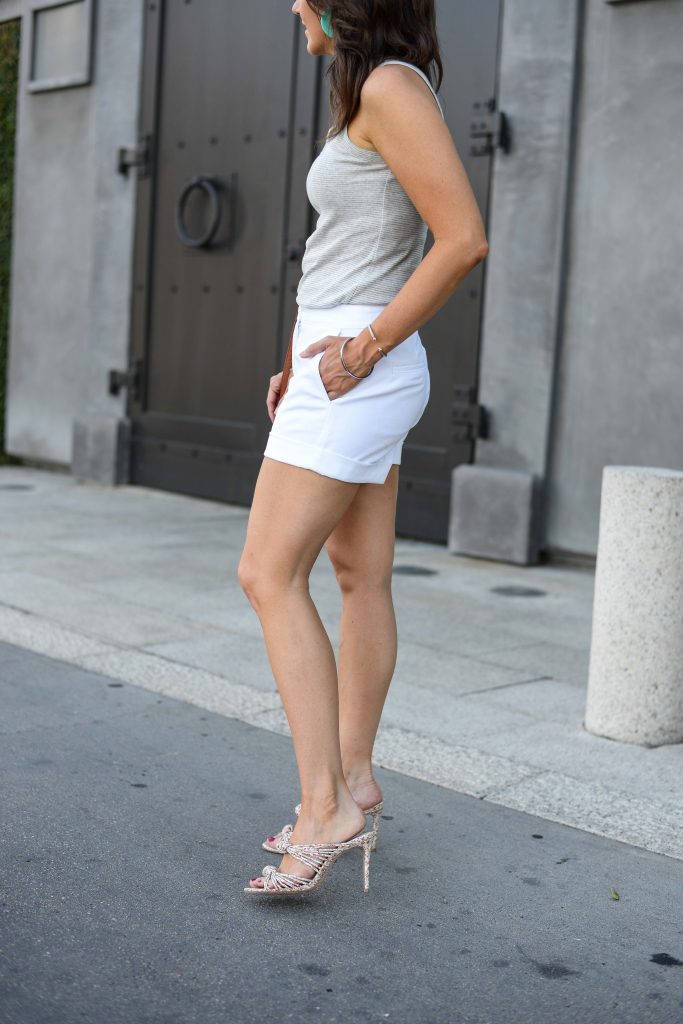
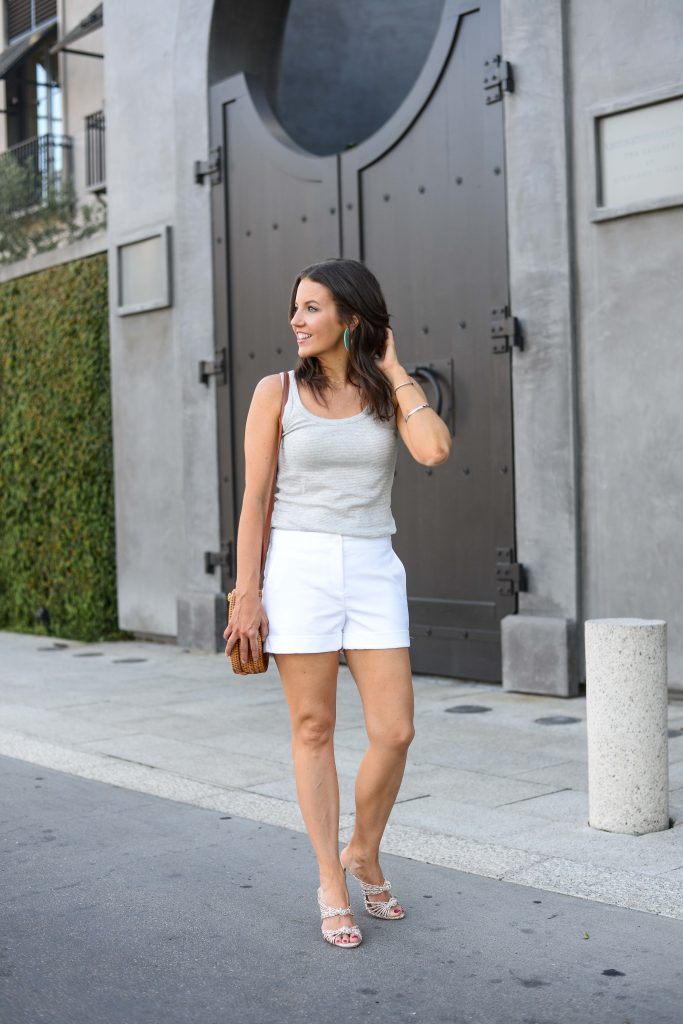
Happy Friday! Any fun plans this weekend? After a pretty busy last weekend, I am excited to have not too much on the schedule this weekend. A chance to play catch up and relax a little. We are hitting those 100 degree days in Houston right now, so my shorts and sundresses will be coming out to play for sure.
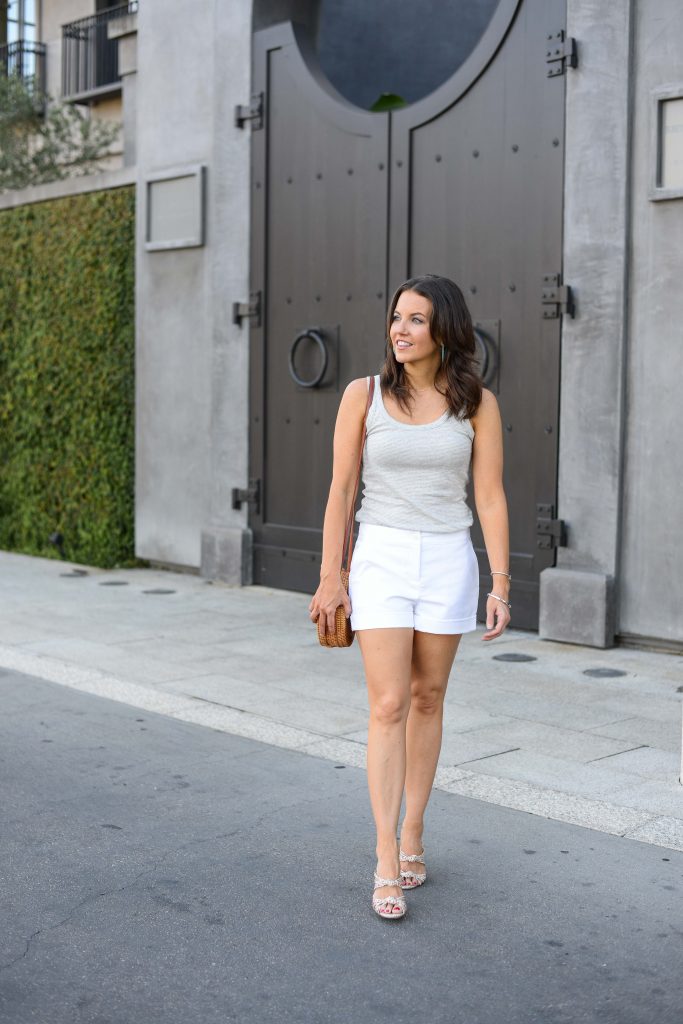
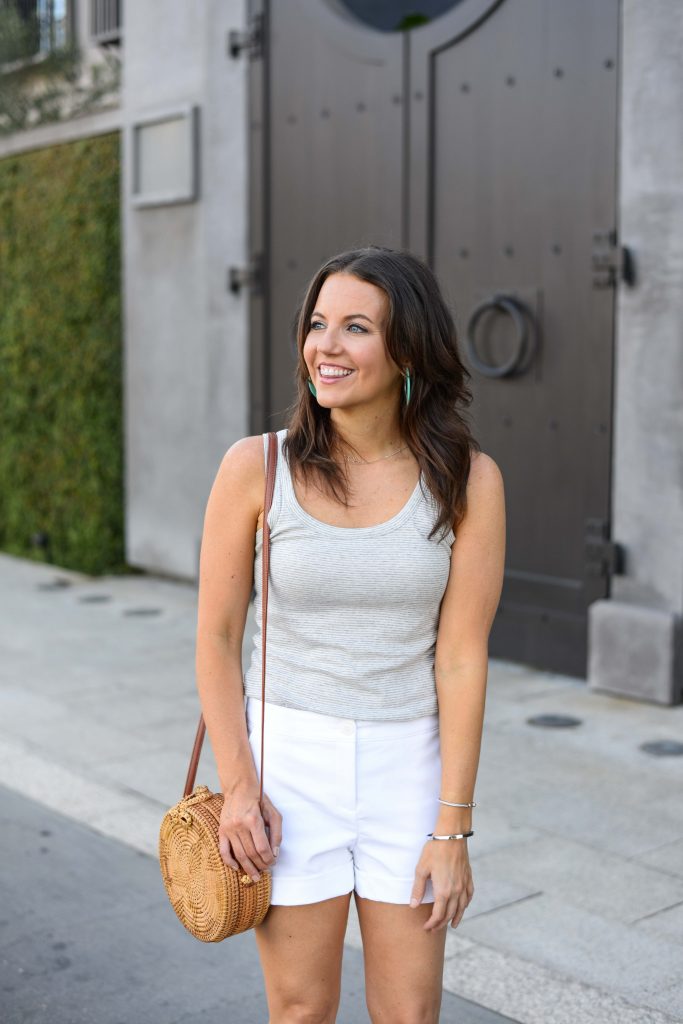
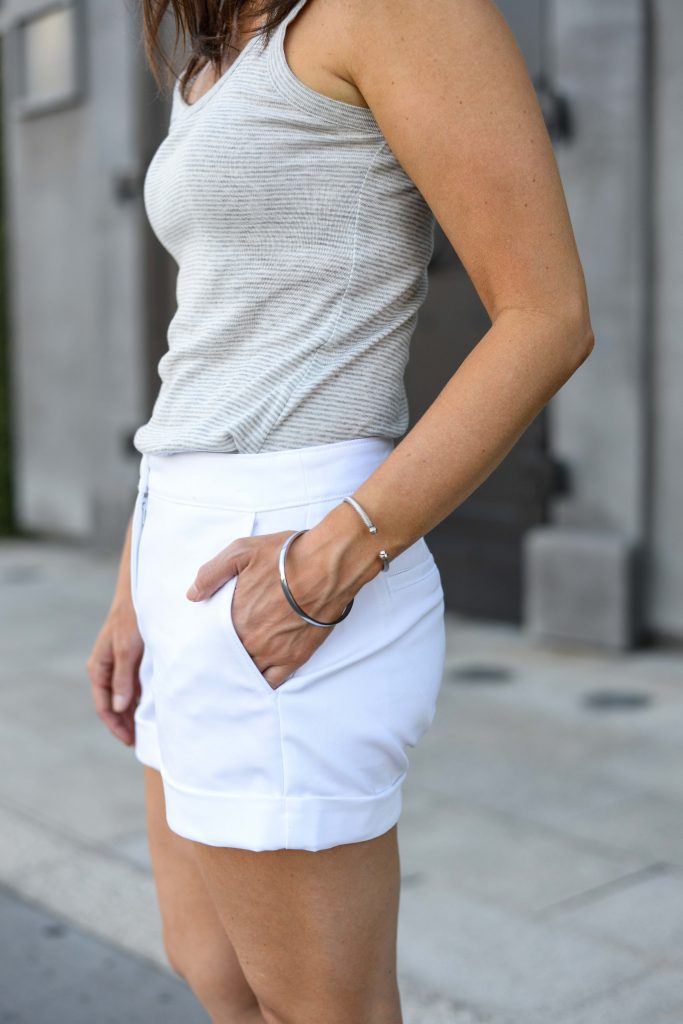
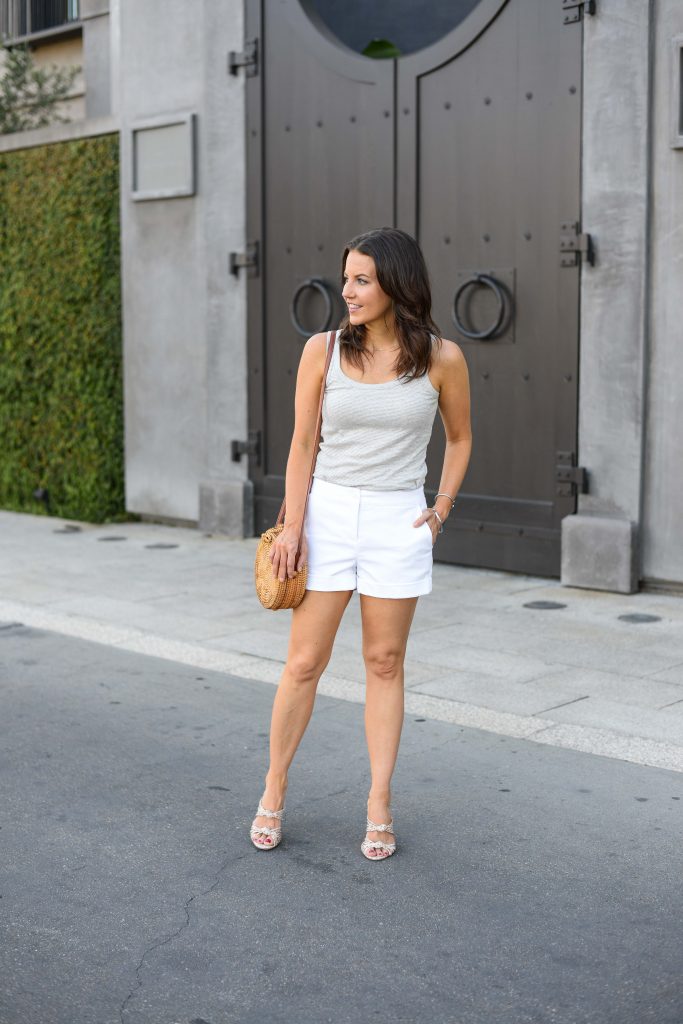
Denim and cotton shorts are a great way to beat the heat. I love wearing cotton shorts when I want a dressier look. These white cuffed shorts are a perfect replacement in many of the outfits I would normally wear white skinny jeans. They give a dressed up look, and I stay cool. They even made my basic gray striped tank look a little fancier. These are pretty comfy shorts too. A good thick material with a slight stretch for comfort. The fit on them is TTS, and I think the length is good on my 5’3 height. Also, ya’ll I have to mention that I found my floral strappy sandals for under $100!! Pretty good considering the retail price is double that!
I hope ya’ll have a fabulous weekend! Thanks for taking some time to stop by this week!
| OUTFIT DETAILS |
c/o Gray Striped Tank Top | White Shorts | Floral Mule Sandals | Circle Crossbody Bag | c/o Turquoise Statement Earrings | Silver Bangle | Silver Cuff Bracelet | c/o Silver Necklace
Photography By: LA Photography
