Monthly Archives: September 2016
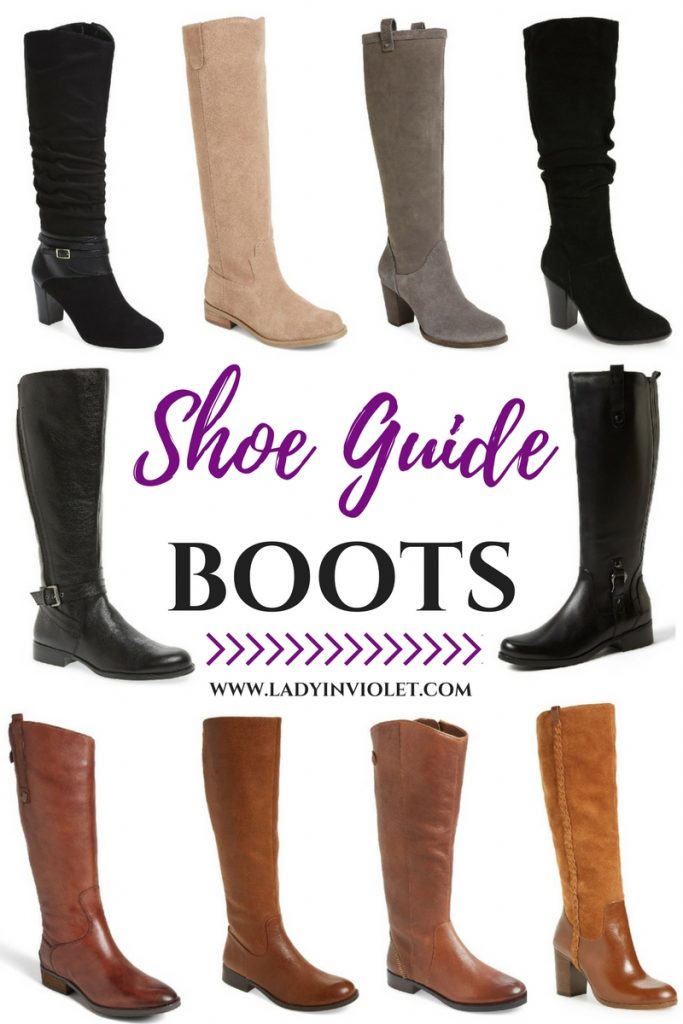
Shoe Guide: Boots under $200
| DETAILS |
TOP ROW: ONE | TWO | THREE **only pair over $200, but just barely | FOUR
MIDDLE ROW: ONE | TWO
BOTTOM ROW: ONE | TWO | THREE | FOUR
Our first taste of cool fall weather has officially landed here in Houston! I can’t think of a better time to share some of my favorite boots under 200! Full Disclaimer – One pair, the gray ones, are $225 but I really wanted to include a gray pair. These were my favorites. I’m really picky with these shoe guides, and I just couldn’t compromise on that one.
I am still on the fence about buying new boots this year. You may be seeing a whole lot of similar this winter. I am currently in the market for a suede black boot with a heel that I can wear to work with skirts or with leather leggings on weekends. I really like this pair, and they are only $105 which for boots is pretty darn good! So if I decide to invest in a pair, these will be at the top of my wish list.
I think a good boot collection includes both a black and brown flat riding boot, a black suede heeled boot, and a brown leather heeled boot. A few extras would be a fun light tan or gray suede pair, and a fun over the knee boot. Good quality boots are expensive, and I typically buy one pair each fall. My current black suede heeled boots are starting to look pretty worn out, so they are up for replacement for me this year.
I hope ya’ll have a great weekend! I have a busy one celebrating my parents’ 40th Wedding Anniversary! It should be a fun family filled weekend. Thanks for taking the time to stop by. I always appreciate it!
SHOP THE BOOTS
How to Wear Bright Colors in Fall
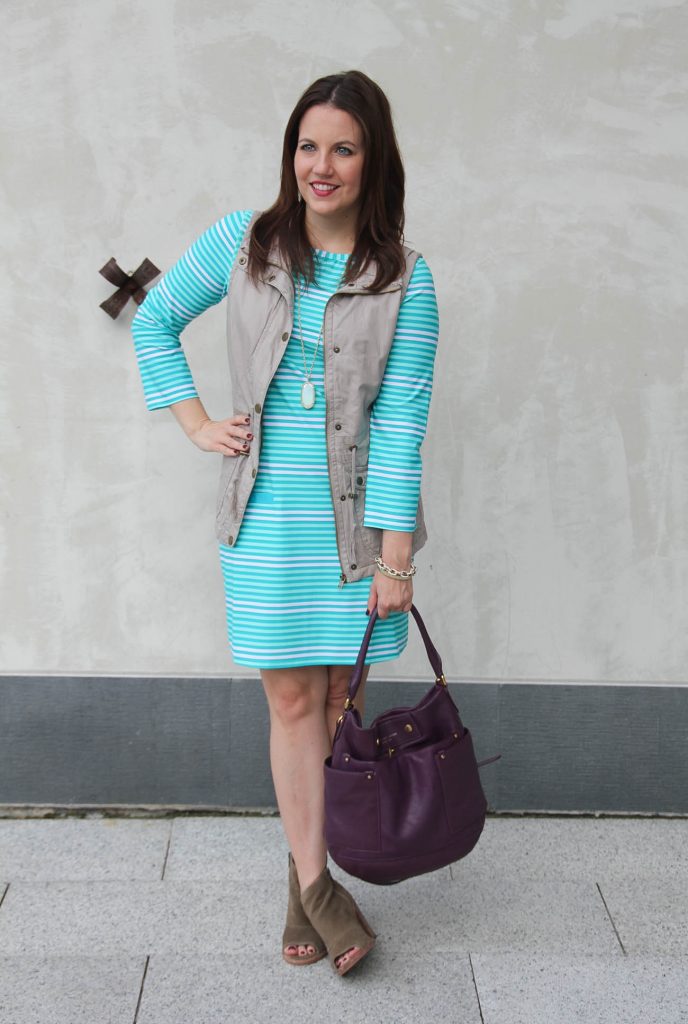
| DETAILS |
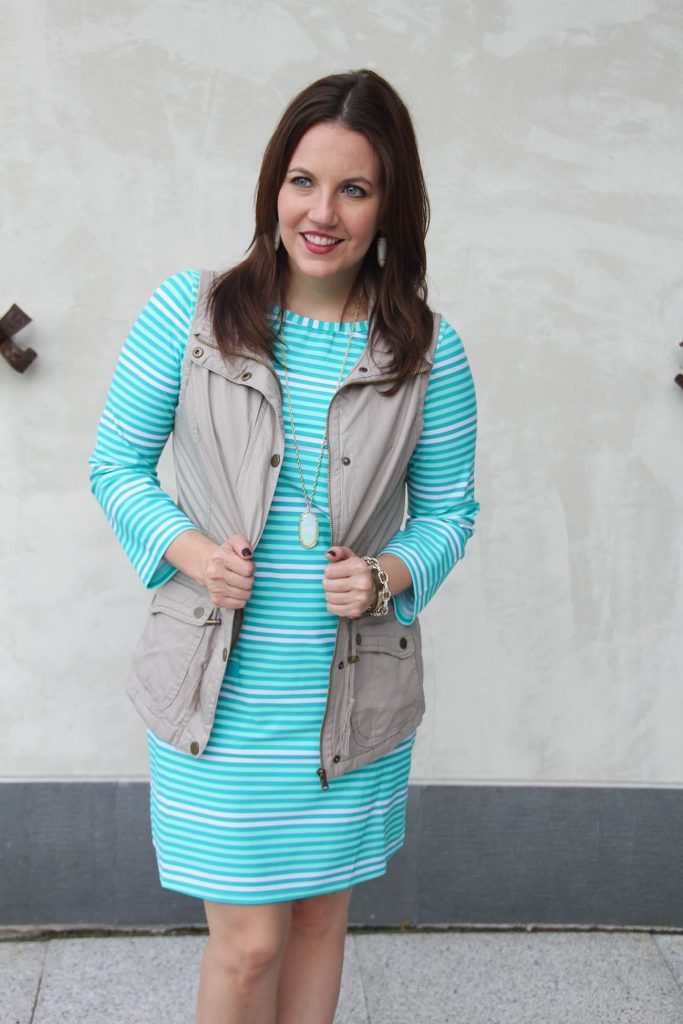
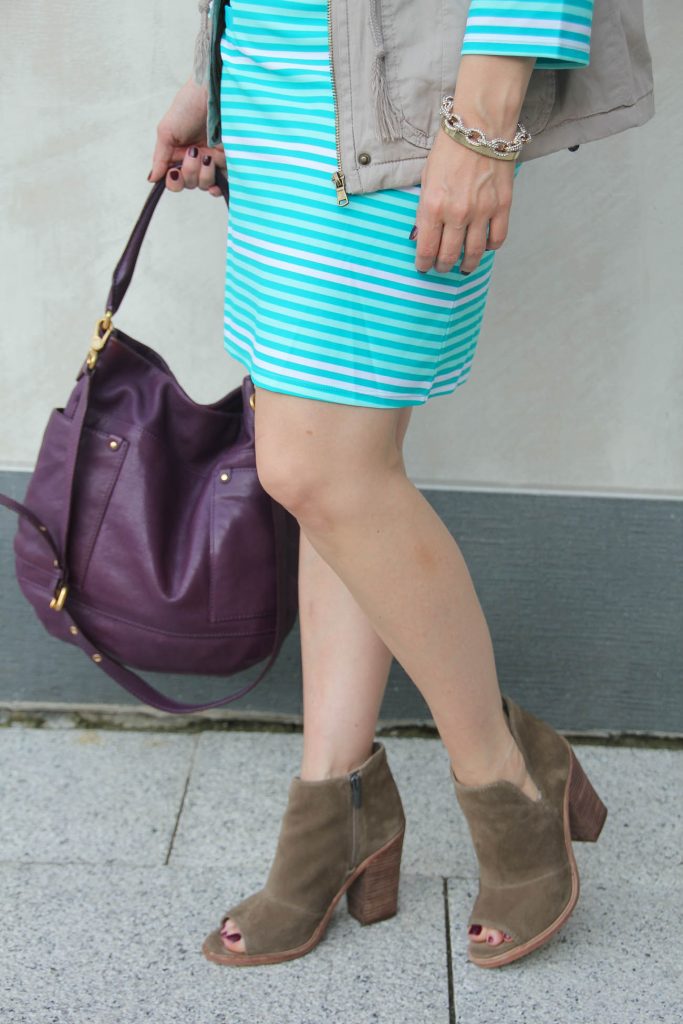
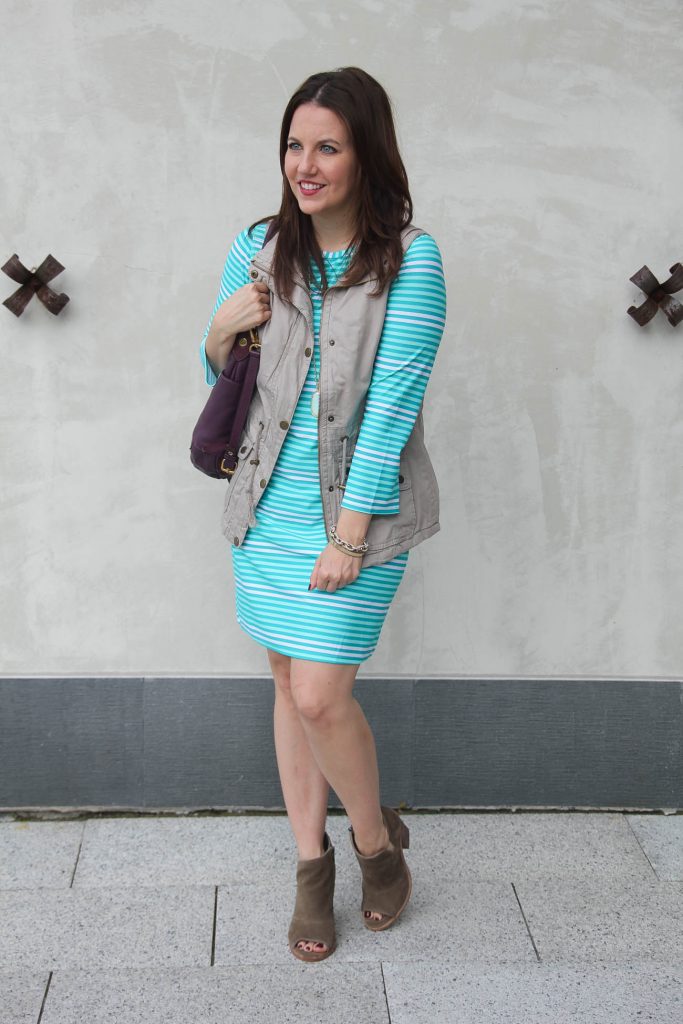
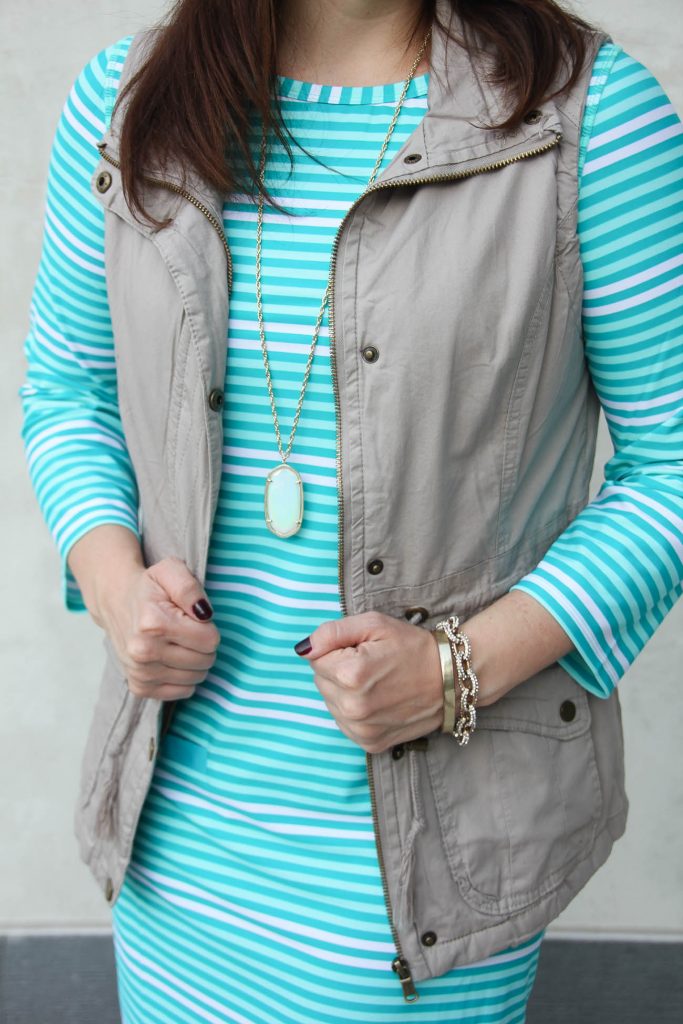
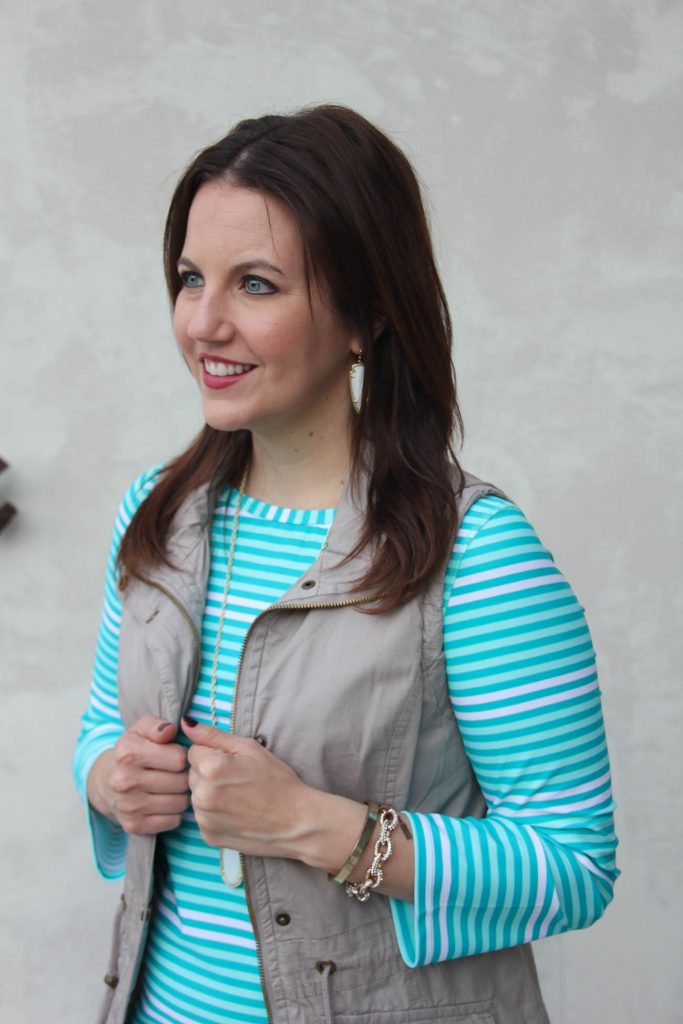
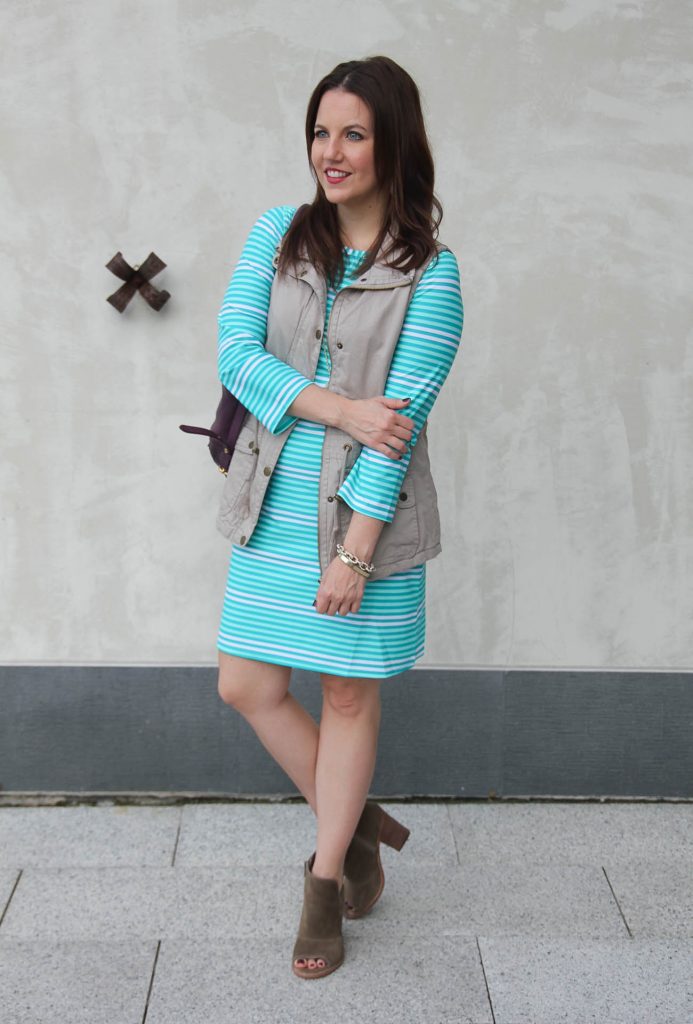
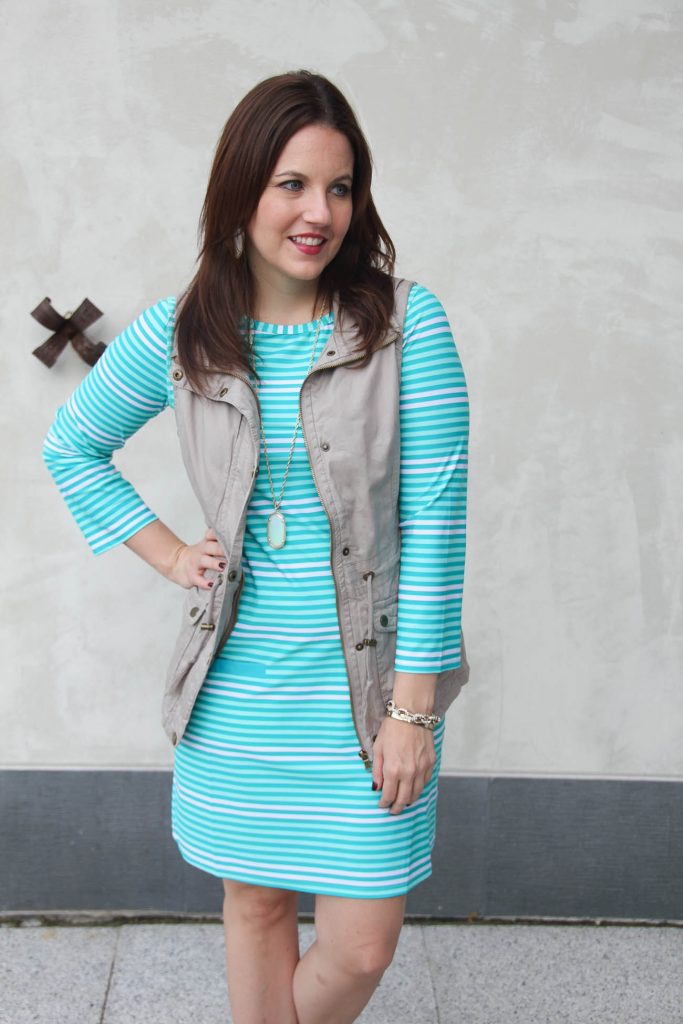
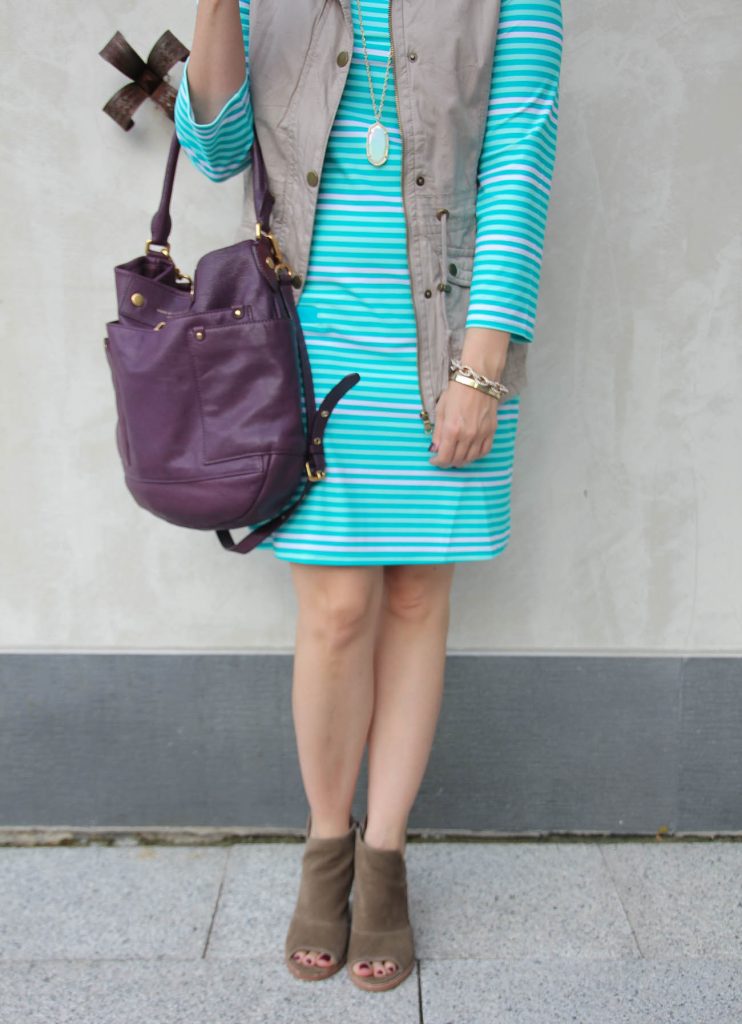
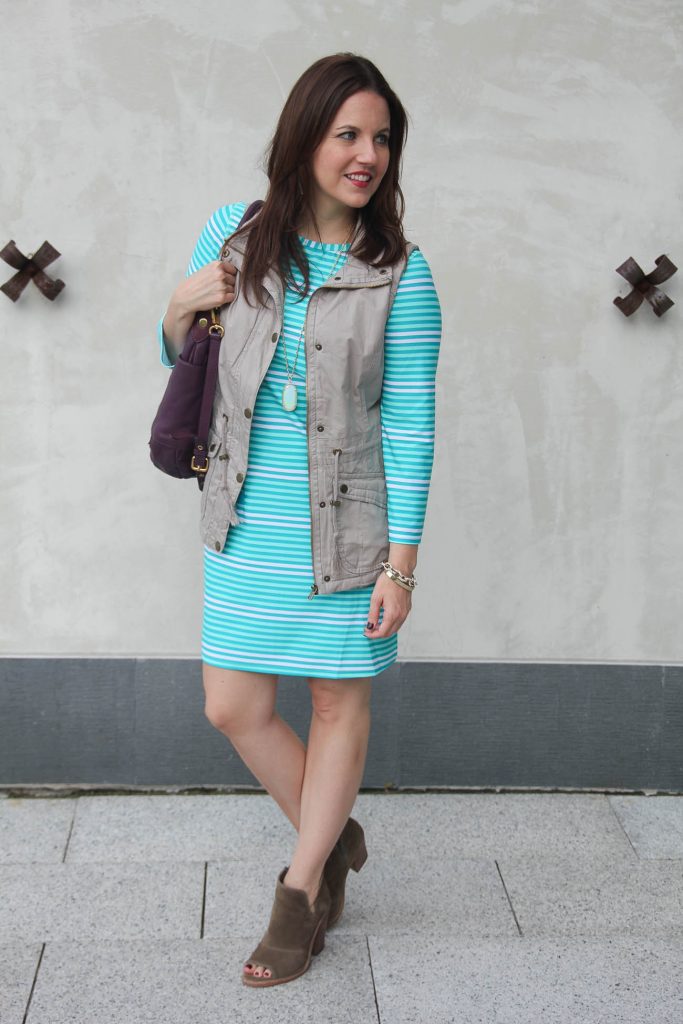
CABANALIFE c/o Cabana Shift Dress | YMI c/o Utility Vest | VINCE CAMUTO Katleen Peep Toe Booties | MARC BY MARC JACOBS Preppy Hobo/old (similar) | KENDRA SCOTT c/o Rae Necklace, Skylar Earrings | BAUBLEBAR Slim Hinge Bangle, Pave Links Bracelet | Lips: MAC Craving | Nails: ESSIE Sole Mate
It’s almost October which in Texas means it’s time to go back outside. 🙂 I can’t wait to start enjoying brunch and happy hours outside with friends. A glass of vino, a patio, maybe a little live music – perfection!
I was really excited to find Cabanalife and their dresses which provide sun protection. I never thought about my clothing as sun protection, but theirs has UPF 50 which is the highest protection rating for fabric. They have the cutest little shift dresses just in time for our outdoor season. Houston has so many outdoor events and festivals in October because the weather is usually in the 70s, and I never think to put on sunscreen. I lather it on for the pool or beach, but outdoor wine sipping – not so much. It’s kind of cool to think this cute little dress is helping out.
Their collection has tons of bright colors, so I also wanted to share a few of my favorite ways to wear bright colors in the fall. Don’t think you have to put away all your spring and summer brights just because of fall. I wear many of my cute summer dresses well into October! My top tip is to add a cute pair of ankle boots. These peep toe booties are a great transitional piece and work well with the warm Texas fall.
A second tip is to pair with neutral or fall colors. This khaki color really helps soften the bright turquoise up a bit. You could also pair this turquoise with a camel or cognac brown to really transition straight into fall. I also like to add in complimentary fall colors like this dark purple purse.
Last, layer on lightweight outerwear. Utility vests are a hot fall item, and they pair perfectly with shift dresses. I love how they add a little bit of dimension and shape to the look. If your weather is a little cooler, this dress would also pair perfectly with a denim or brown leather jacket.
So keep those bright colors out, and try some of these tips to see if they work for you. Thanks for stopping by today!!
SHOP THE LOOK
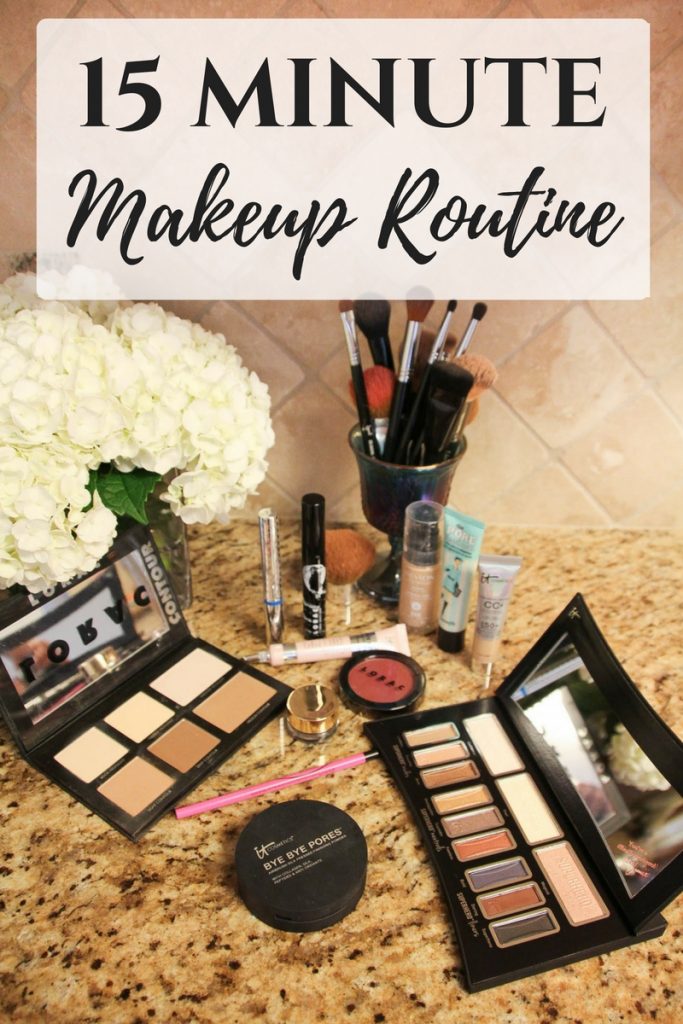
Everyday Makeup Routine for Fall
| DETAILS |
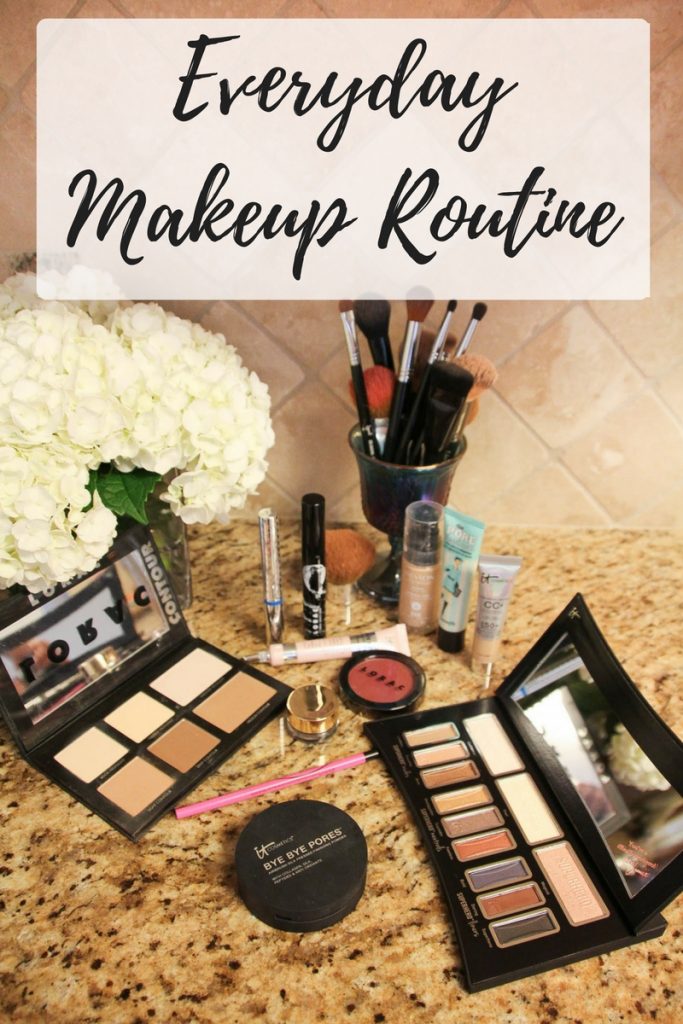
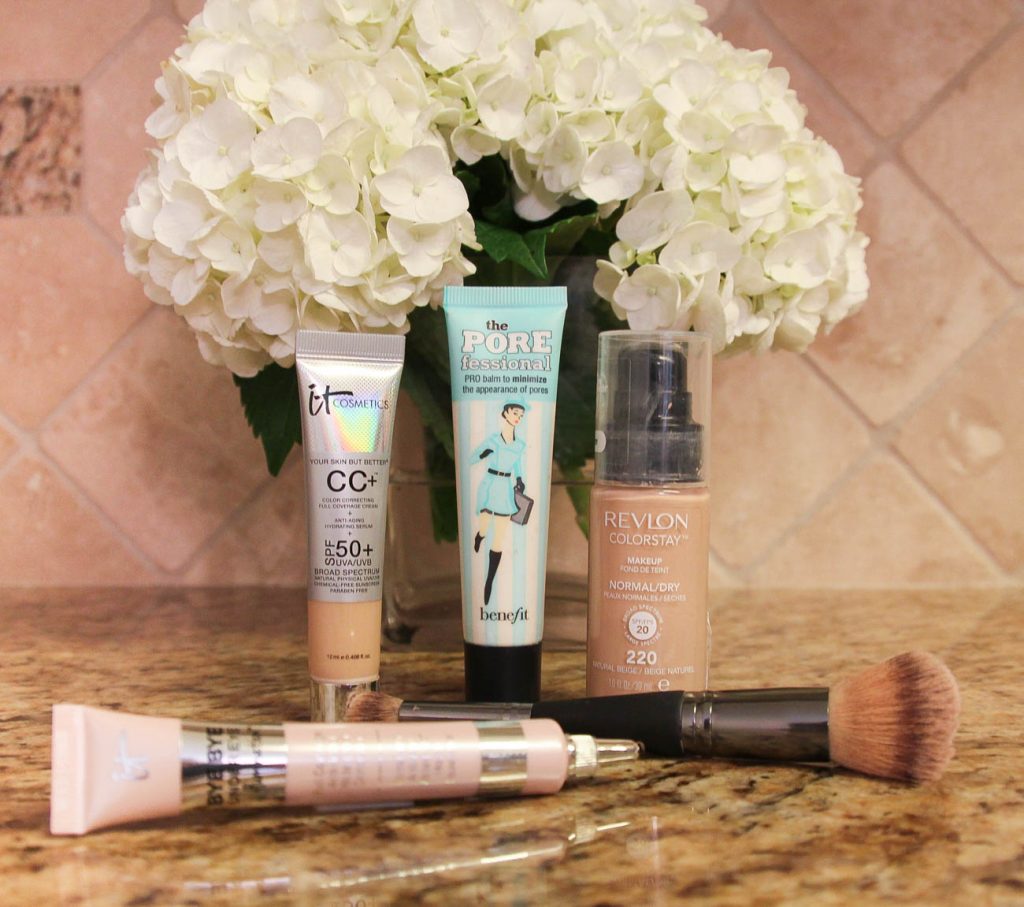
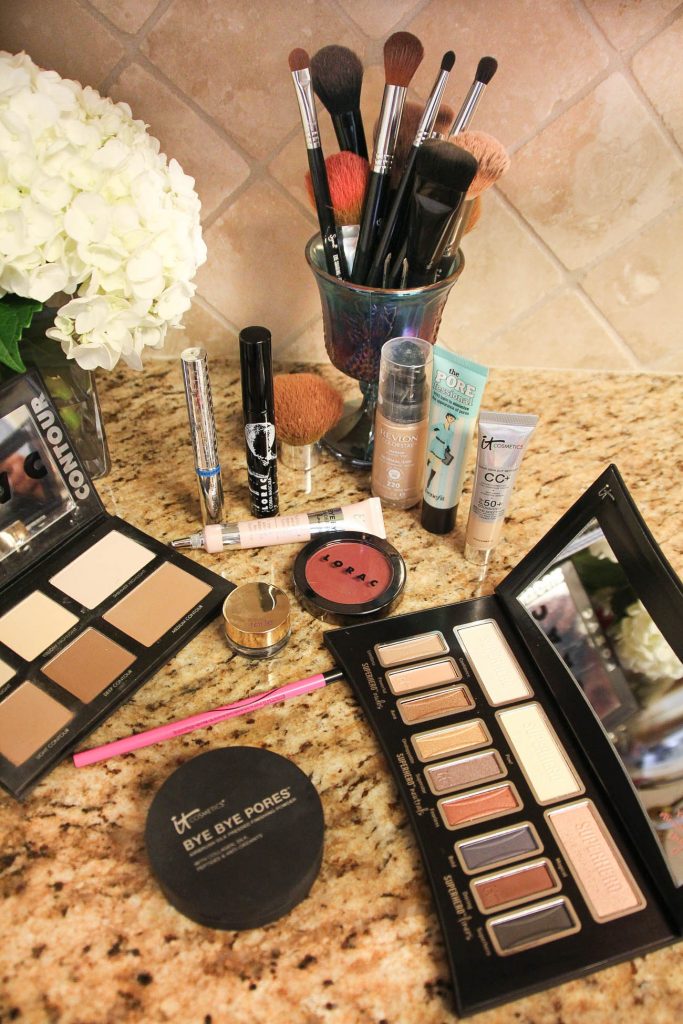
Face: REVLON Foundation (I use shade 220) | IT COSMETICS c/o CC+ Foundation (I use Light) | BENEFIT Porefessional Primer | IT COSMETICS c/o Bye Bye Under Eye Concealer (I use Light & Medium)
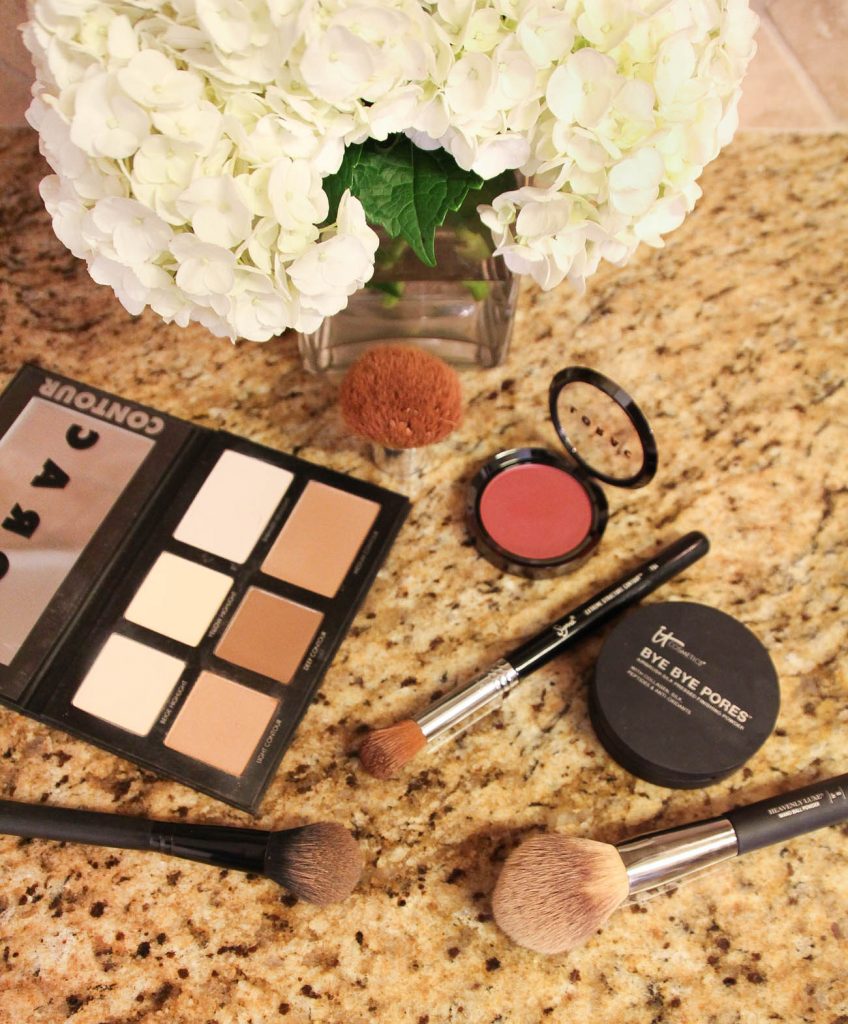
Contouring: LORAC c/o Pro Palette | LORAC c/o Blush in Infrared (The color on the site looks a little darker to me.) | IT COSMETICS c/o Bye Bye Pores Finishing Powder
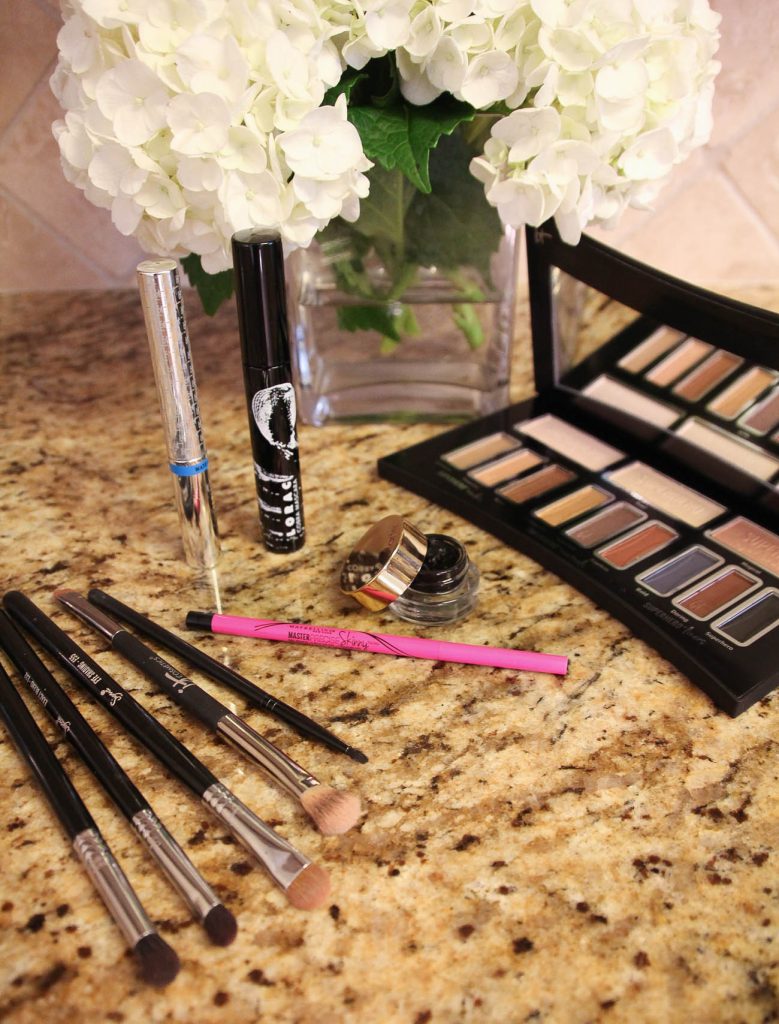
Eyes: IT COSMETICS c/o Superhero Palette | IT COSMETICS c/o Tightline Mascara | LORAC c/o Cobra Mascara | TARTE Eyeliner Pot | MAYBELINNE Skinny Gel Pencil
My current everyday makeup routine consists of a few newbies and a few old favorites. For fall and winter, I do make a few small adjustments in colors. I mainly adjust my blush and lipsticks to colors to more of a light burgundy/ mauve color and less of a bright summery pink. The same for eyes, I stick to more of the fall colors like copper, beige, neutral pinks. I figured the easiest way to share my routine was to break it down step by step, so let’s get going!
1) I only use primer on days when I need my makeup to last for both work and an event. I’m not a fan of too many layers of product on my skin. I apply this one primarily on my forehead, cheeks, and chin. Primer helps to smooth your skin which helps foundation go on smoother and not sink into pores and fine lines so quickly. Don’t forget to let your primer soak in for a minute before you apply foundation.
2) Next up, EYES! I like to do my eye shadow before my foundation. This helps with catching any excess that falls under the eye or to the sides. I typically go with a pretty neutral eye, because I wear lots of eyeliner. I start with the middle foundation color POW all over, followed by one of the two lightest shadow shades (Limitless or Powerful) on the inside, then Aura on the outer corner. I blend it all together, and follow it up with a light dusting of the 3rd eye foundation (Magical) on the middle of my eyelid where the two colors are mixing.
3) I follow up with foundation, starting at the center of my face and blending outward. I love both these foundations, and I think both are pretty similar. They both provide great coverage, last all day, and work well without the use of a primer. The Revlon is the more affordable option of the two. The It Cosmetics one is pricier, but it is also thicker so you use half as much. The It Cosmetics one does cover breakouts better, and they stay covered almost all day!
4) I love this little concealer for the under eye and blemishes. I apply after my foundation and typically use a beauty blender to blend it in. This is one item I don’t use everyday, just when needed.
5) Back to eyes, as I apply my lower eyeliner. I like to apply before I contour because I think the highlight powders also help keep my eyeliner from smudging. This eyeliner is one of my favorite drugstore buys lately. I picked it up before TBSCon because I was out. I love the thin line of this one, and it doesn’t smudge too bad. I wore it during my 3 hour photoshoot while sweating from the hot humidity. I was really impressed with how it held up. Most eyeliners would be gone or running down my face.
6) My contour palette was upgraded to one with more color options. I use the light contour color for all my face framing and cheekbones. My favorite thing about this palette is the highlight color options. I use the yellow under my eyes, and the light highlight on my forehead, nose and chin. Last, I apply the shimmer (a little goes a LONG way) on the top of my cheeks right above where I apply blush. (BTW – This palette comes with a brush too!)
7) I fill in the apples of my cheeks with this blush, and then use my kabuki brush to blend everything together. This blush is the perfect fall shade, and it blends really well. Depending on how much I blended, I occasionally reapply a little of the light highlight shade.
8) Next up, I apply a finishing powder to help set my makeup and give an airbrushed finish.
9) My routine comes to an end back at my eyes. I love eyeliner pots, and I have been using this one for several months and really like it. The line does not smudge or transfer to my crease throughout the day. It’s not as solid as my previous one, so it took a little getting use to. It also take a few seconds to dry.
10) Last step, mascara. I ALWAYS start with my tightline. This is one of my favorite beauty products. I use this as both a mascara and a mascara primer. I have been using it for over a year and love how healthy it makes my eyelashes. Before this product, I used to skip mascara some days because they would get so damaged. This product completely changed that for me! Using with a mascara, only improves the look of your lashes in both volume and length. I just started using this cobra mascara a few weeks ago. I love the cobra design of the brush. The design really helps to get all my lashes including my trouble spot, the inner eyelashes. I use both sides of the brush to reach all my lashes and then to help really enhance them.
My everyday makeup routine takes me about 15 minutes. It seems longer when I write it all out. 🙂 I’m always making changes and adjustments to products and steps. Finding a routine, sometimes is all about trial and error. For example, I learned to apply my finishing powder before my gel eyeliner so the powder wouldn’t settle in a still wet liner line.
If you want to learn about the skincare routine I use before I start my makeup, you can read more about that HERE. Also, if you are interested in what brushes I use, I talked all about that HERE. Thanks for swinging by and ya’ll have a great weekend!


