Connect


Author Archives: Karen
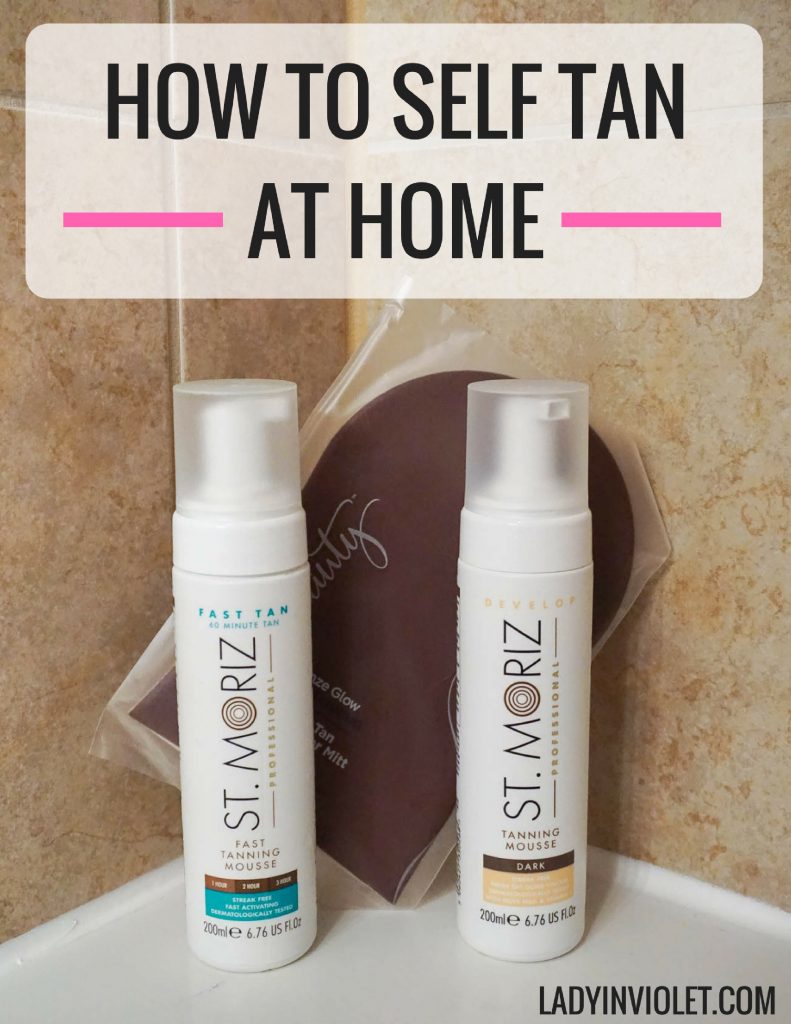
How to Self Tan at Home

I have always loved a good tan. In college, I could spend hours by the pool building the perfect tan every summer. These days I opt for a bit of a safer and less time consuming option with self tanners. I have been experimented with an array of self tanning methods. I tried the misting booths when they first came out, but I came out looking a little orangey and the tan faded weird. I hear they are much better now, but I haven’t tried them recently. I also tried the airbrushing method. You know stand naked in front of someone while they airbrush the tan on you. I loved this and it looked natural, but I found the tan to be very sensitive and expensive at $40-50 per tan. You had to be so careful in the shower or you could mess up the tan with your loofah.
A couple years ago, a friend introduced me to St. Moriz and it was a game changer. I have tried a couple other brands, but I always come back to St. Moriz for several reasons. One – it’s an affordable option, two- it has a very natural look, and three – no streaking or weird fading issues. Side Note- If you are at the end of the bottle, you may experience a spotty application. I recommend tossing the bottle and starting with a new one immediately.
I wear this self tanner in all my blog photos, so check around on my last post to see how it looks on me. I usually tan the night before I shoot, so my tan is fresh. I use the dark shade. I originally started with Medium, but I found it’s pretty light. Since I have been using this product for so long, I wanted to share some of my tips and steps on how to self tan at home based on what I have learned throughout the years of using this product.
Let’s start with the steps to self tan at home. The whole process is actually pretty quick and takes me about 15 minutes.
STEP ONE – Exfoliate – I use an exfoliating body wash in the shower to scrub off dry skin. Give a little extra attention to your elbows, knees, and heels. After my shower, I don’t apply anything on my skin and let it dry before moving on to the next step.
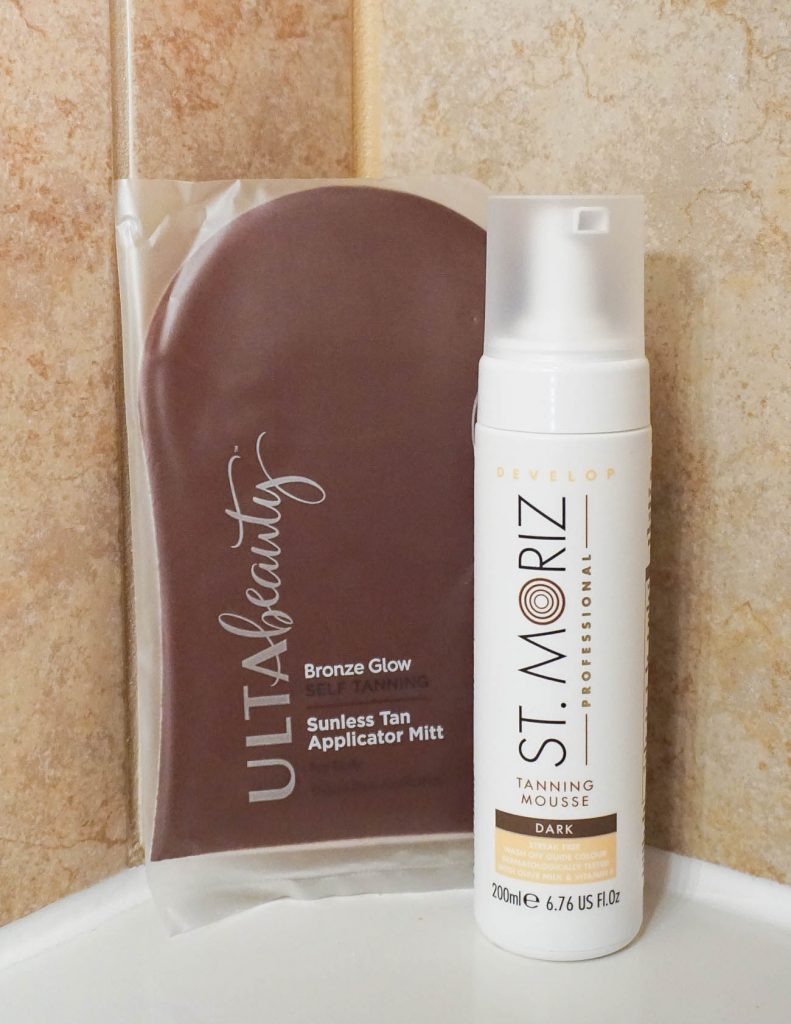
STEP TWO – Tan – I lay down a dark towel on the floor to prevent staining the floor or a bath mat. I use the large sunless tanning mitt to apply the mouse over my entire body. I start at my legs and move up. I do my face last and use the mini face mitt. Make sure to apply all the way into your hairline. I apply 1-2 pumps of the mousse on the mitt, swipe the area, and then smooth with circular motions. You immediately start seeing the guide color so you can see where you applied. I like these mitts because the color does not bleed through them and over stain your hands. I rinse them and reuse a few times before tossing them out.
STEP THREE – Wait – I mainly use the DEVELOP mousse which I find needs 8 hours to give me the color I want. I apply the mousse at night and then head to bed. You can’t get your tan wet while it sets, and sleeping is the best way to kill the 8 hour wait. If you are short on time, I recommend the FAST TAN mousse. I usually leave it on for 3 hours to achieve my normal dark tan results. I once fell asleep on accident and left it on for about 5 or 6 hours and it had a slightly orange tone.
STEP FOUR – Shower Off – Once your tan is set, head to the shower to rinse off the excess color. You will be much tanner before the shower. I always feel like I look dirty, and then everything looks perfect and even post shower. I rinse until the water runs clear and then pat dry.
STEP FIVE – Enjoy!
I typically apply my tan once a week. If I want a consistently dark tan, I will apply every 4 days. The tan fades very naturally for me, no spotting or splotchy issues.
With self tanning, you will come to learn a few thing through trial and error. Here are a few of my top tips for the perfect tan.
1 – Do not shave before you tan. I prefer to shave after I tan, sometimes right after I rinse off. I will also shave the day before I tan. If you shave right before, the color may set in the open hair follicles.
2 – Do not apply deodorant before you tan. Your skin needs to be 100% clean. Applying deodorant could affect the color of your tan at your underarms.
3 – You will sweat off the color. If you have a sweat heavy workout like spin class, do not tan the night before. Every time you wipe the sweat off your face, the tan will wipe off too. I have never had a major issue with clothes staining, but I did wear a white dress outdoors for several hours in 100 degree weather. I sweat a lot and the color came off at the underarm area. The color did wash out of the dress.
4 – Do not apply mousse directly to your hands and feet. These are the hardest parts to tan!!! I usually use the mouse built up in the mitt and wipe over my hands and feet for the most natural not crazy dark look. This one you just have to trial and error to see where you need to be more mindful. I tend to miss the inside arches of my feet and my fingers. I lightly rinse my hands when I’m done. I use a towel to wipe the insides of my hands and inner wrists where I tend to get accidental color.
5 – Do not get wet. Be careful to not splash water on you as the splashed area may streak.
6 – While I’m sitting or sleeping in my self tanner, I wear dark loose fitting clothing. I don’t want anything tight to rub off the color. Also, I have never had the guide color come off on my sheets.
7 – Post tan, keep your skin hydrated with lotion to lengthen the life of your tan.
8 – Nail Polish Remover will remove your tan. If you are wanting to change your color take your nail polish off before your tan to prevent some awkward looking toes and fingers.
9- GO SLOW! Do not rush applying your tanner. Going to fast could mean missing a spot. Go slow, pay attention, and make sure you hit every area.
I feel like I could go on and on about all my trial and error, but those are the BIG ones I have to pass on. Ya’ll I cannot say enough great things about this self tanner. If you are like me and love being tan, but do not have the time to sit in the sun all day, definitely consider the self tanning option. If you have any questions, leave me a comment and I will answer them!
| TANNING PRODUCTS |
St. Moriz Develop Tanning Mousse | St. Moriz Fast Tan Tanning Mousse | Ulta Tanning Mit | Ulta Face Tanning Mit | St. Ives Exfoliating Body Wash
SHOP THE PRODUCTS


Casual Spring Style: Floral Embroidered Tee

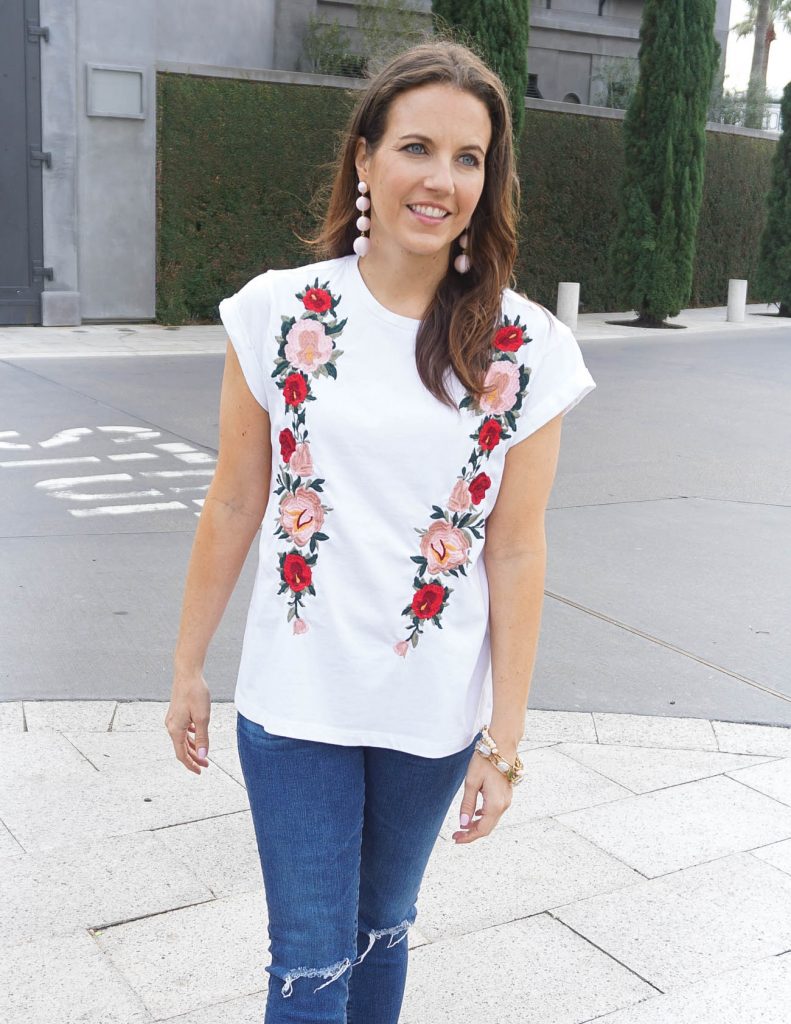
I always love when Spring fashion starts hitting the stores, and I can start adding all the beautiful colors and floral prints into my wardrobe. I feel like I am not the only one loving the Spring fashion right now. Most of the items I’ve been purchasing lately have been selling out before I have the chance to share them on the blog. It always bums me out a little to share such a cute top when you can’t shop it yourself. Keep your eyes peeled to Instagram and Instagram stories, and I will try to share when some of these tops come back in stock! I feel like this happens every March, and the items usually get restocked quickly.
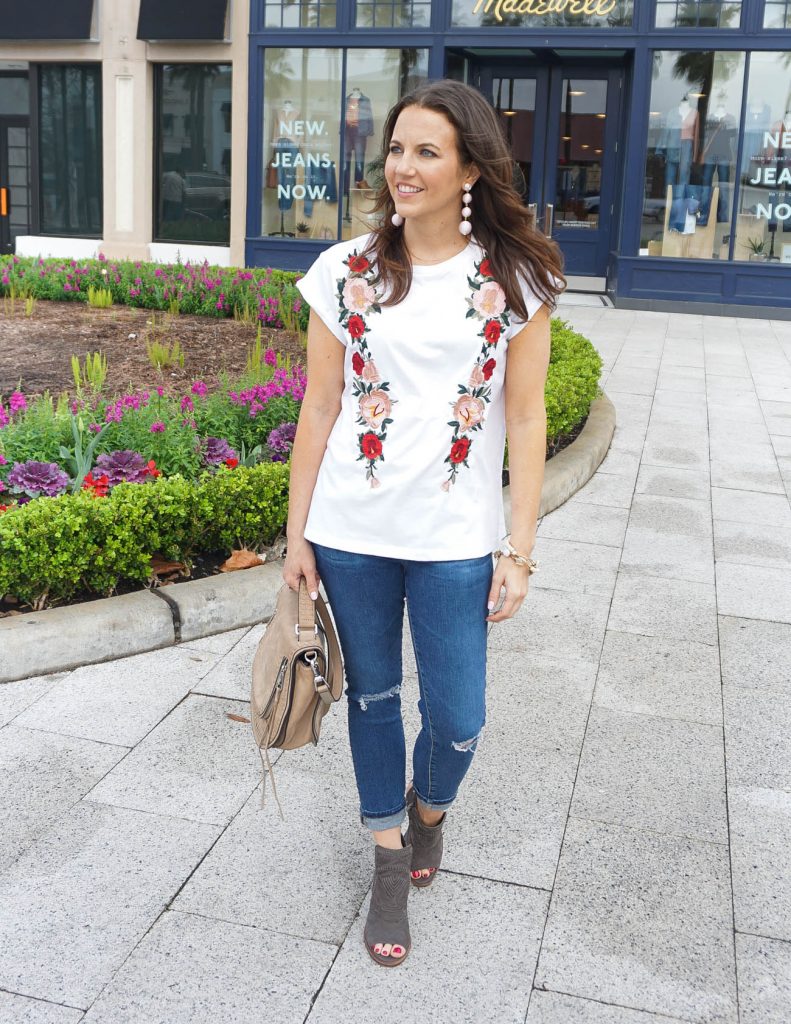
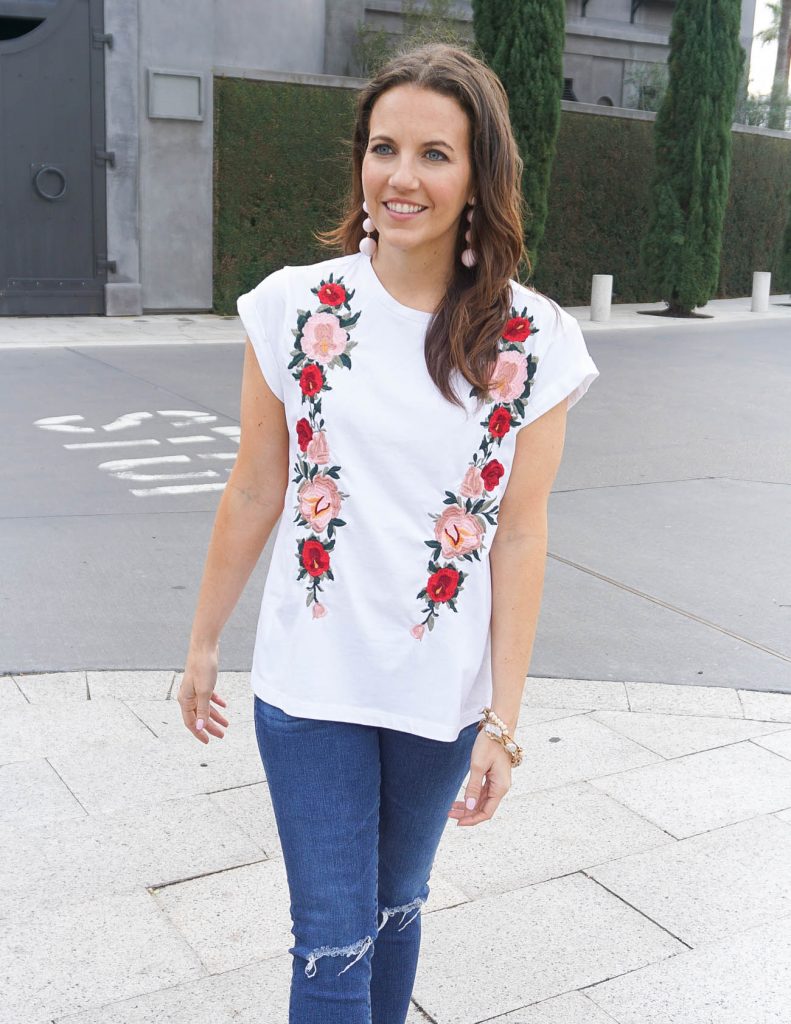
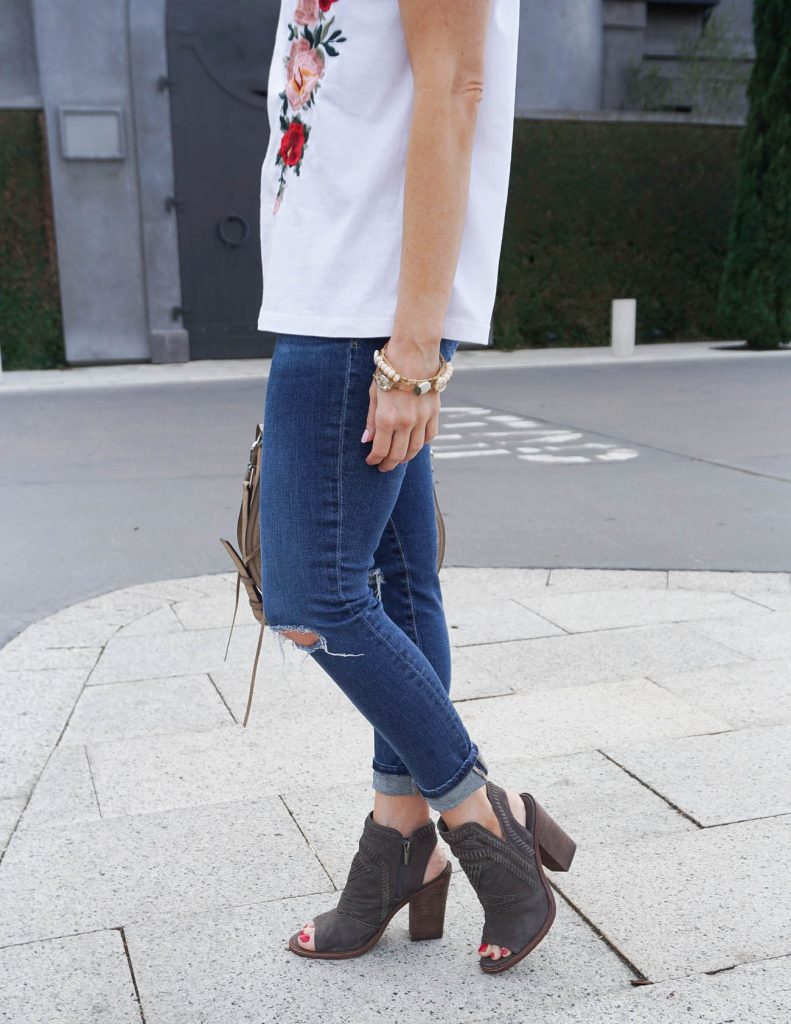
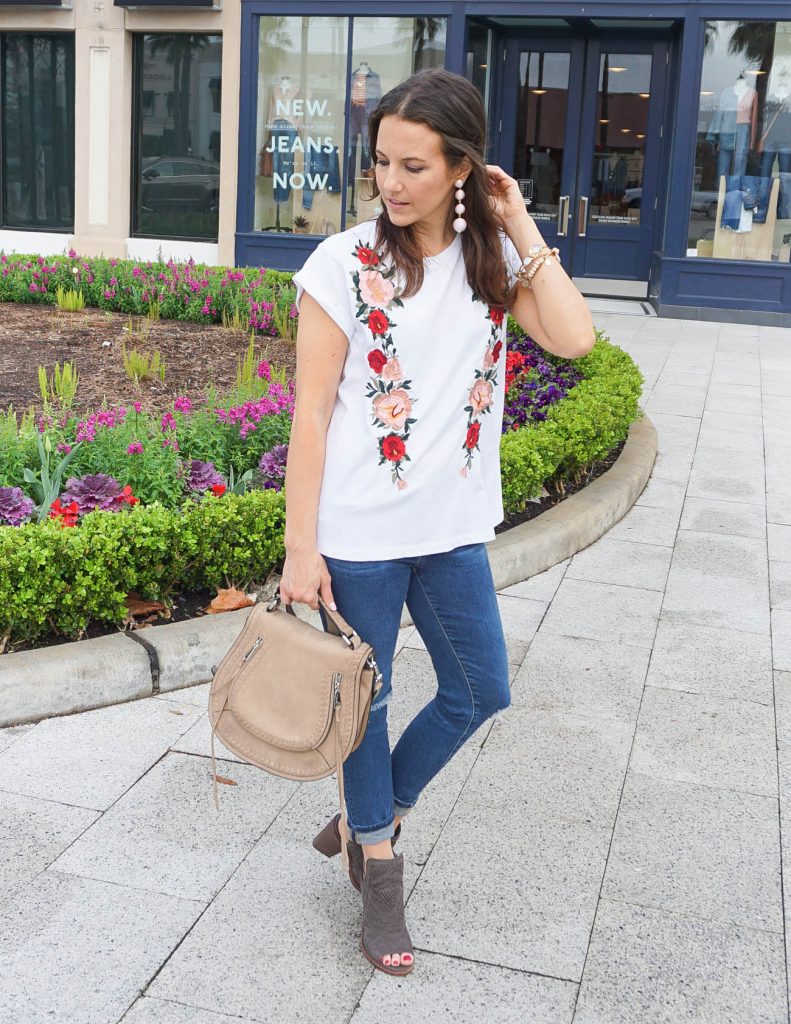
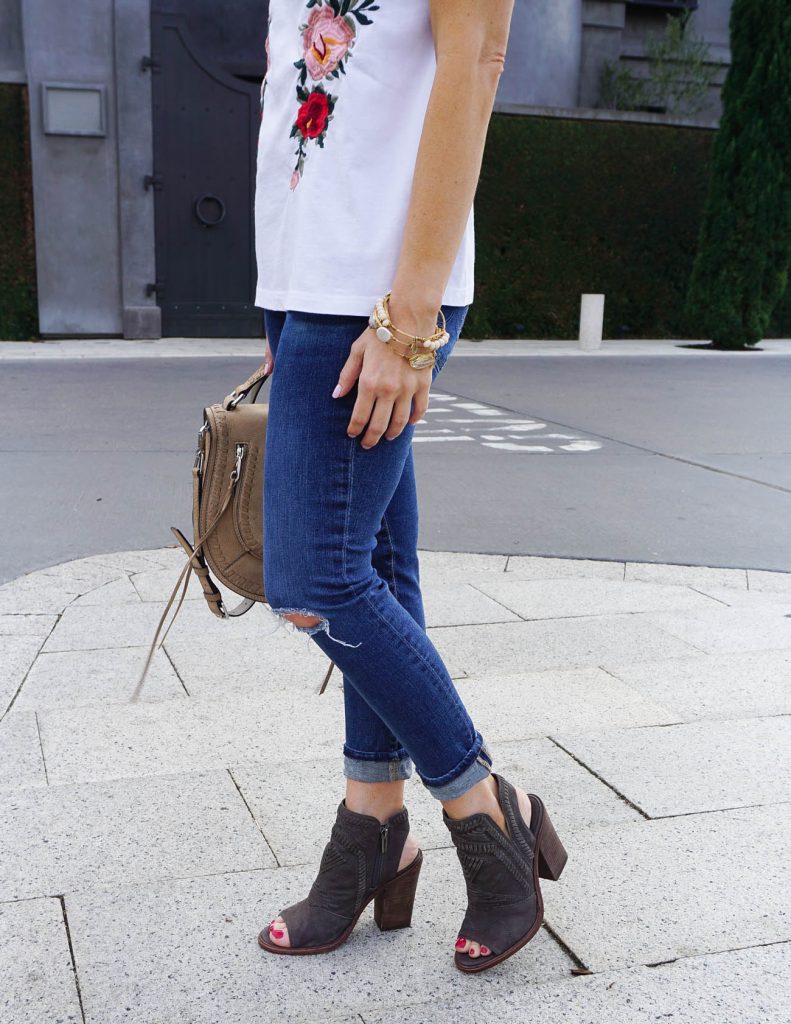
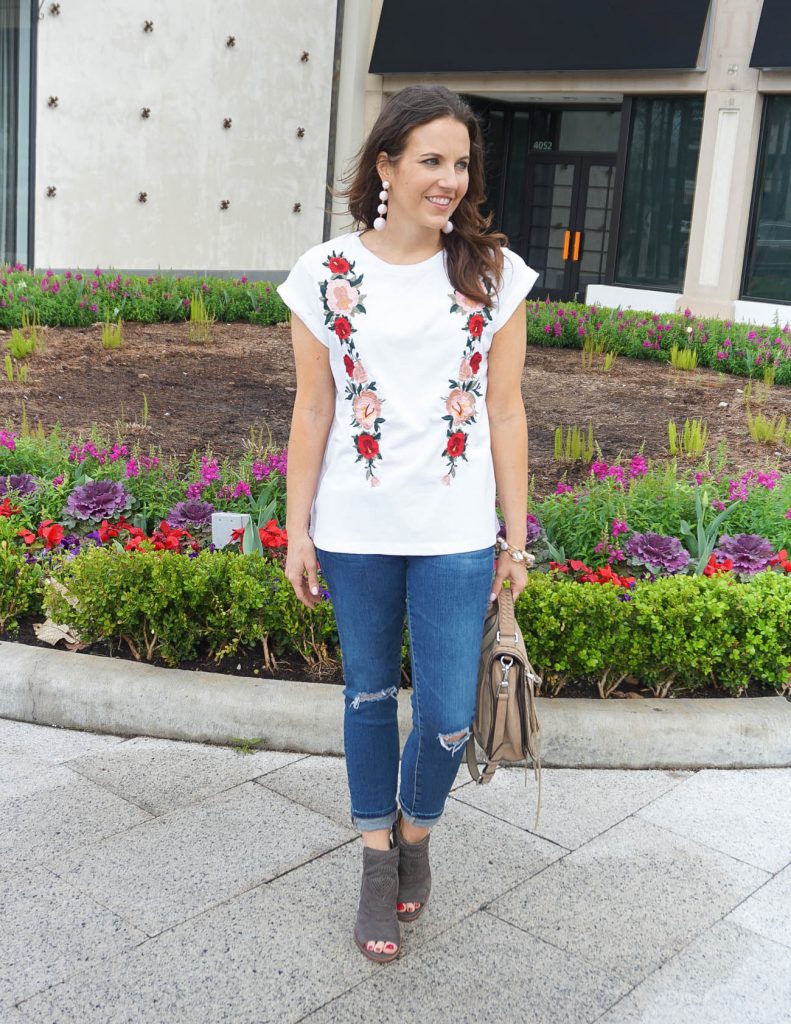
This embroidered floral top is the perfect piece for a casual Spring outfit. I love how perfectly it pairs with distressed jeans and booties. It can also be styled with shorts and sandals when the weather heats up this summer.
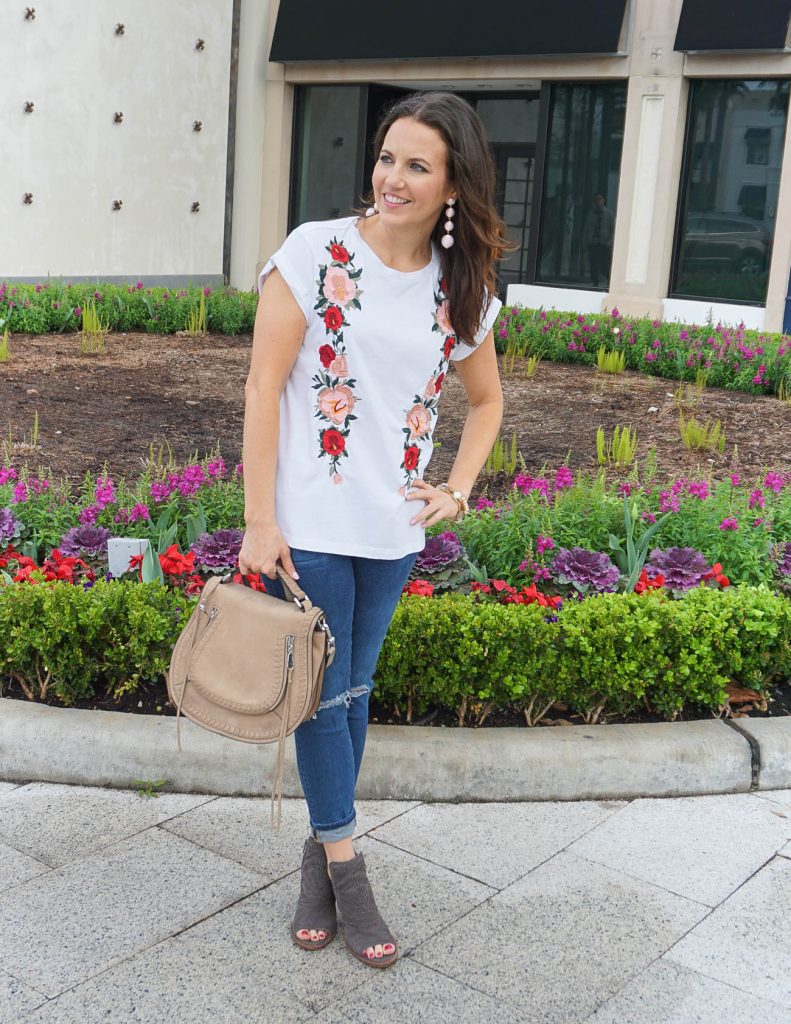
I really wanted to make the pinks in the embroidered floral design pop, so I paired this top with my pink ball earrings. These earrings are on major clearance right now, plus Baublebar is having a HUGE 25% off everything sale with code FF25. The sale includes many of their essential items which are usually not included in sales. It’s the perfect time to stock up on all the colorful statement jewelry! A few pieces you have seen on the blog are below:
Don’t forget to scroll down to join the Style File Link Up and thanks for taking some time out of your day to visit!
| OUTFIT DETAILS |
White Embroidered Tee | Similar Distressed Jeans | Peep Toe Booties | Vanity Saddle Bag | c/o Pink Ball Earrings **on sale! | Bourbon & Bowties Bracelets (similar) | Nails: Essie Minimalistic
SHOP THE LOOK
What to Wear to a Formal Wedding

Happy Friday! A few weeks ago, I attended the wedding of a sweet friend of mine. I was so excited to watch the two lovebirds tie the knot, but I was also excited because the dress code was formal attire. I don’t find many occasions to wear a formal dress, so I could not wait to get all dolled up for this wedding.
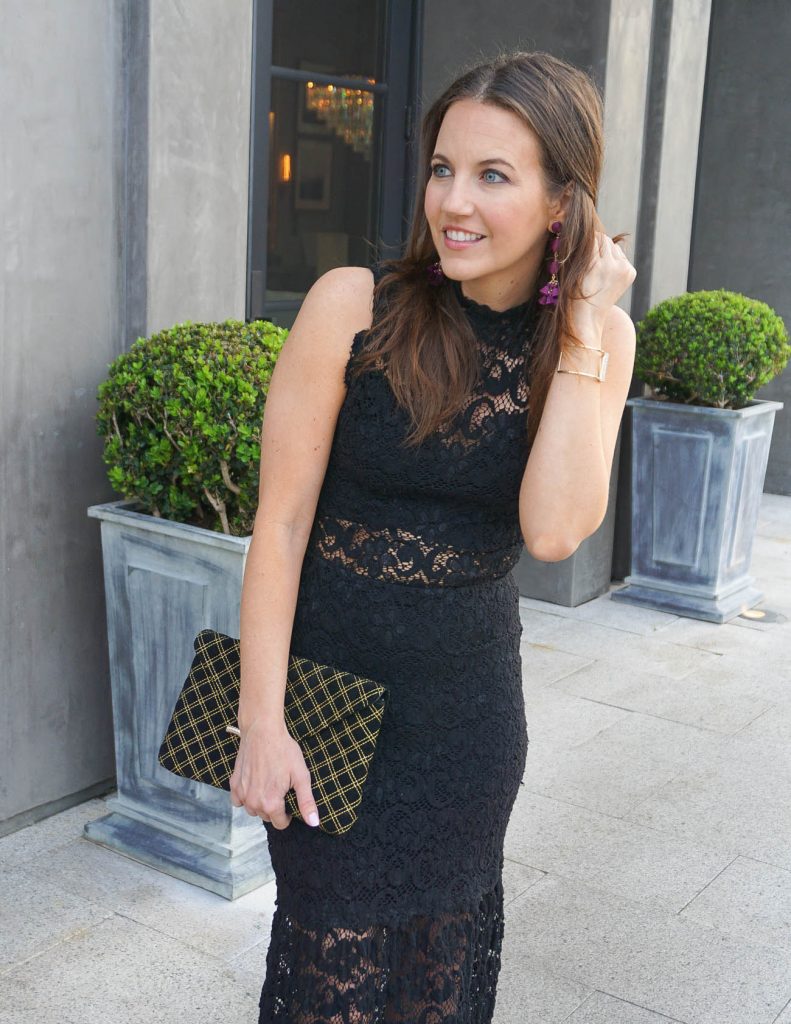
I wasn’t able to take blog photos the night of the wedding with my hair all fancy, but my bestie did snap a pic for Instagram before the ceremony. I wore my hair up because of the high neckline of the dress. I think an updo is definitely the way to go with this dress.
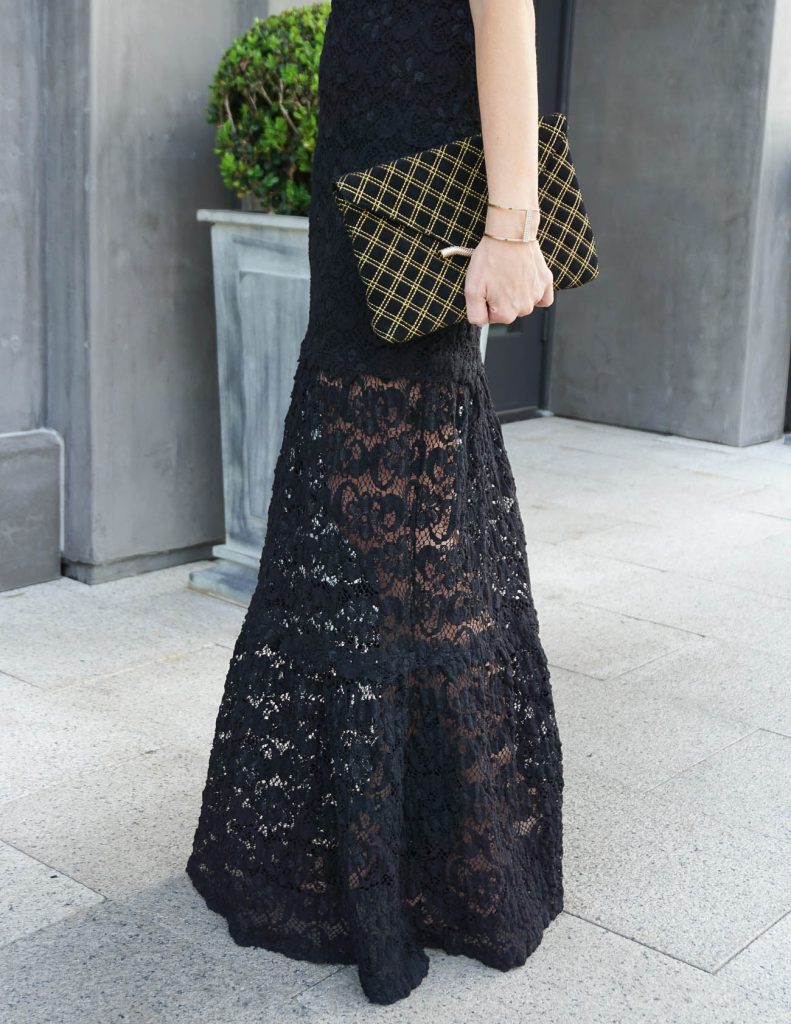
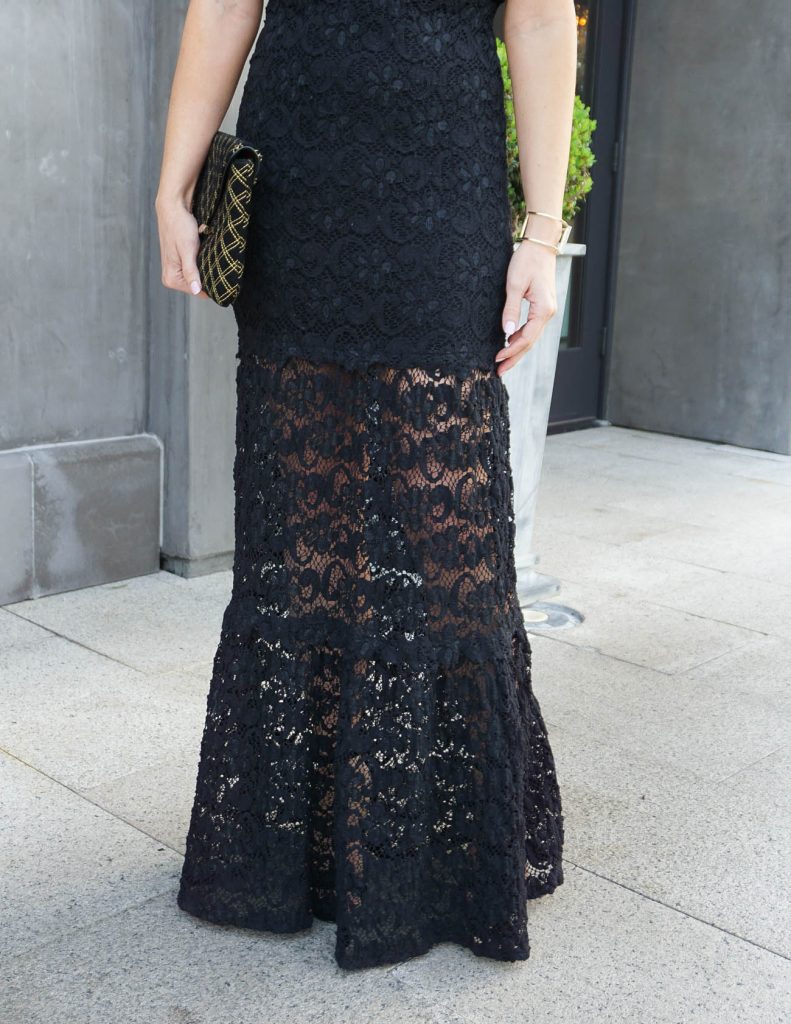
For all my formal dress needs, I always turn to Rent the Runway. It’s a service that allows you to rent dresses for 4-8 days for a fraction of the original cost. This black lace dress retails for $515, but I paid $97 for a 4-day rental.
The process is pretty simple. On the site, enter your size and the date you need the dress, browse and favorite your top picks. Then, pick the big winner and patiently wait for the day to arrive. My dress arrived on Friday, and I had to have it back to the UPS store by Monday at 12p in a black garment bag they supply. Rent the Runway allows you to also request a back up size. I always request a backup size, and I have used it twice so far. For this dress, I ordered my normal size Small and a backup size XS. I ended up wearing the small, and it fit perfectly!
Another added bonus for Rent the Runway is they let you order a 2nd dress for $32 in case the first dress doesn’t work out. They have tons of reviews including pictures on every dress. I usually look for reviewers with my same height and weight, so I can see how the dress looked on them and the sizing they chose. I have been using this service for over 6 years for weddings, blog conferences, birthday parties, and any event where I want a gorgeous dress. If you have a formal wedding coming up, it would definitely be a place to check out.
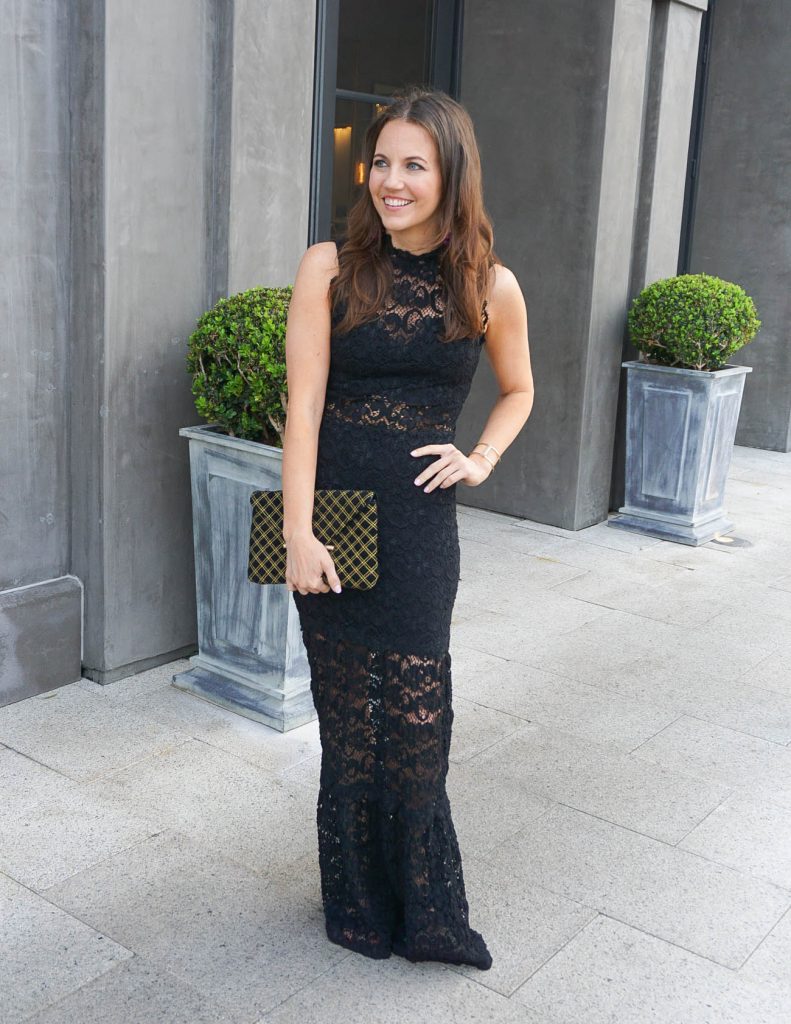
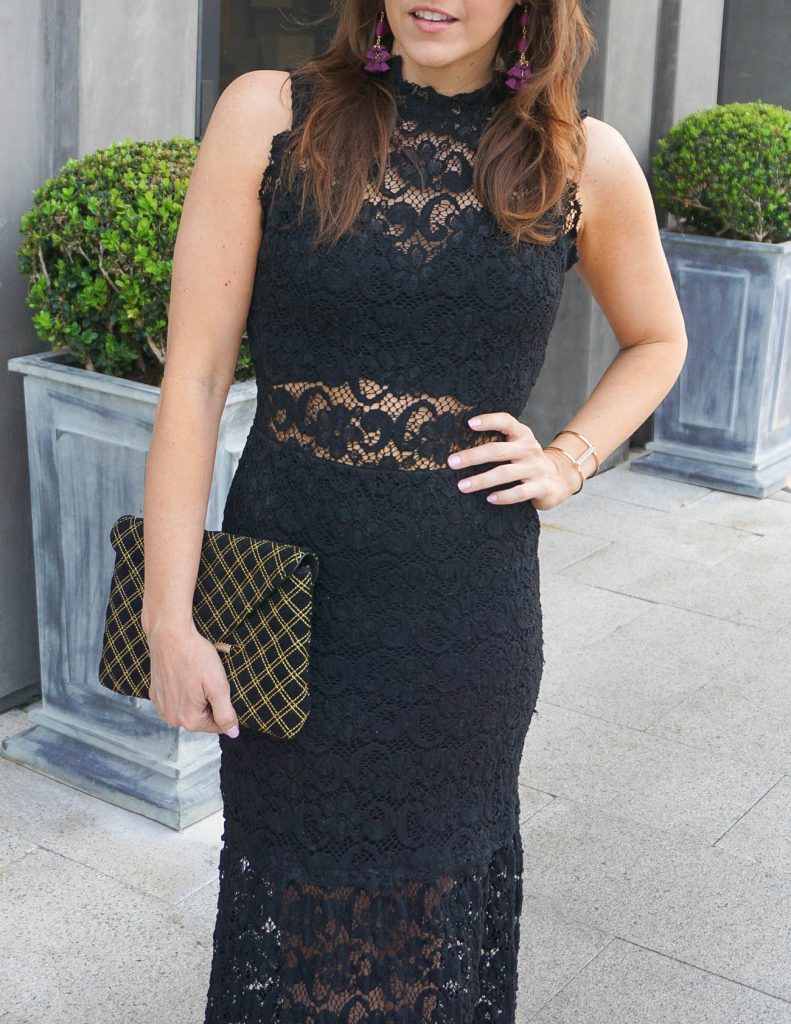
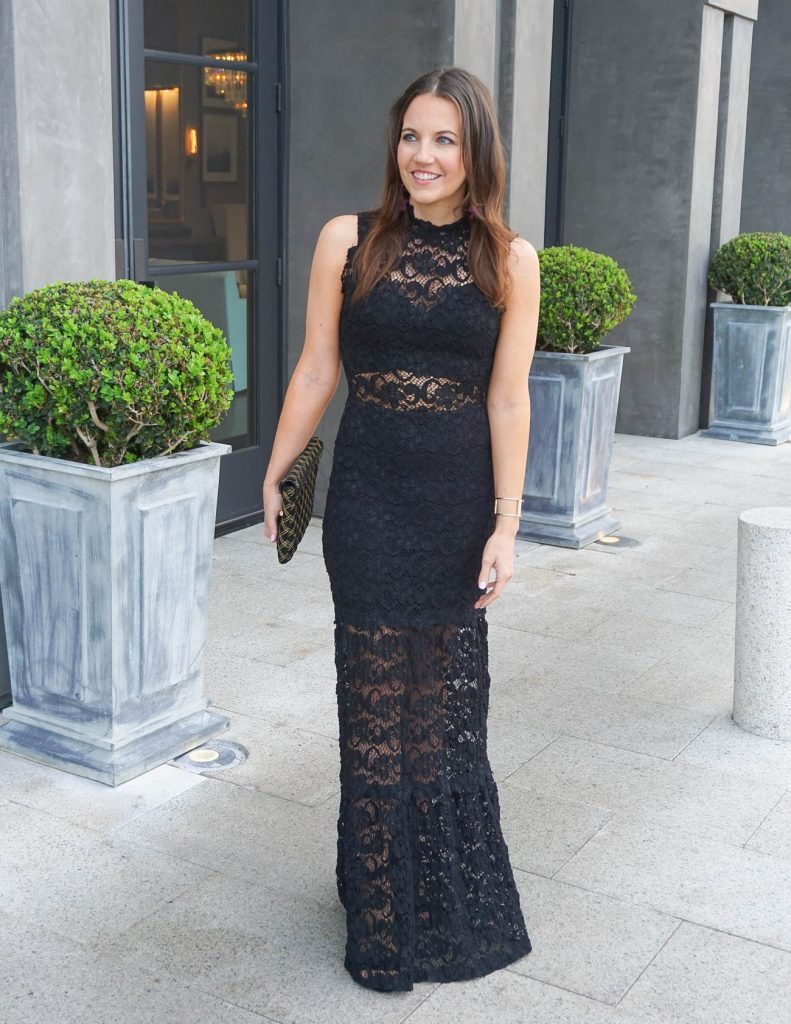
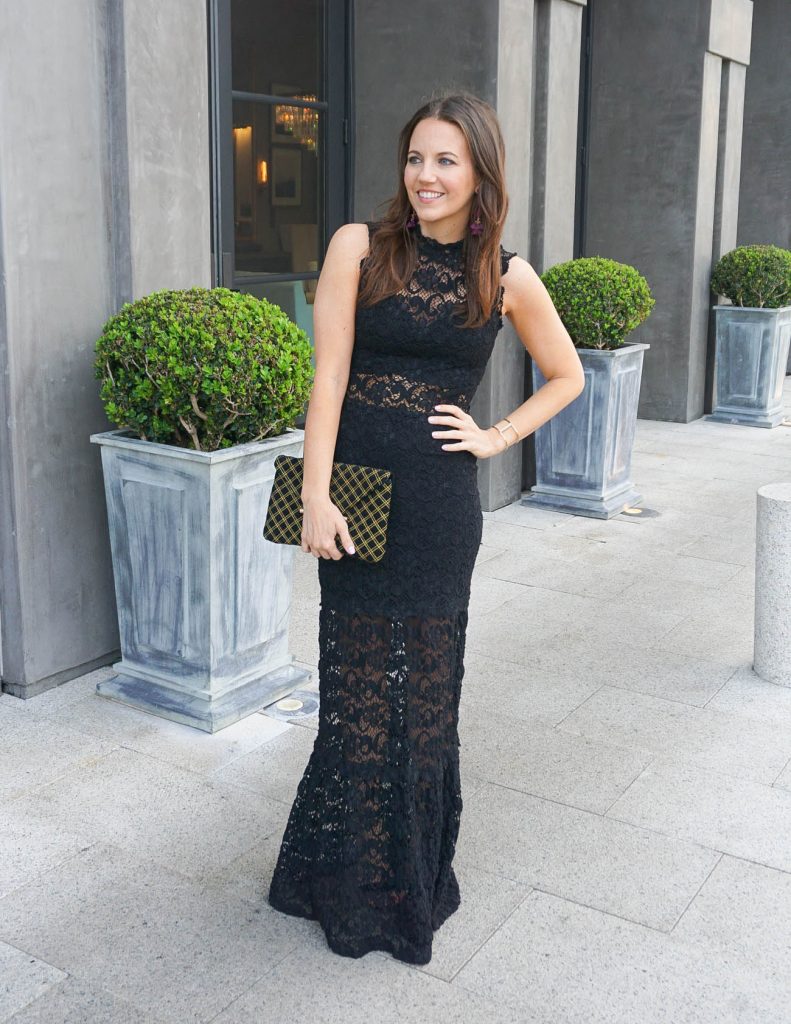
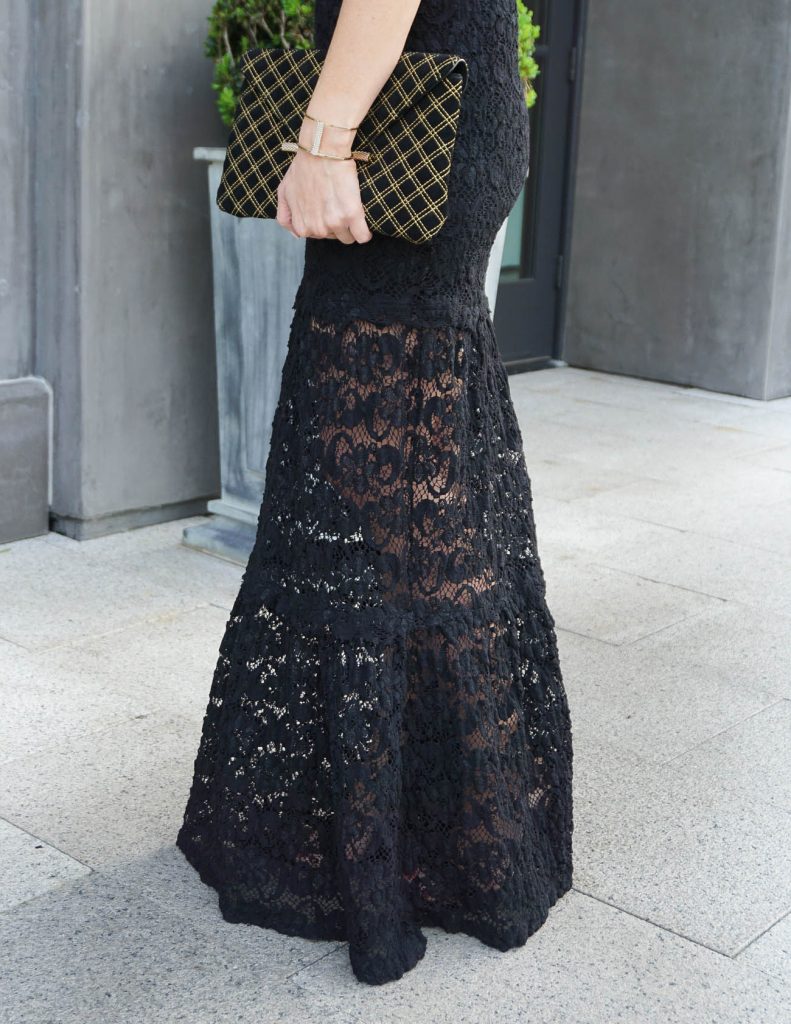
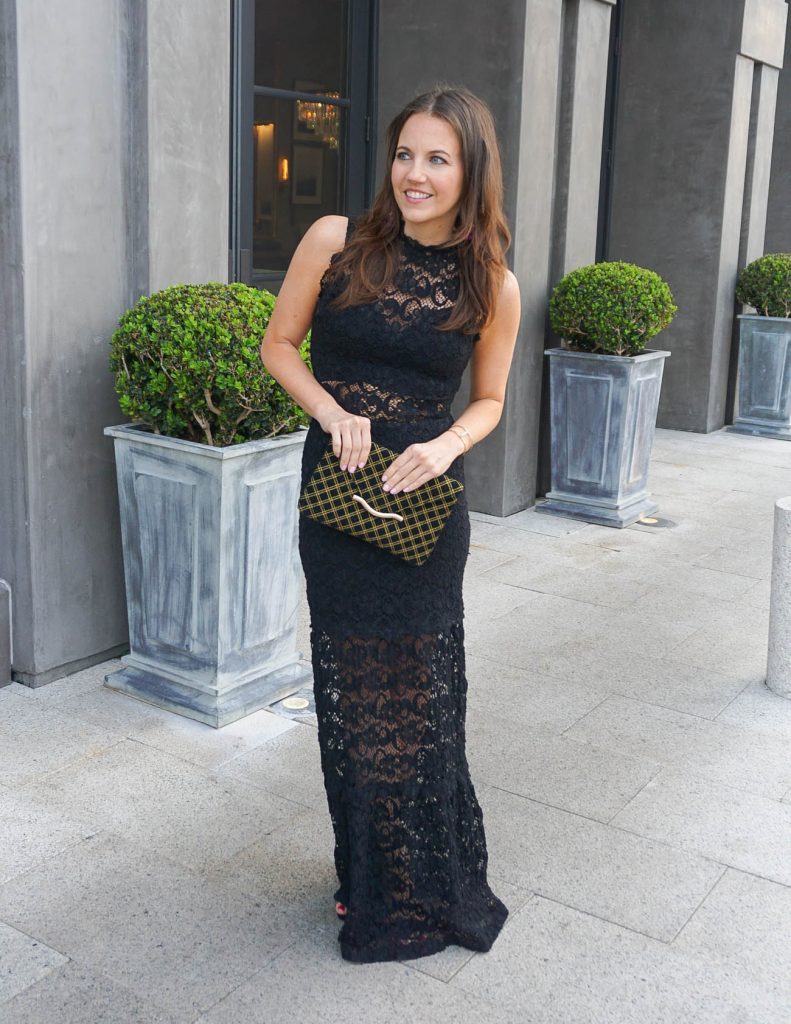
When I was looking for what to wear to a formal wedding, I decided to go with either tea length or full length. Since I was renting and I am 5’3, I ended up nixing the tea length because I usually need this length altered. The wedding was in February, so I opted for a darker color, of course gravitating to black. I love the simple silhouette and the lace details on this one. It was perfect, and I received tons of compliments. It was easy to move and dance the night away in.
Also, this is the dress I wore with those block heel sandals I was raving about from my last post. You can’t really see them in these pics, but you can see close ups in the other post. I hope you guys have a great weekend. Thanks for stopping by!
| OUTFIT DETAILS |
Black Lace Dress | Block Heel Sandals | Elaine Turner Clutch (old) | c/o Statement Earrings | Gold Cuff Bracelet (old) | Nails: Essie Minimalistic
SHOP THE LOOK
The Most Comfortable Heels I Own

A few weeks ago, I broke a HUGE new shoe rule. I wore brand new, never worn, never broken in shoes to a wedding. I love shoes especially heels, I own lots of them, and pretty much every pair of heels I own has needed a breaking in period. Sometimes one wear, sometimes 10 wears, but at least some breaking in before you plan to wear them to an event filled with dancing, standing, and walking around.
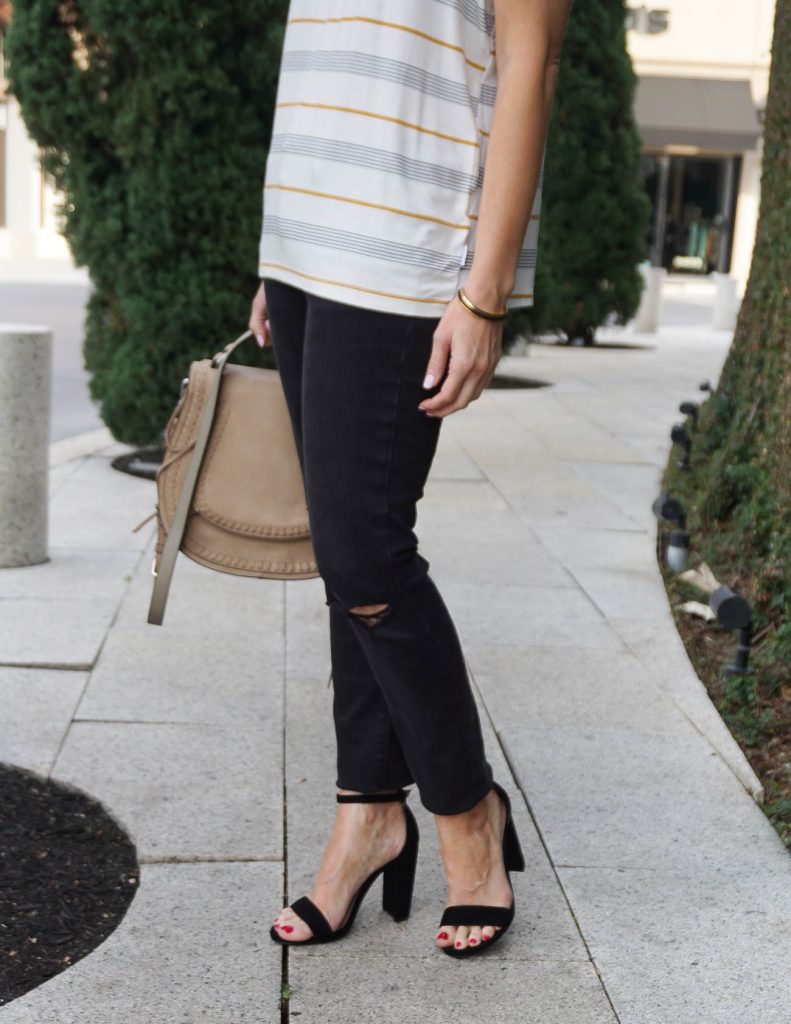
Y’all these block heel sandals needed ZERO breaking in. These sandals were a Christmas gift, and I just never got around to breaking them in because well it was winter. I knew they would be the perfect shoe to pair with my long black dress for a wedding, so I decided to risk it and wear them straight out of the box.
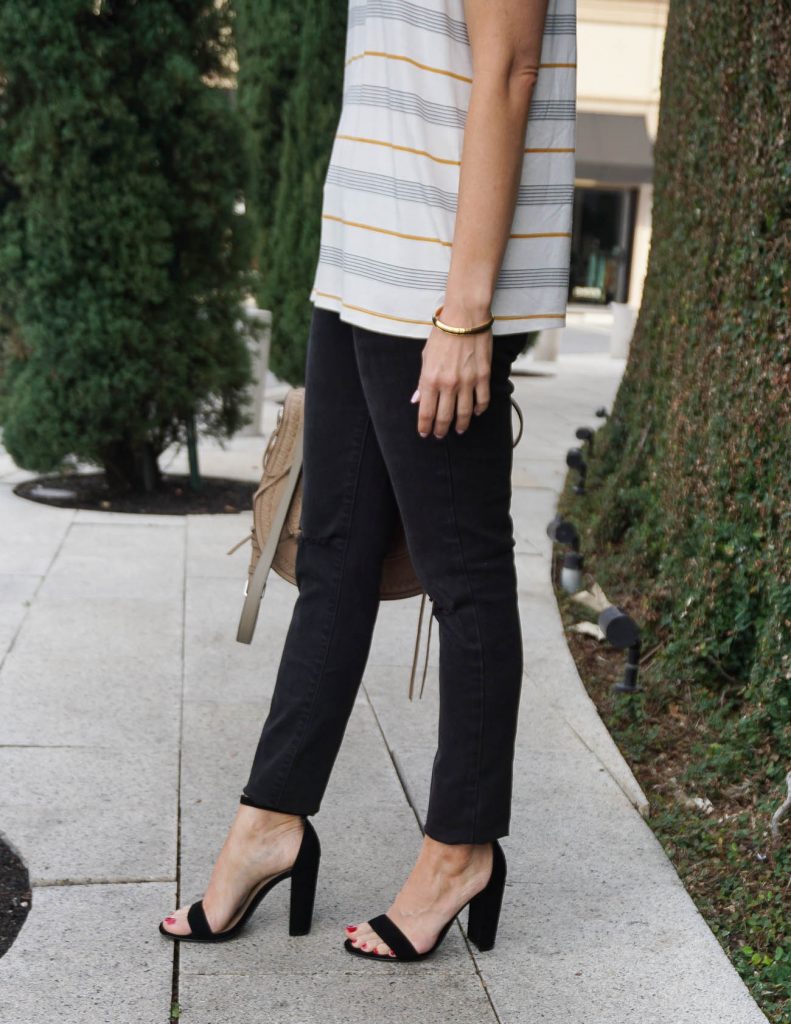
I spent cocktail hour standing and sipping champagne and followed it up with hours on the dance floor, all in no pain! At the end of the night, I saw so many women kicking off their heels to keep dancing, and I realized my feet didn’t hurt at all. It was at that moment, these block heel sandals made their way to the top of my list of most comfortable heels in my closet. I’m currently waiting for the taupe version to come back in stock in my size because that color will be perfect for spring and summer!
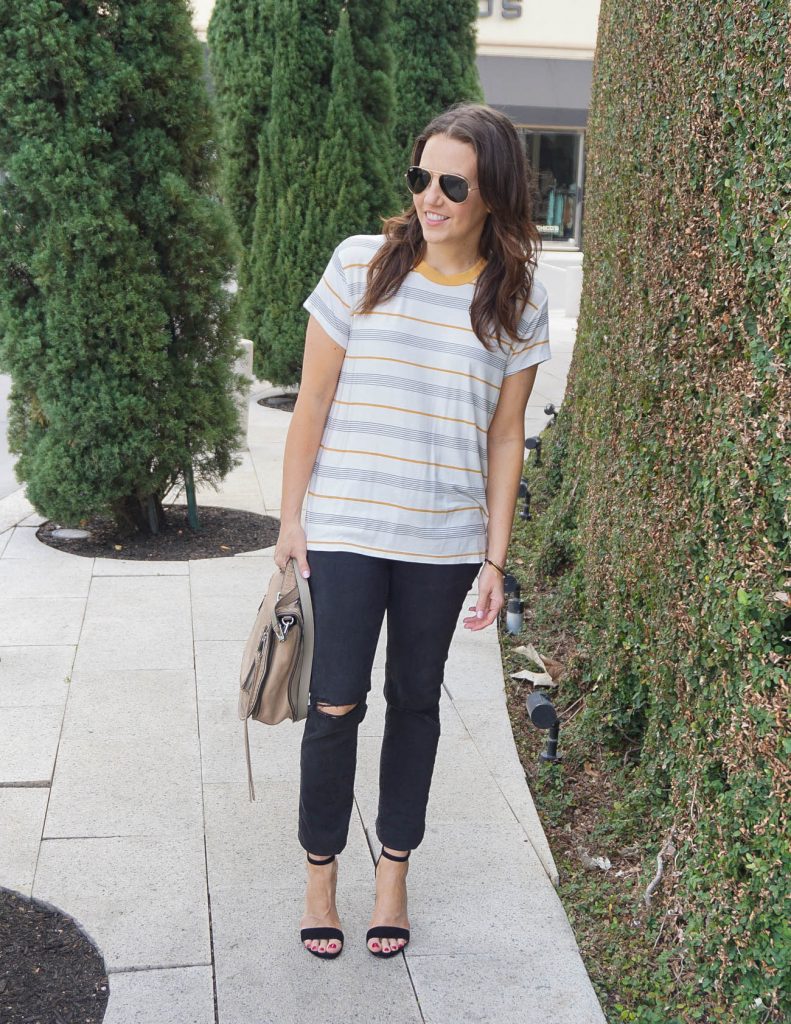
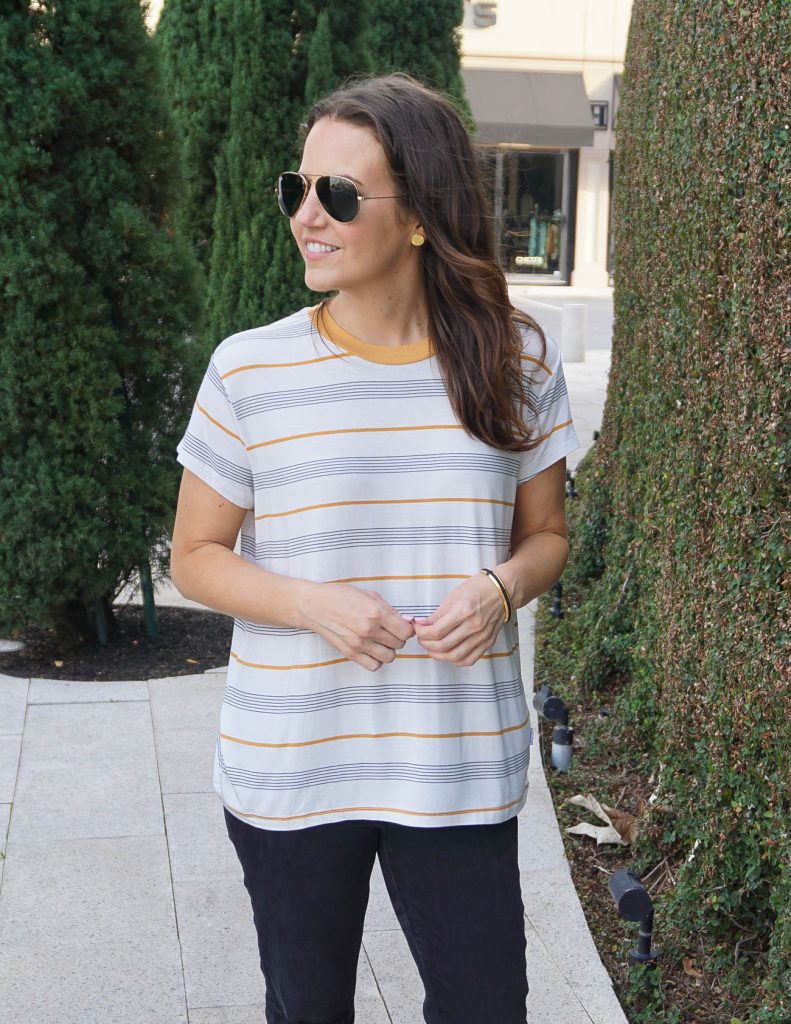
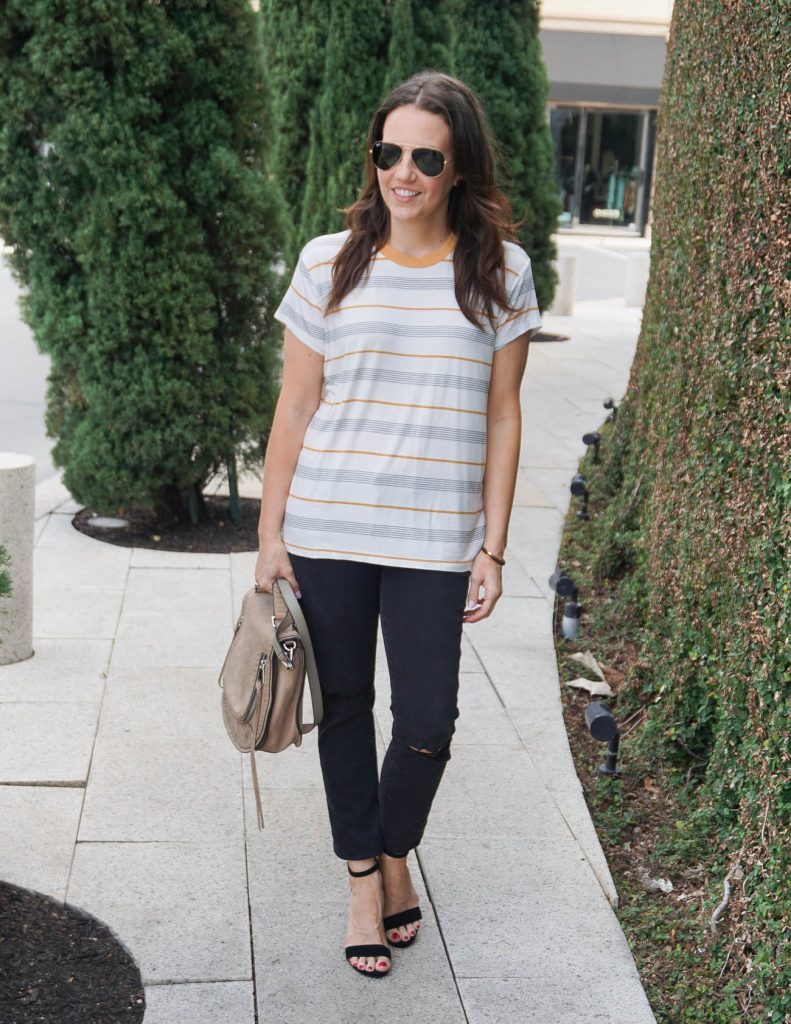
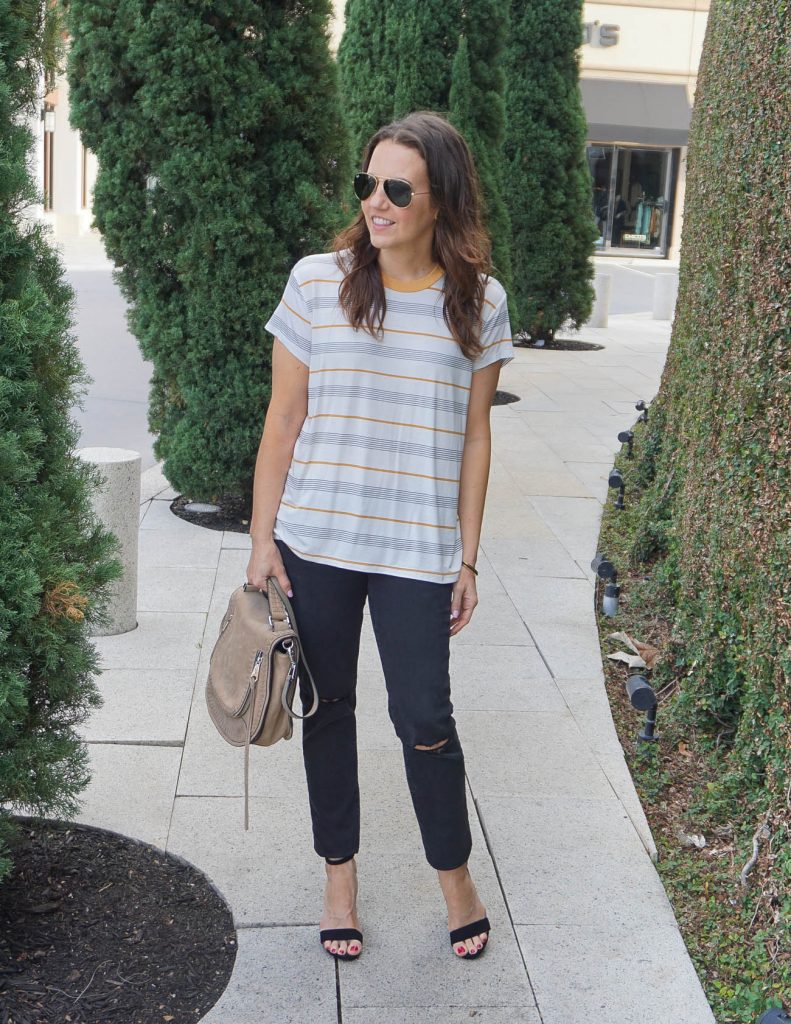
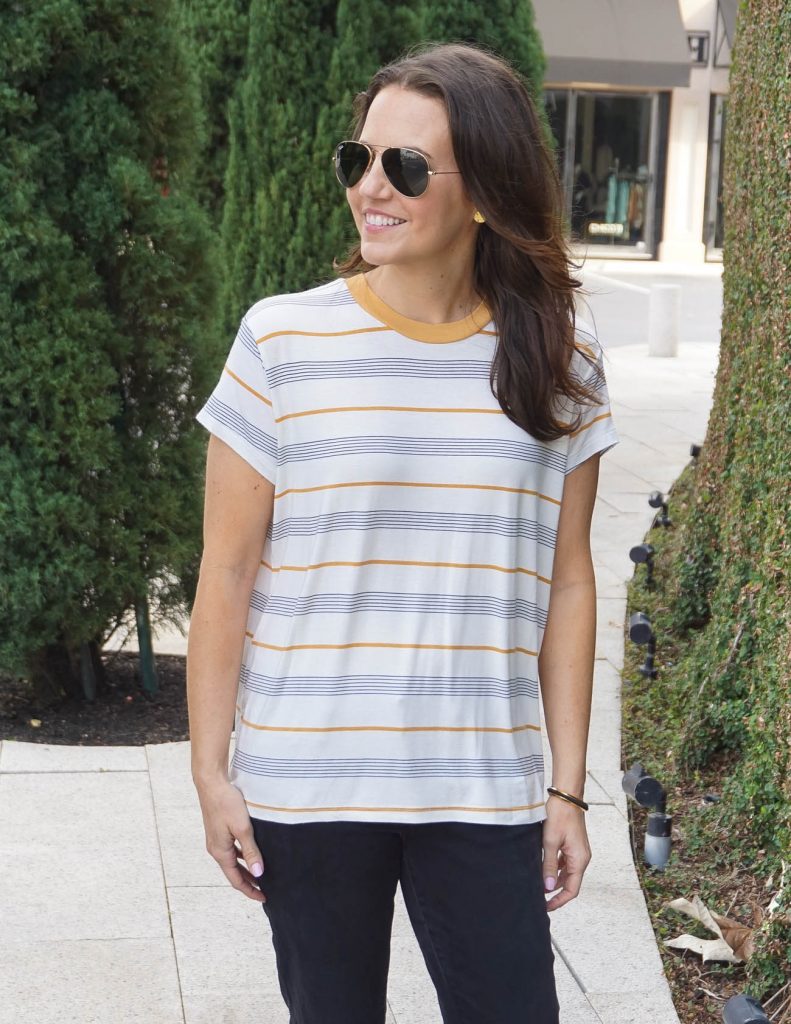
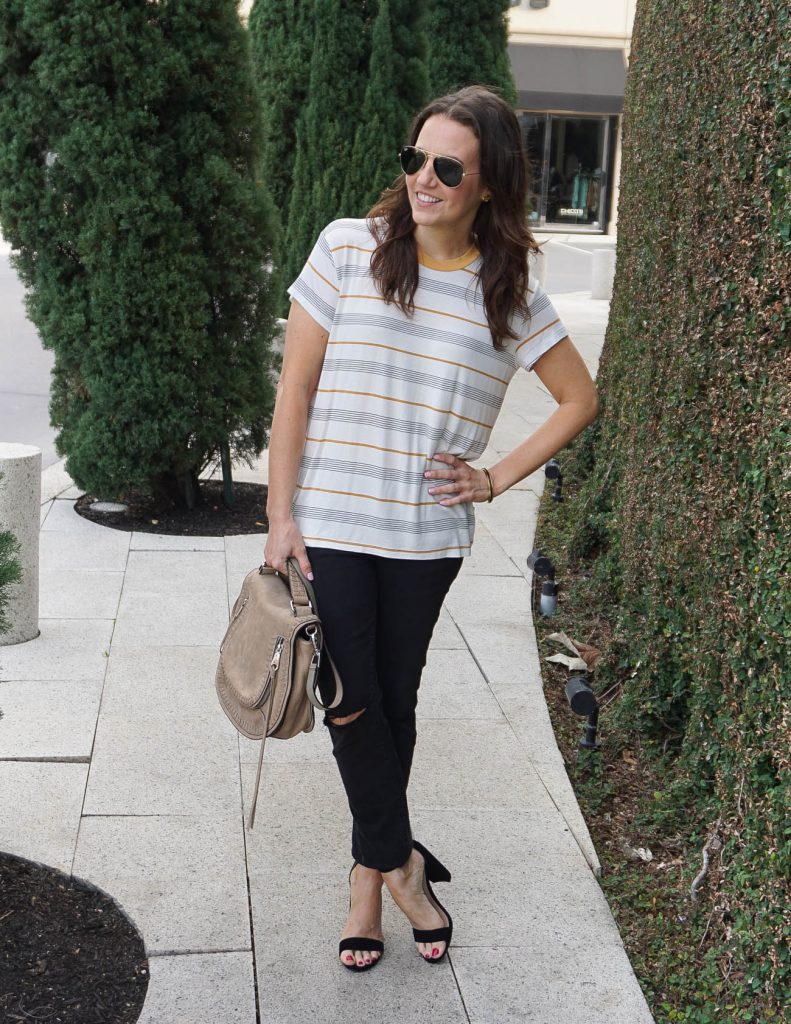
One thing I love about block heel sandals is how they can work with both formal, dressy outfits and super casual outfits. They remind me of a dressier option to a wedge sandal. I could not resist styling them in this super casual tee and jeans outfit for today. I love the pairing of the tomboy tee and the girly heels. Also you guys, this tee is sooooo soft!!! It will get lots of wears this summer for sure.
Don’t forget to check out today’s Style Link Up and thank you for stopping by!
| OUTFIT DETAILS |
Striped Tee | Similar Distressed Black Jeans | Block Heel Sandals | Vanity Saddle Bag | Gold Stud Earrings | Similar Gold Bangle | Nails: Essie Minimalistic
SHOP THE LOOK