Monthly Archives: April 2019
Styled 3 Ways: Little Black Dress

Happy Friday!!! I’m so excited for today’s post ya’ll!! So way back in my first year of blogging, I did a styled 3 ways post with a striped dress. I loved the idea of sharing different ways to wear the same thing in one easy post for you. It’s an idea that I’ve been wanting to bring back for probably about a year now. Well I finally decided to just sit down and do it already!
I’m planning on making this a monthly series and to have the main item be a mix of closet basics and trendy pieces. If you would love to see a specific item featured, leave it for me in the comments!
Let’s talk about today’s styling of a black dress multiple ways. I think everyone needs a little black dress in their closet. I own a shift dress, fit and flare, and this fitted body-con dress. I would style all 3 designs similarly to the way I styled this fitted dress.
This dress is hands down one of my favorites! I own it in 2 colors in sleeveless and 1 color in long sleeve. It’s currently marked down 20% in multiple colors including black.
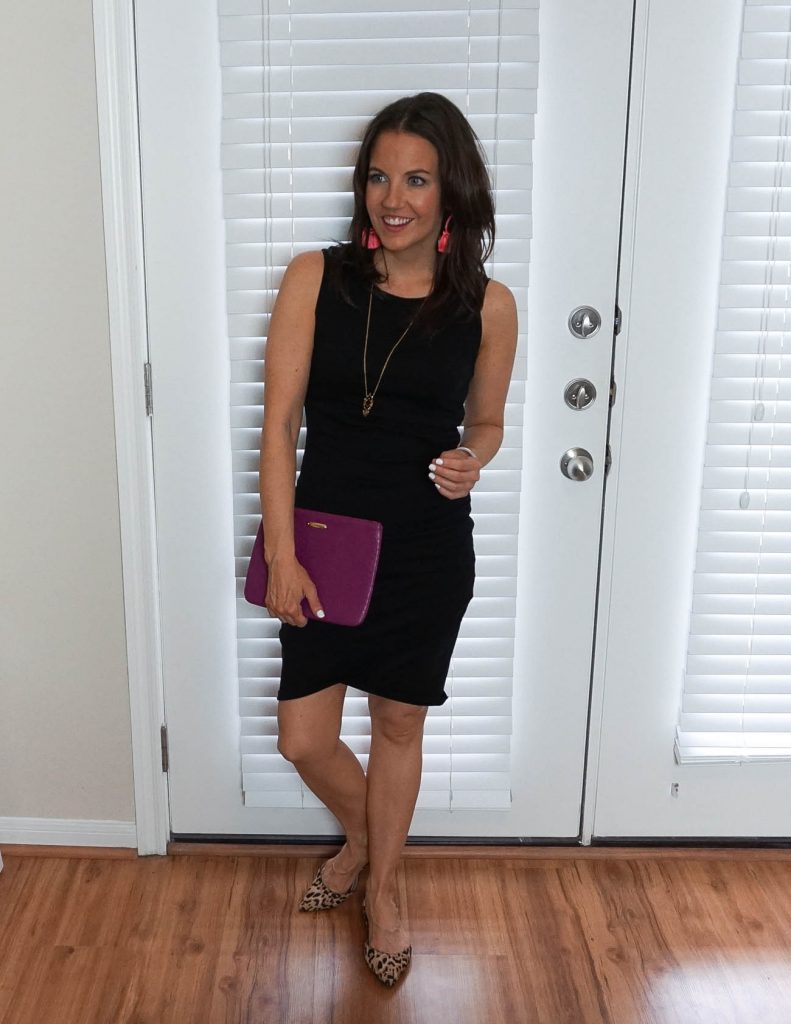
Black Dress (20% off) | Leopard Flats | Pink Clutch | c/o Earrings | Bracelet
This first look would be perfect for date night! I know many of you love flats, so I paired it with my leopard flats for you. You could also add a fun pop of color heel too. I added in my color with my purse and statement earrings. A long gold pendant necklace is a great way to dress up the crew neck dress a little.
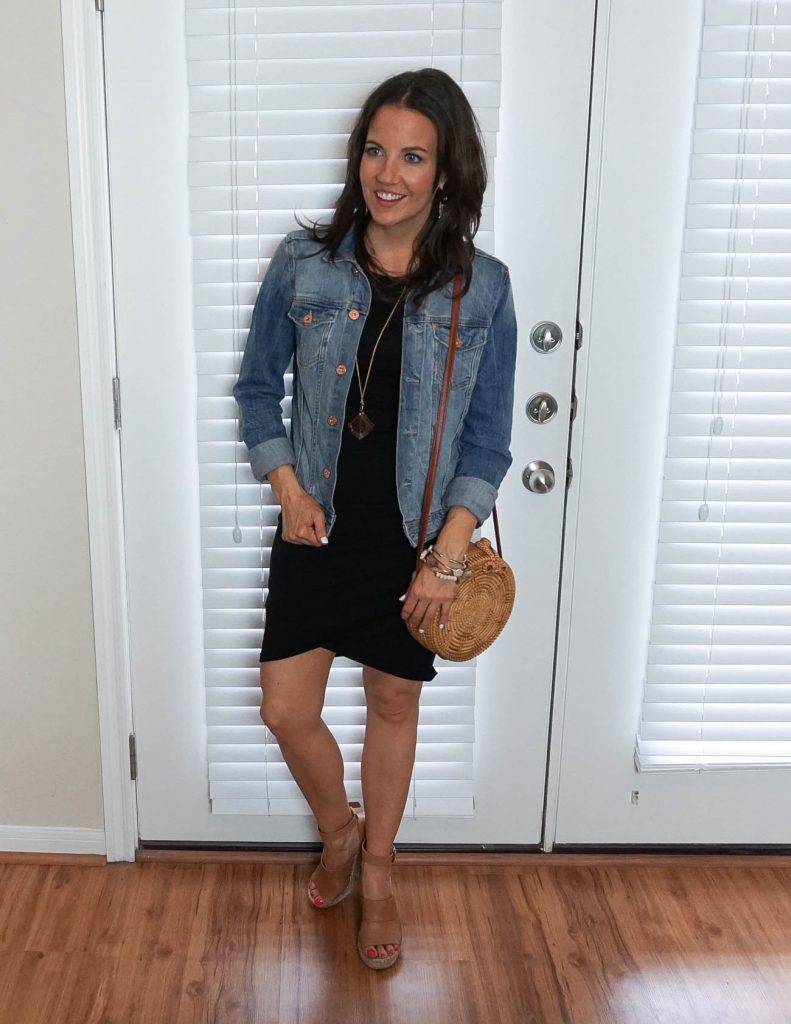
Black Dress | Wedge Sandals | Similar Denim Jacket | Circle Bag | Necklace | c/o Earrings
Next up, a casual outfit that would be perfect for grabbing lunch with friends. I love a black outfit paired with a brown shoe. It’s taken awhile for me to embrace the black/brown combo, but I’m totally loving it now. A denim jacket is a major closet staple and an easy way to change up a look and make a dress look more casual.
I again added a long pendant necklace and some fun rose gold statement earrings. For a casual bag option, I went with my new straw circle bag. I obsessed with this cute little bag, so be prepared to see it lots this spring and summer!
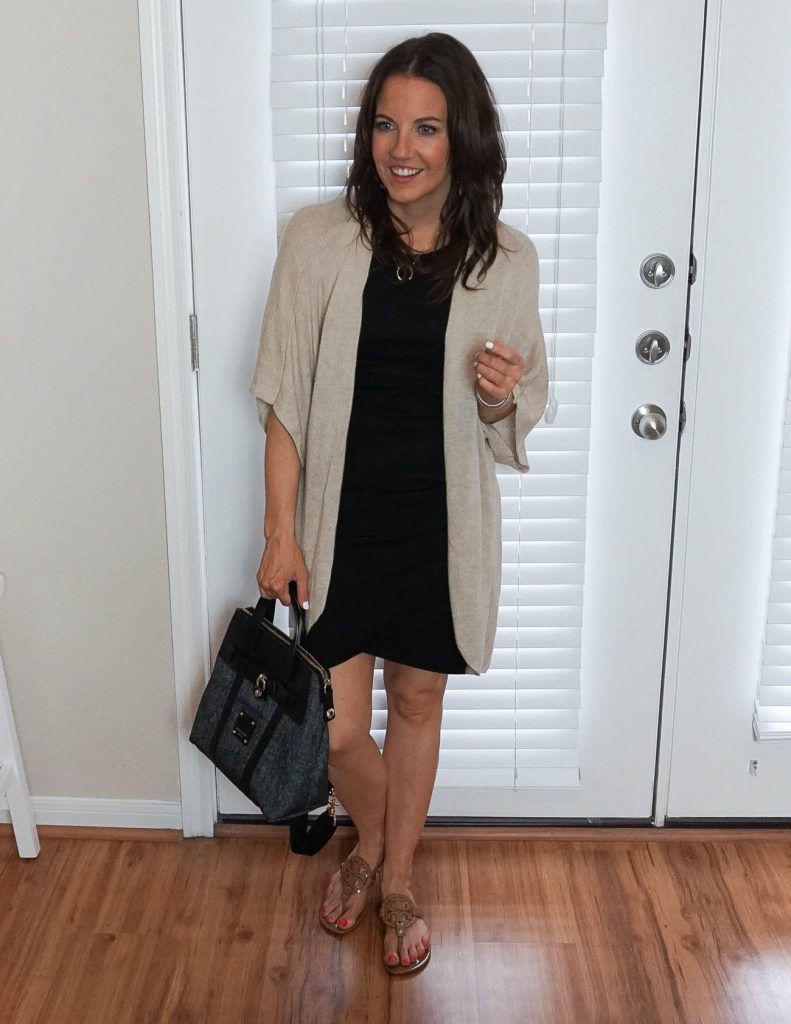 Black Dress | Cardigan | Sandals | c/o Necklace | c/o Earrings | Bracelet
This last look is perfect for a day of running errands. You could also slip on a neutral flat or heel for the office. I tossed on my beige cardigan to create a laid back look with the sandals, and I kept my jewelry pretty simple with a short gold necklace and small colored earring.
Which outfit is your favorite? 1, 2, or 3? And for a bonus 4th way to wear this dress, this post is how I originally styled this dress on the blog.
SHOP THE LOOKS
Yellow Maxi Dress
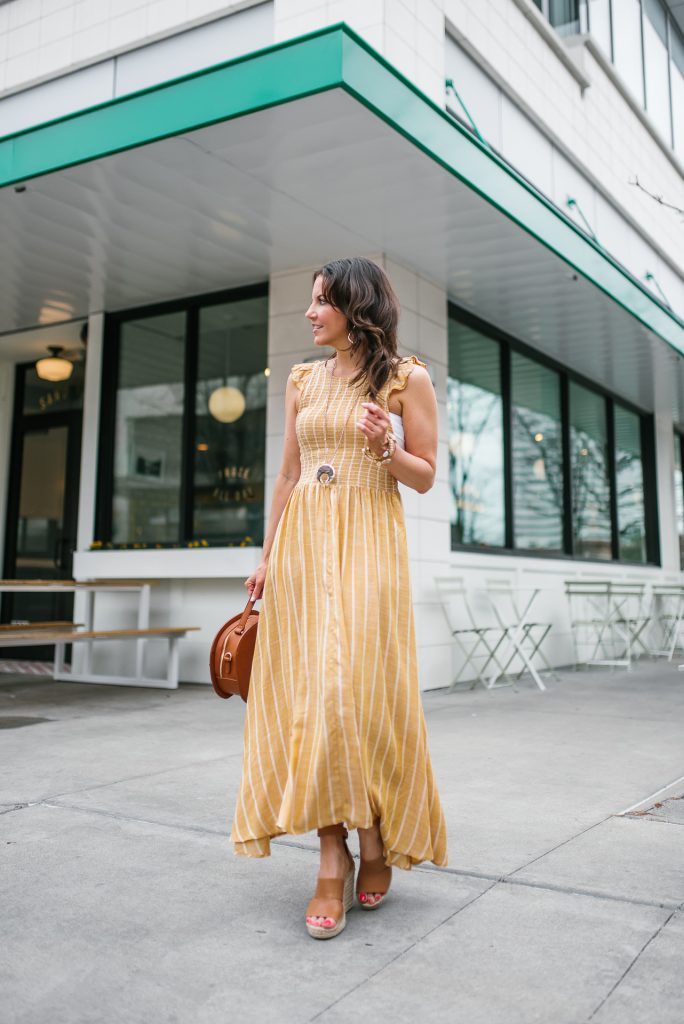
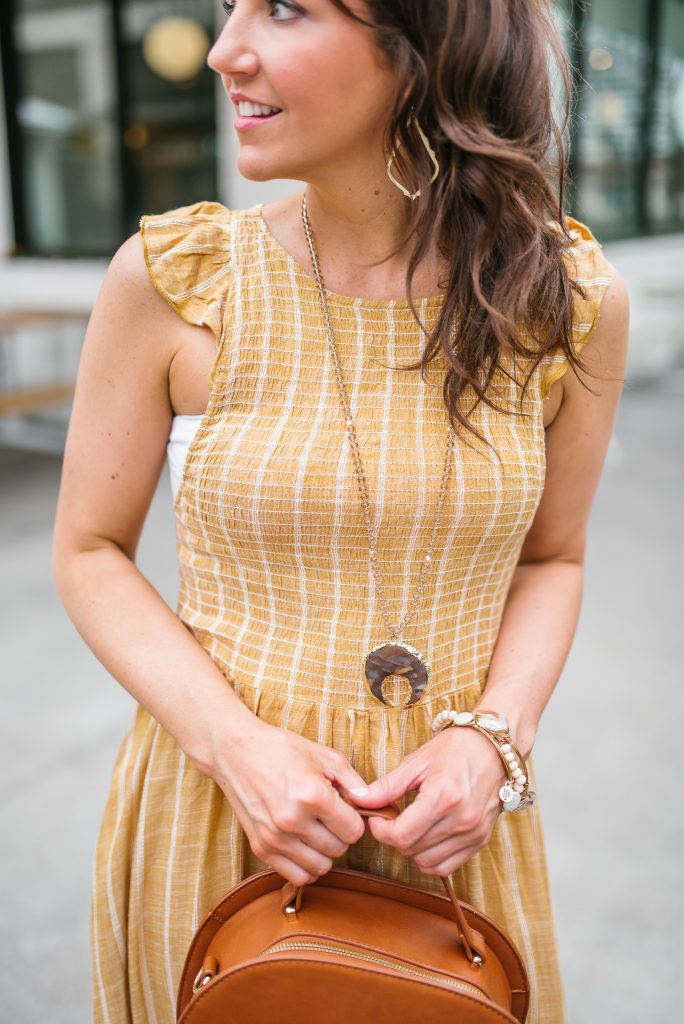
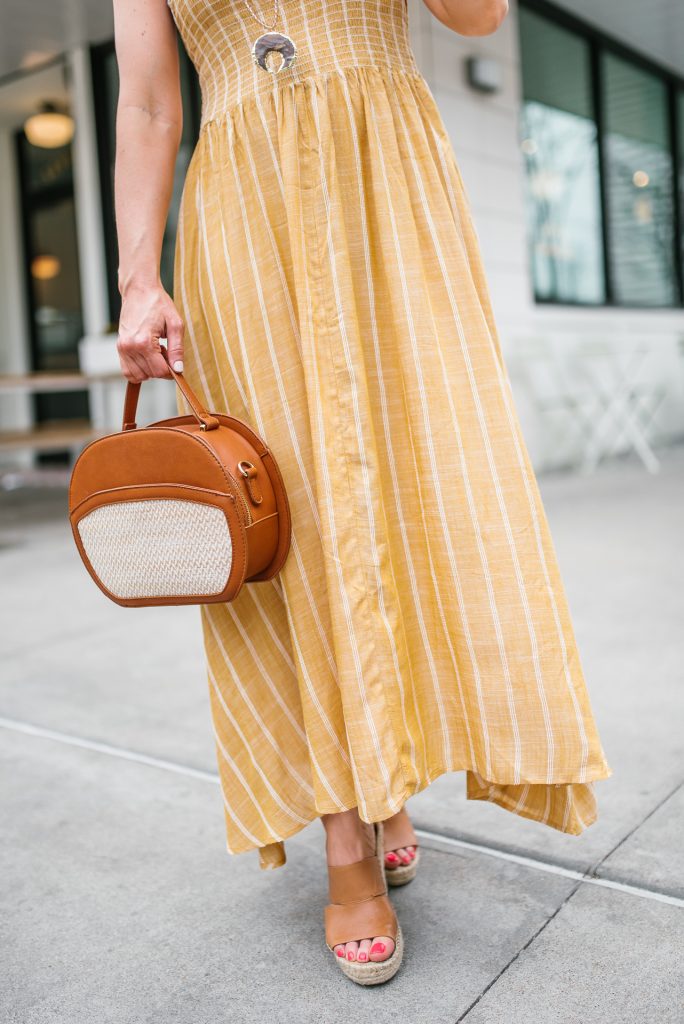
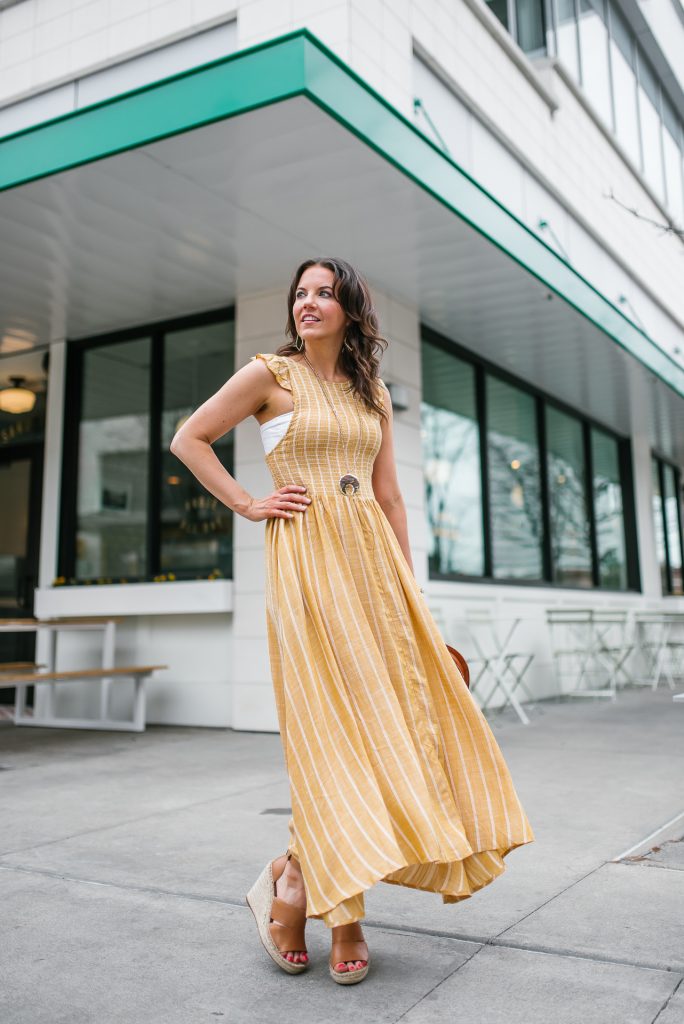
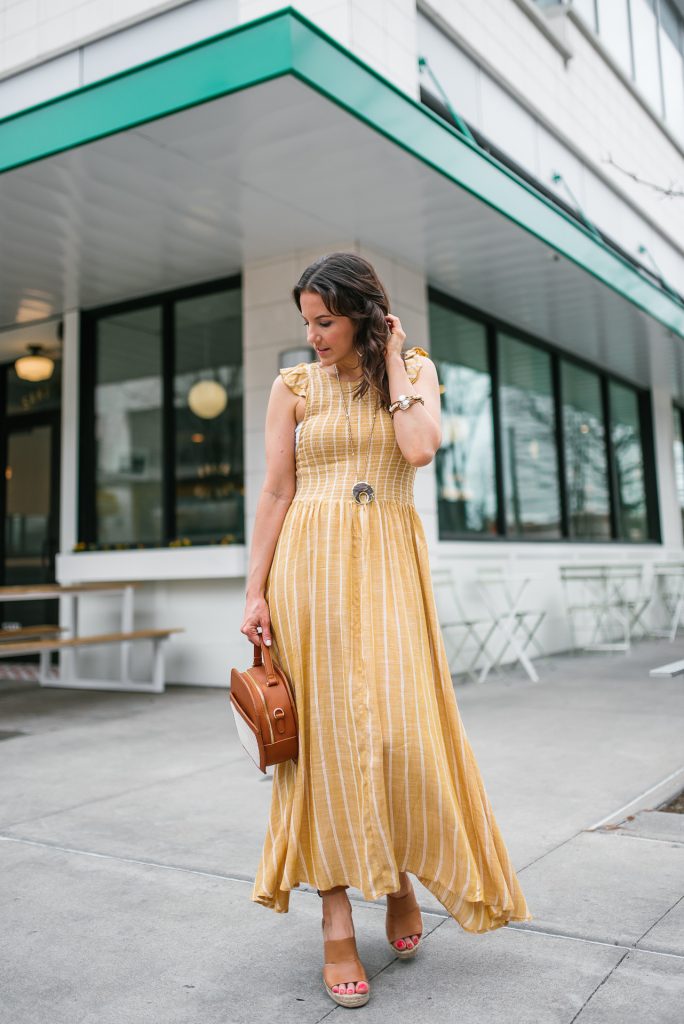
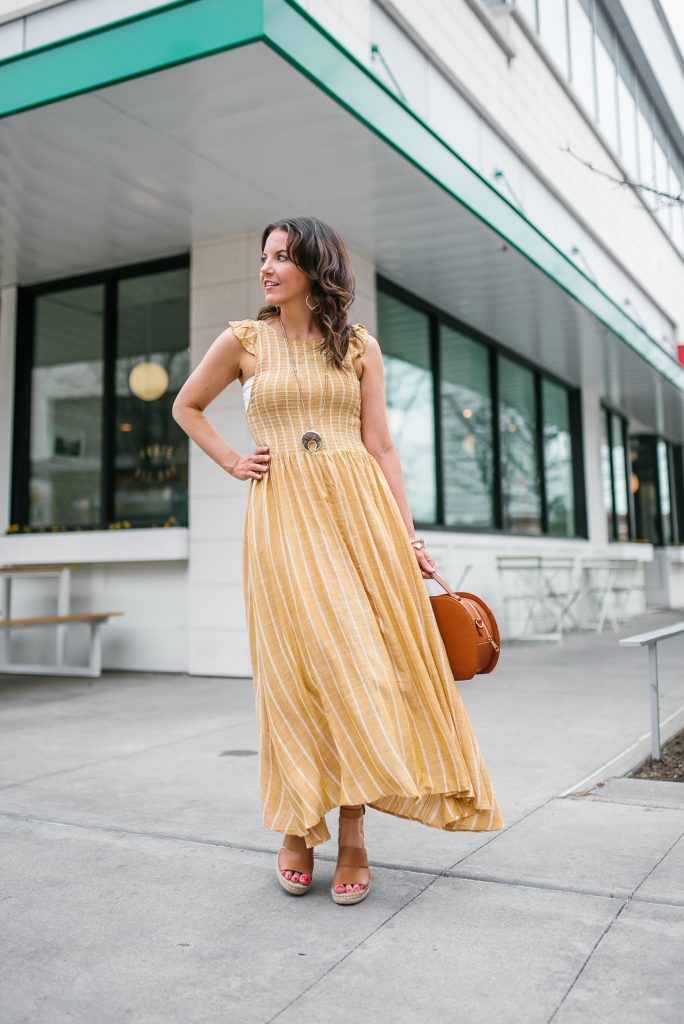
Hello Ladies! Oh this dress gives me all the spring and summer feels! I’ve been leaning towards the color yellow lately which is how I came upon this dress. I just started searching for new yellow things for Spring. A few clicks in and I stumbled on this yellow maxi dress. For those of you wondering about length, I’m 5’3, so it fits me more like a maxi dress. The site calls it a midi dress, so if you are taller it may fall a little shorter.
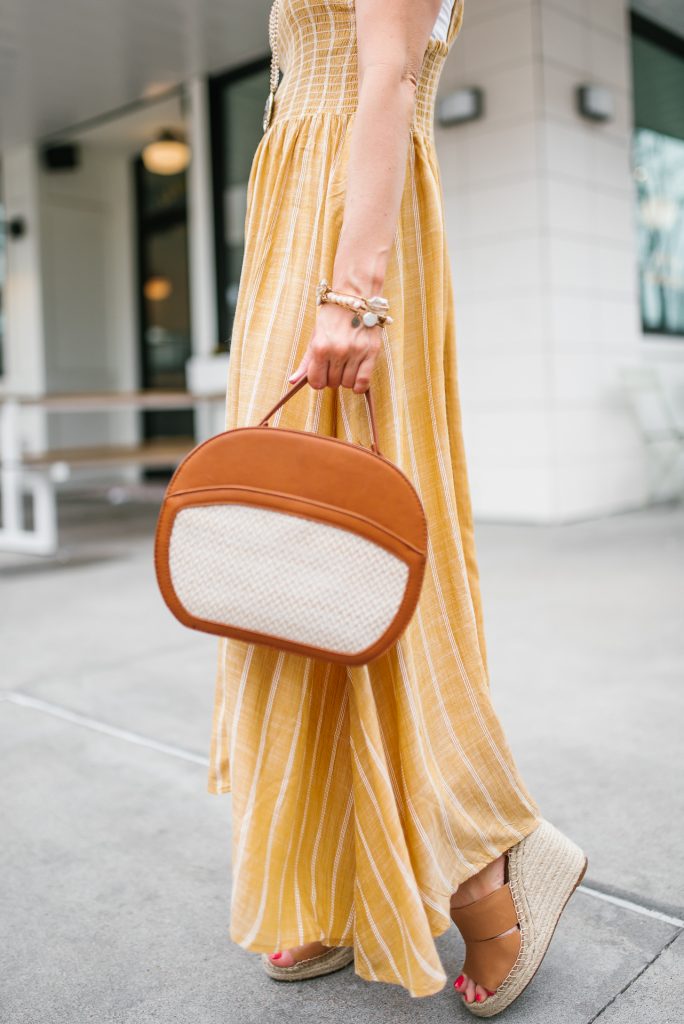
The material is lightweight and breathable perfect for a warm spring or summer day. The cut of the skirt makes it move so beautifully when it catches a breeze. I have to give credit to my photographer on capturing the movement of this skirt! It’s one of those styles that makes you want to twirl and walk around just so you can see it move.
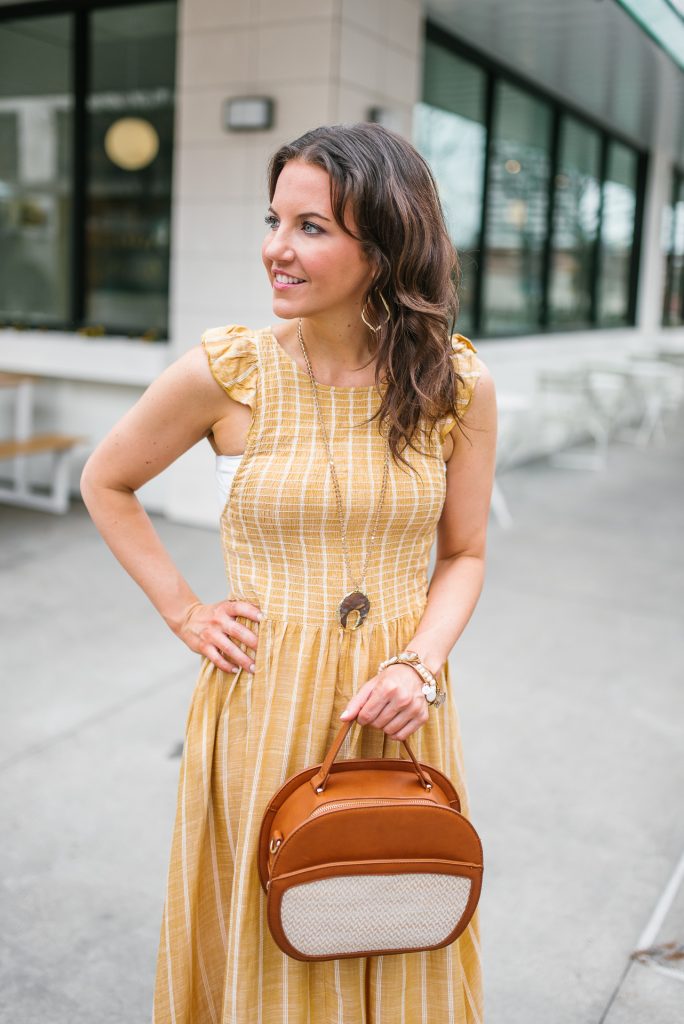
The sides of this dress do come low, so you will need to wear a cami, bralette, or bandeau underneath. I opted for my white bandeau top to keep with the lightweight feel of the dress. A cami might make this dress feel a little cramped. My stone necklace was the perfect addition to the high neckline design of the dress. My stone version is sold out, but you can find a bunch of other versions here.
I’ve been enjoying a nice and quiet, low key week so far. I’m kind of just enjoying the calm before the May storm of social events. I think 75% of my friends have birthdays in May, so I feel like that month is always so busy that I like to take advantage of the slowness of the end of April before all the things start happening. I’ve been doing a little spring cleaning around my place too. It always feels so good to de-clutter a little.
I have a little bit of a different kind of fashion post coming for you on Friday. It’s something I have wanted to do for months and that I’m hoping to make a monthly feature here on the blog. Be sure to swing by on Friday to check it out!
| OUTFIT DETAILS |
Yellow Maxi Dress | Similar White Bandeau | Brown Wedge Sandals | Similar Bag | c/o Love’s Affect Necklace (old) | Drop Earrings | Bourbon & Boweties Bracelets (old) | Nails: CND Cashmere Wrap
Photography By: Banavenue
SHOP THE LOOK
How to Clean Makeup Brushes
Hello friends! I have an oh so important beauty tutorial for you today all about how to clean makeup brushes. For years, I never really worried about cleaning my makeup brushes. I used a powder foundation, so my main foundation brush never got as dirty as mine do now that I use liquid foundations. After about a month of using liquid foundation, I realized I’m supposed to clean these things like regularly. I didn’t really want to buy a fancy expensive cleaner, so I researched a few affordable options.
Originally, I started with the olive oil/dish soap combo and would clean just using my hands. Then, I found this brush cleaning mat and ya’ll it gets my brushes so clean!! It was around then that I changed to using baby shampoo to clean my brushes because it was easier with the mat than pre-mixing the other two all the time.
Below is a step by step tutorial on how I clean my makeup brushes. I’ve been told you should clean your brushes every week. I usually clean all my brush about once a month and my foundation brushes a few times a month. My foundation brush works so much better when it’s clean and I use less foundation, so I find it worth it to clean it more often.
HOW TO CLEAN MAKEUP BRUSHES
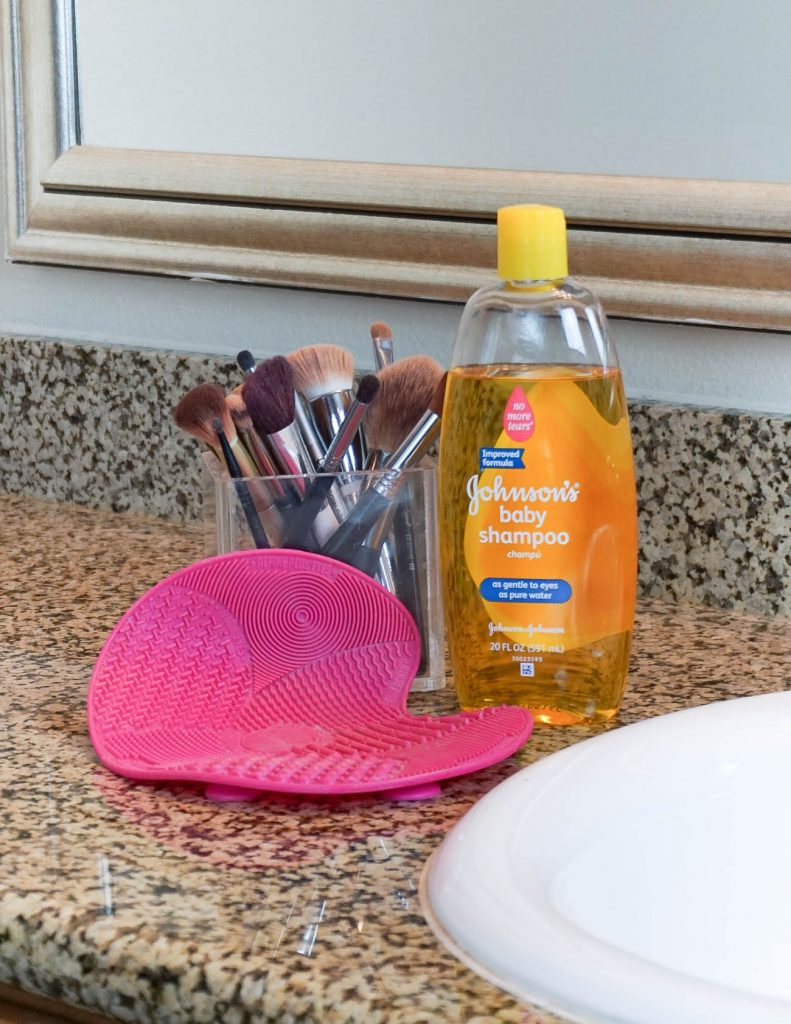
First, let’s start with what I use. This little pink brush cleaning mat makes the process so quick and really deep cleans my brushes. It has different sections for the different styles and sizes of brushes. For the shampoo, I just picked up the basic Johnson and Johnson one. I have also used the store brand too. The shampoo is gentle for the fine brush hairs, rinses out easily, and leaves my brushes soft.
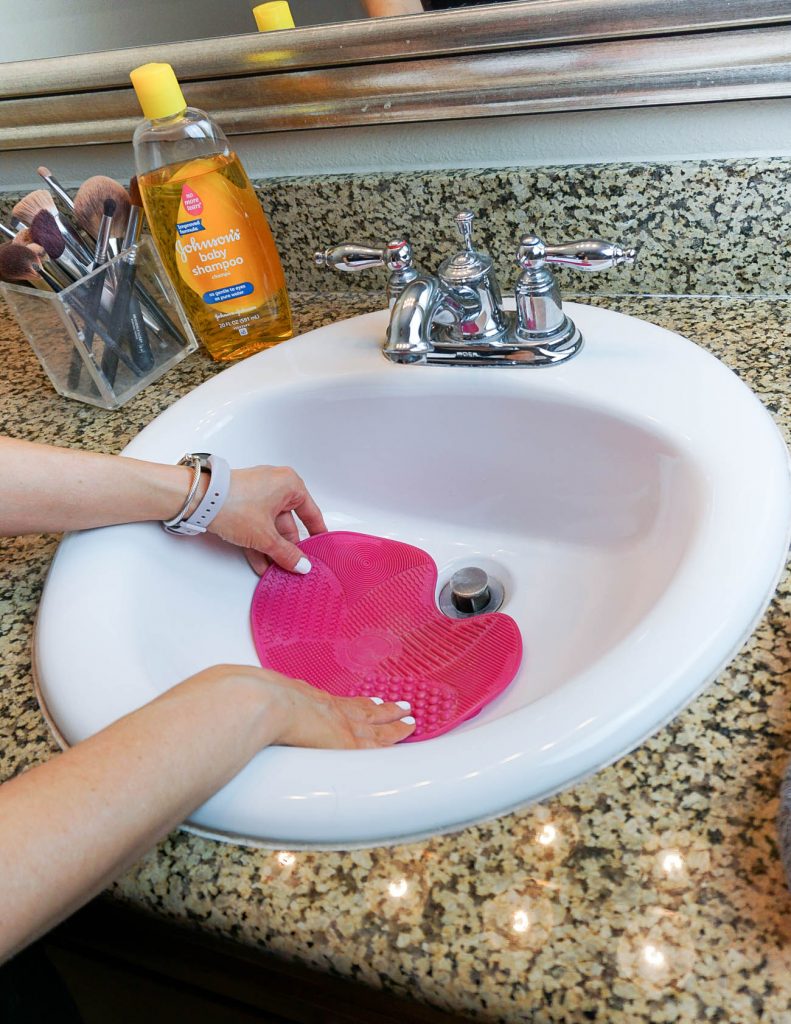
STEP 1: Place the Sigma Brush Cleaning Mat in your sink just above the drain. Gently push on the suction cups to attach in to place.
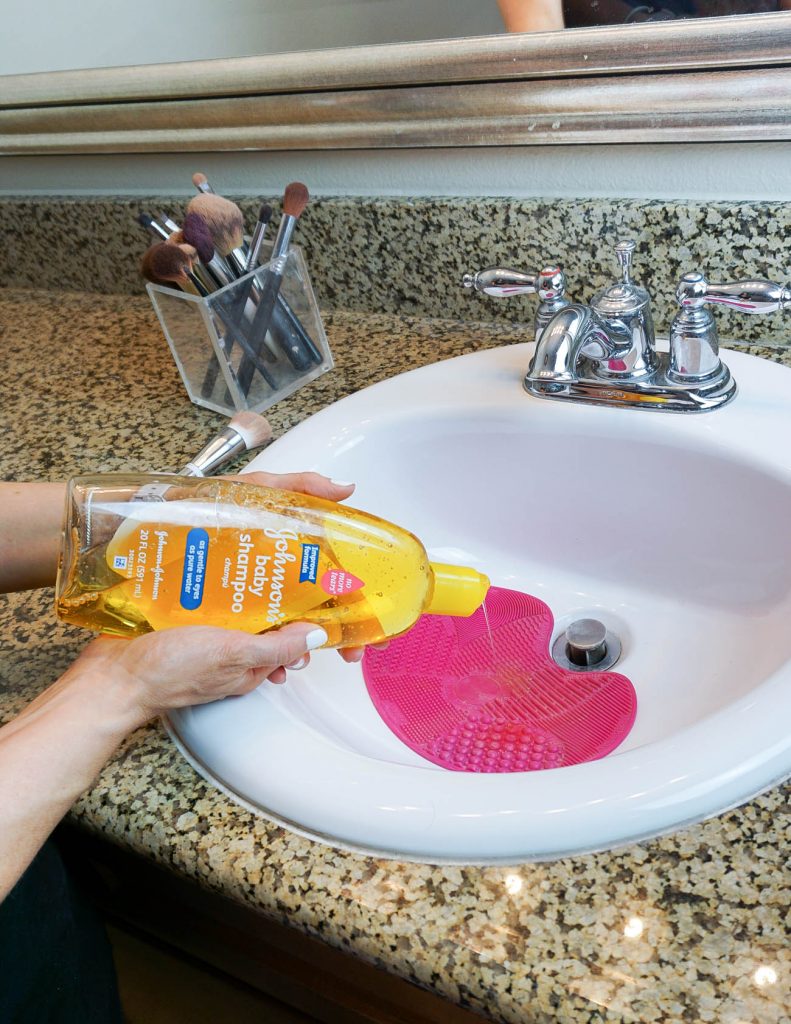
STEP 2: Apply a small amount of baby shampoo to the area for your first brush. The mat has labeled sections for face and eye brushes.
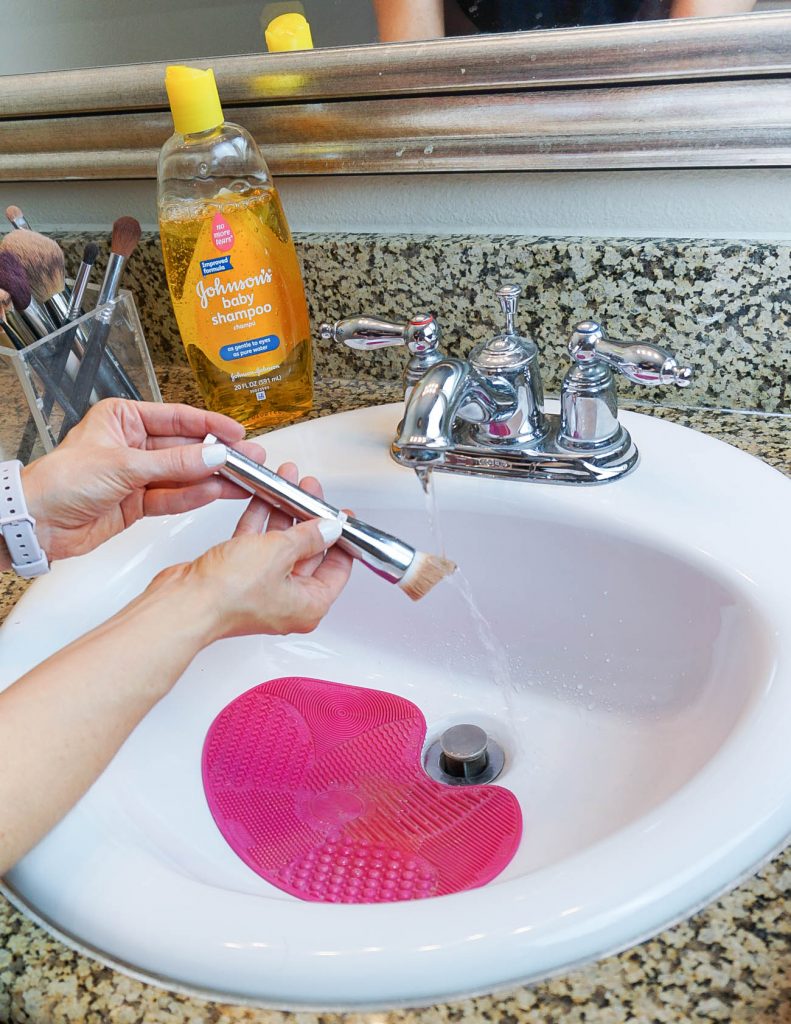
STEP 3: Turn on water just slightly to dampen brush. Hold brush at a downward angle and wet the brush hairs. I try and avoid getting the brush wet where the hairs are glued to the handle to avoid loosening hairs and wearing off the glue.
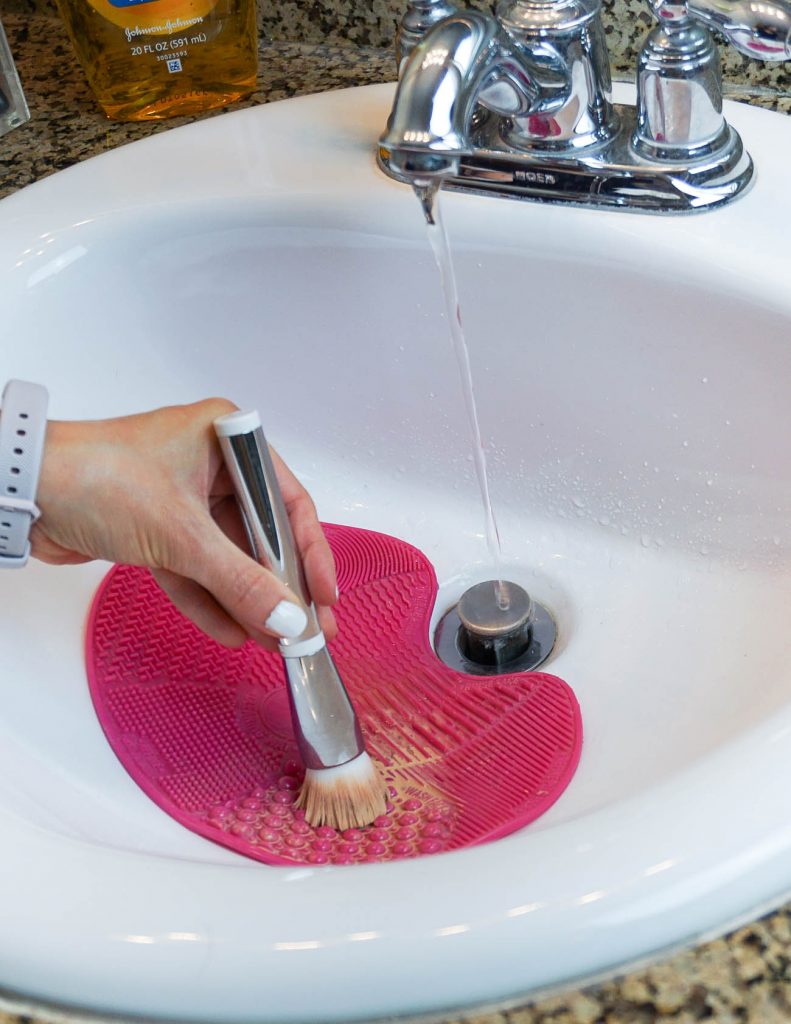
STEP 4: Swirl brush in the wash section in circular motions. You will start seeing all the lovely makeup coming out that has been living in your brush.
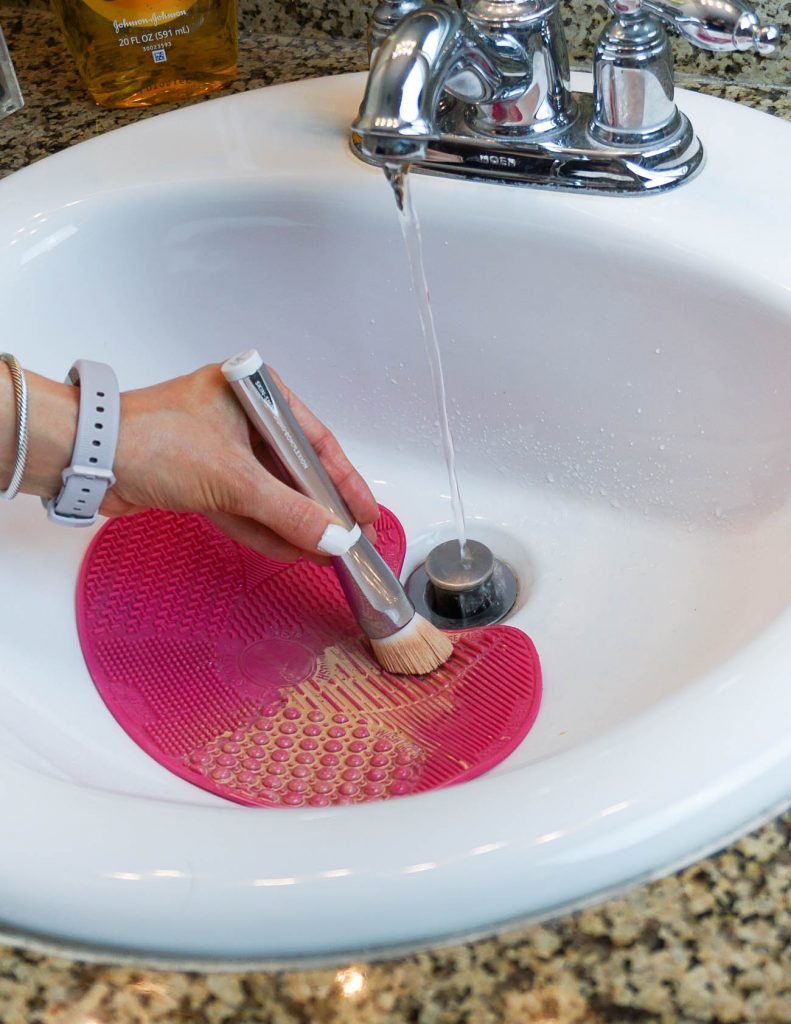
STEP 5: Gently move brush up and down the rinse section of the mat. You can also rinse with water prior to doing this, but I usually don’t.
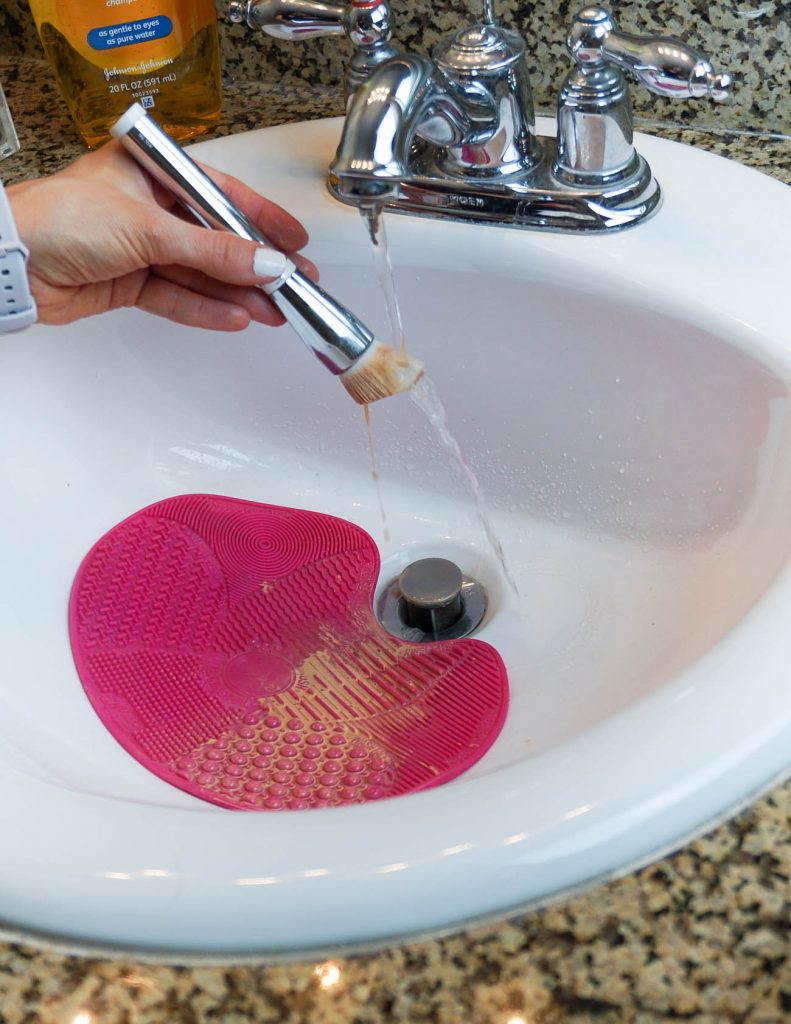
STEP 6: Place brush at a downward angle under water to rinse out makeup. You will start seeing your brush return to it’s original coloring. Repeat steps 4-6 adding more shampoo as needed until brush rinses and looks clean of makeup.
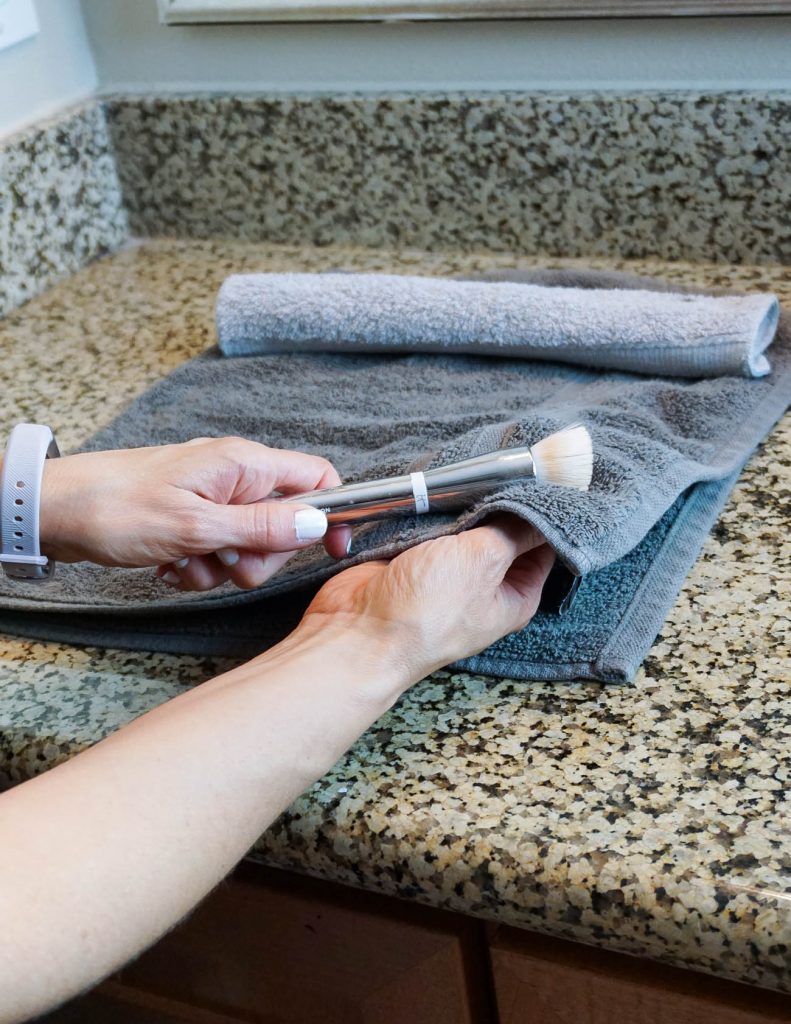
STEP 7: Gently pat the brush hairs dry in the same shape of the brush head.
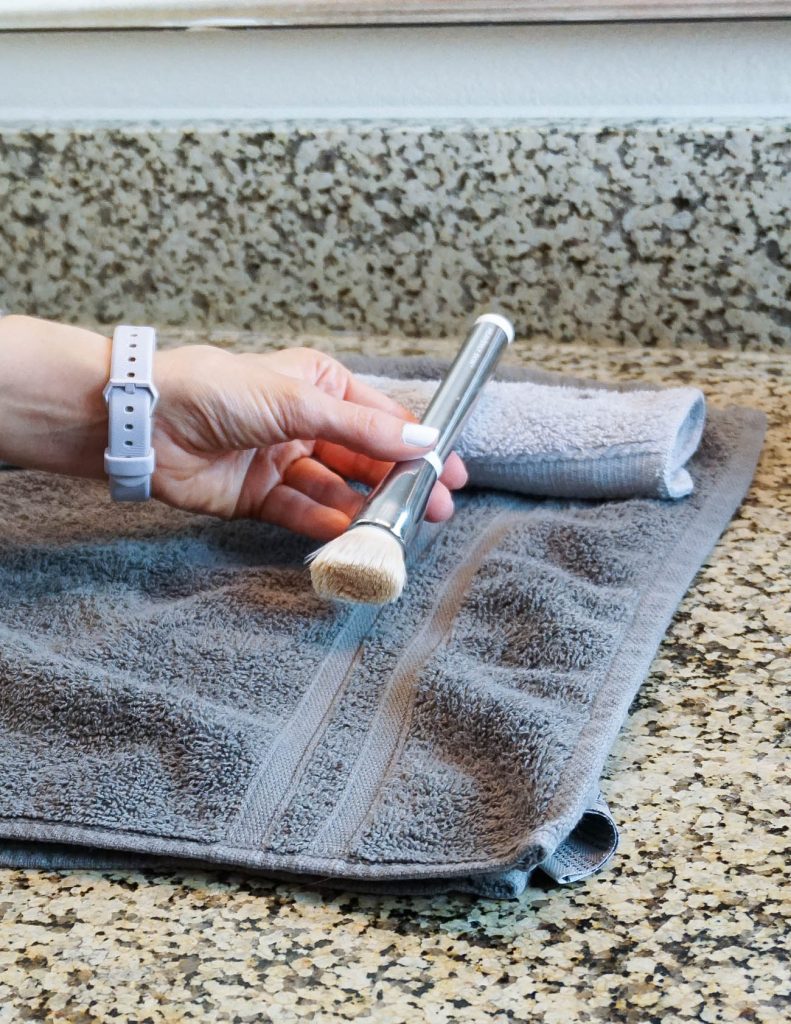
STEP 8: Lay brushes at a downward angle on a towel to let dry. I usually flip my brushes to their other side at around the 2-3 hour mark to ensure they dry evenly, and I let them dry completely overnight. Rinse your mat and leave in sink to air dry.
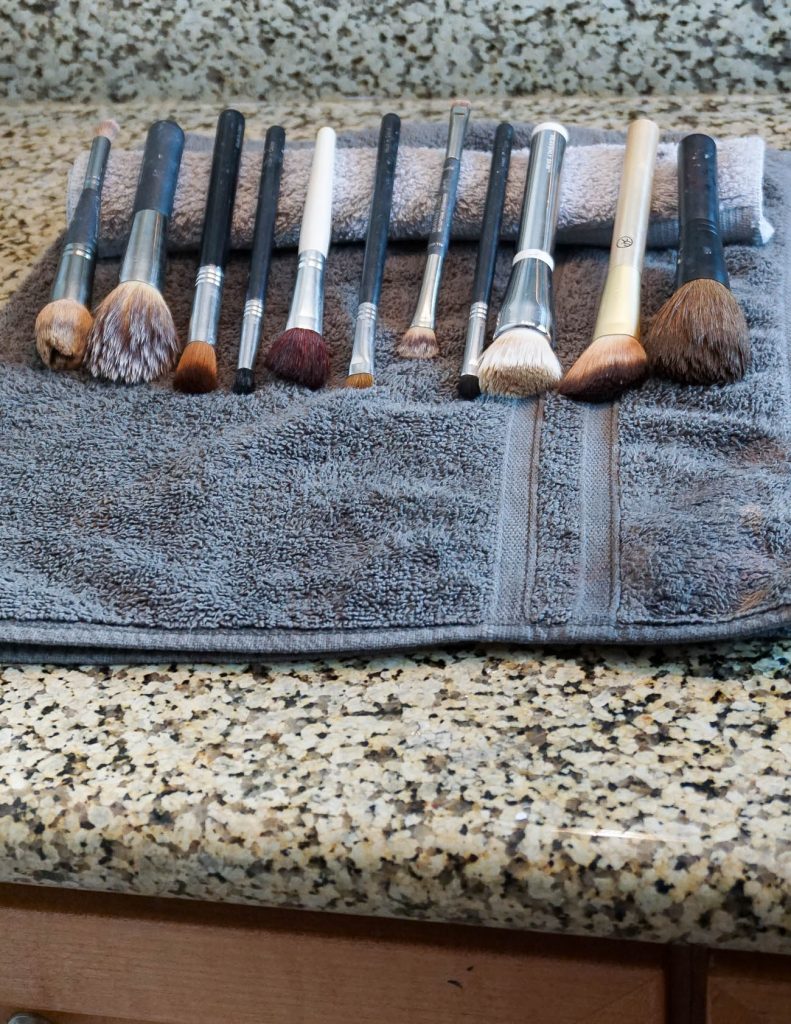
I clean each of my brushes individually, but you can group smaller brushes together and bulk clean to make this go faster. From start to finish it takes me about 10 minutes to clean all of the brushes pictured above. For more information on what types of makeup brushes I use, check out this previous post where I share all the details!
If you don’t want to invest in the mat, you can also cup your hand, apply a little shampoo, and move brush inside your cupped hand in circular motion, and then rinse with water. It takes a little longer to clean dirtier brushes, but it works. The mat in my opinion is so worth it, and it makes cleaning quicker and a little more fun.
SHOP THE PRODUCTS
Pink Striped Top
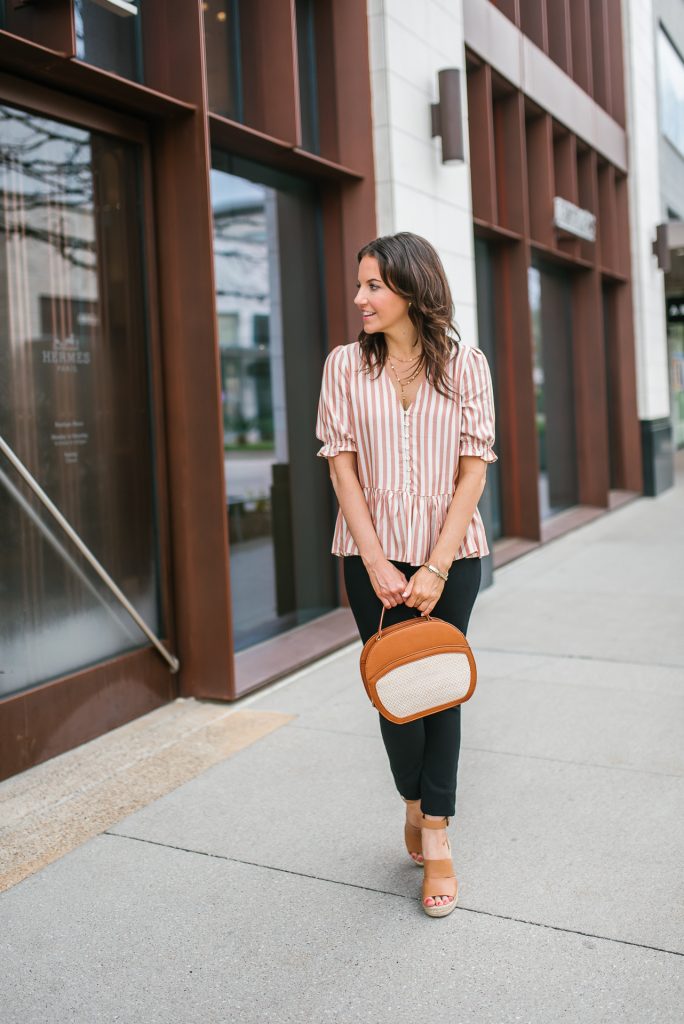

Happy Friday Friends! What a week it has been too! It’s my final week with my personal styling clients. It’s been so much fun working with them, and I’m so sad our session is ending already. It feels like it just began! Work was one of those good kind of busy weeks where you stayed busy and productive and the day flew by. I feel like work days like this also carry into my evenings helping me stay productive at home too. It was definitely a productive week all around. It probably also helps that I took today off too. I haven’t taken much time off this year, so I decided to take a relaxing me day.
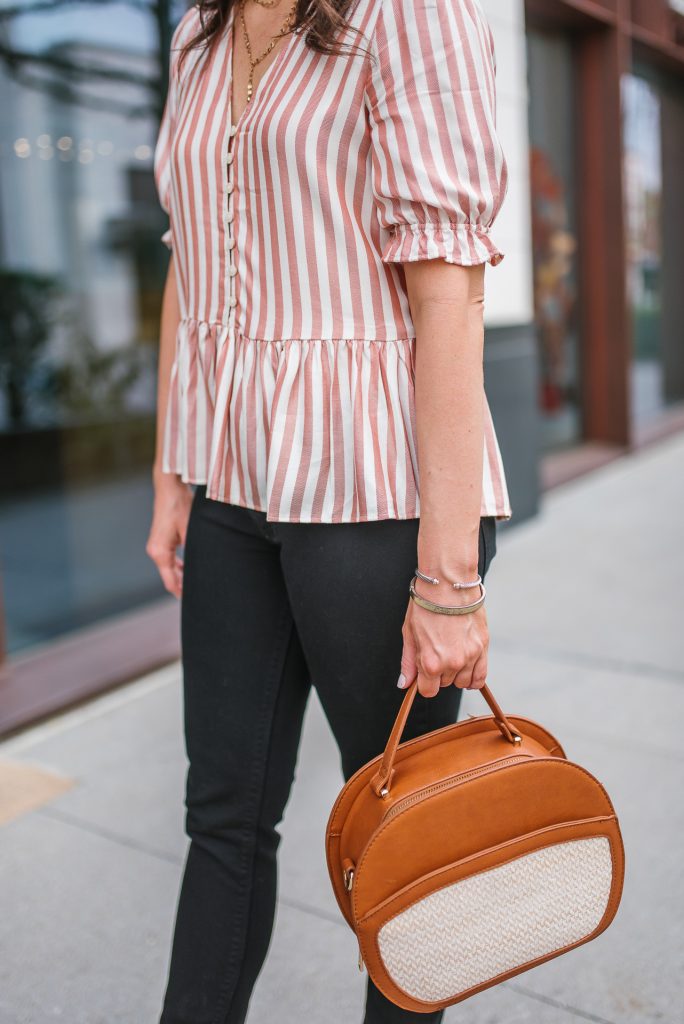
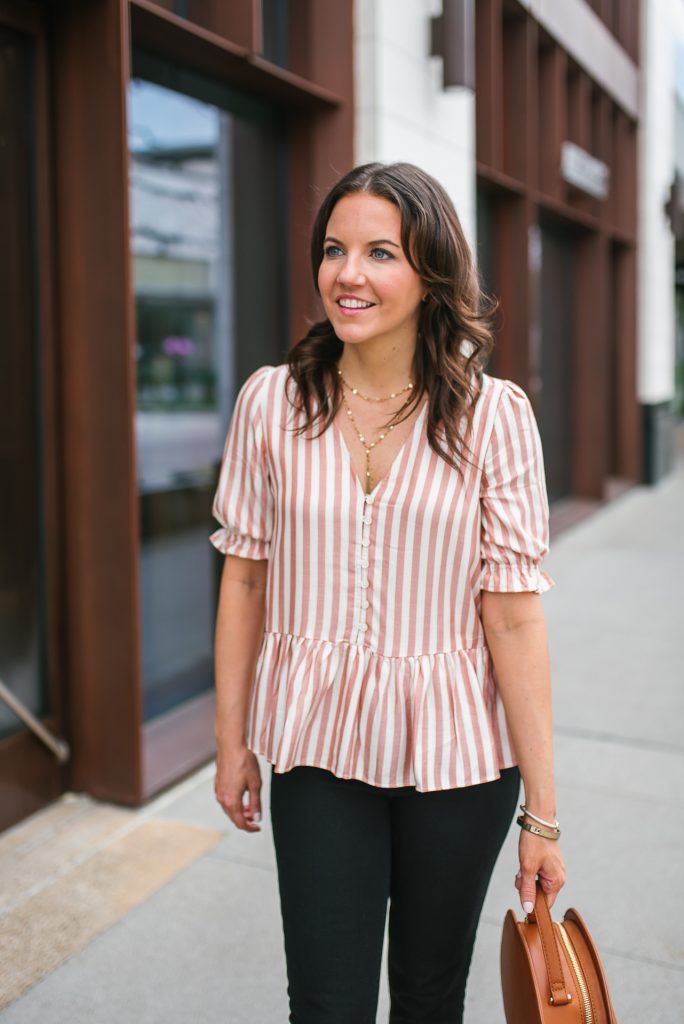
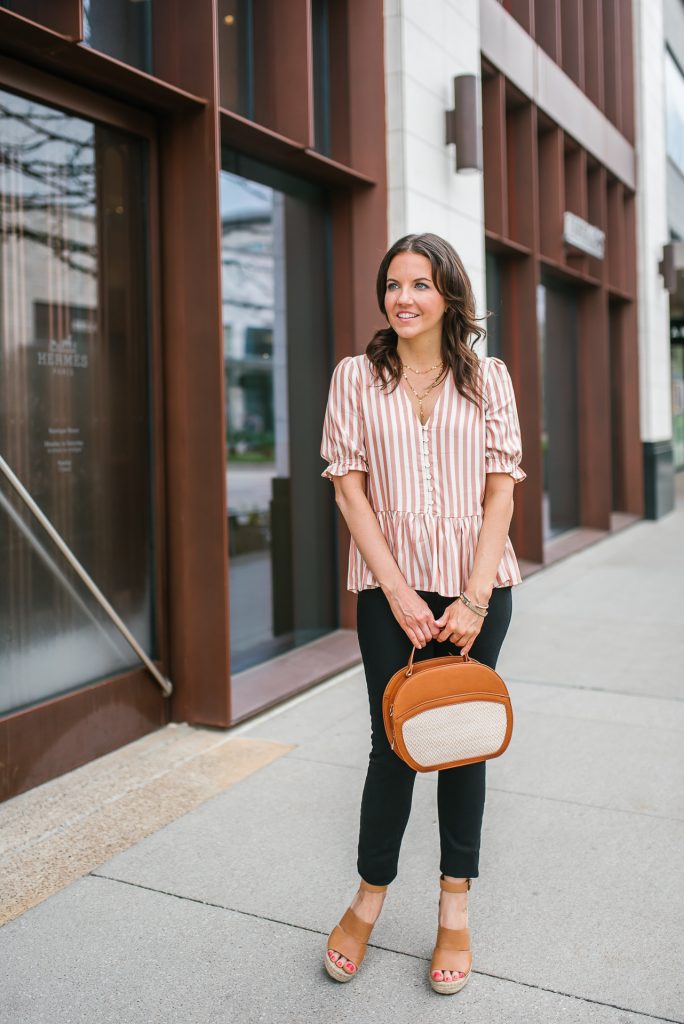
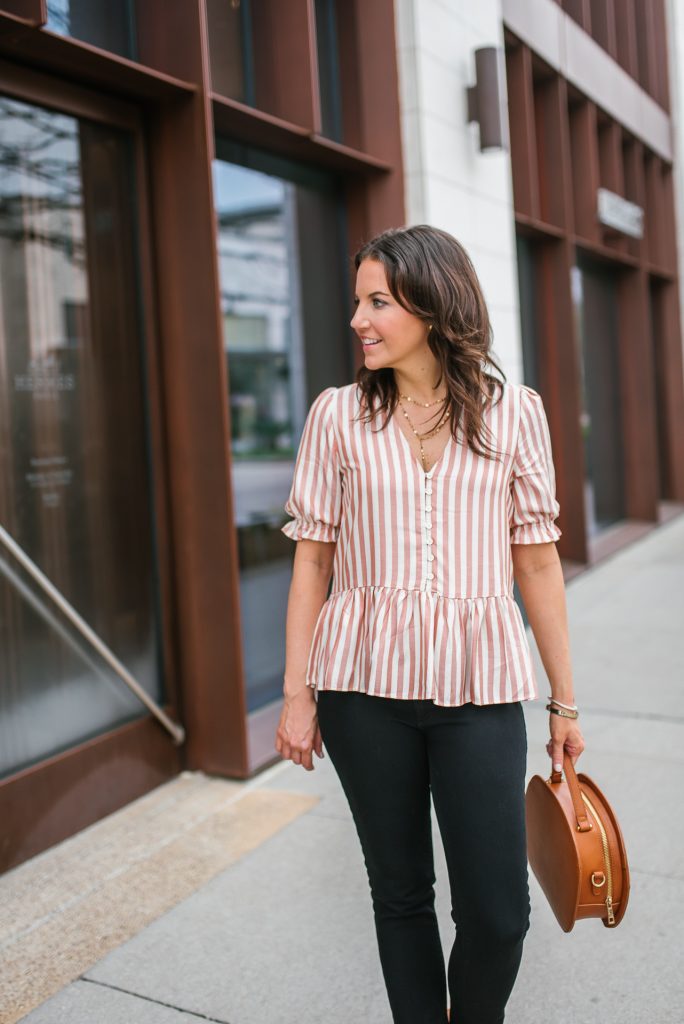
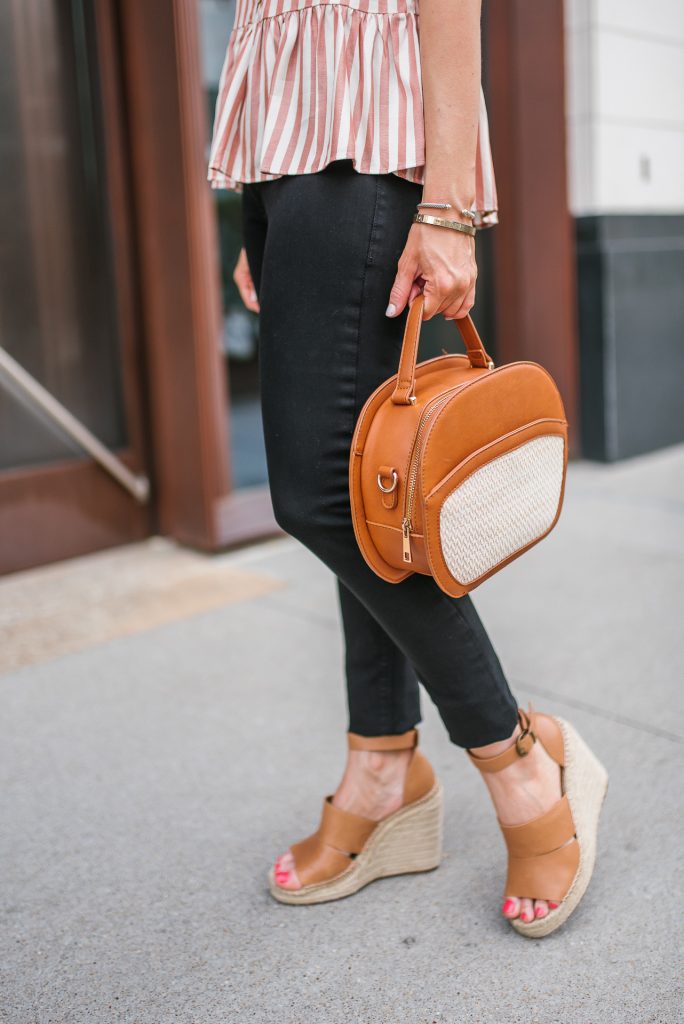
If you need an outfit idea for this weekend, I have you covered with this one! It’s so perfect for a casual dinner, enjoying a drink on a patio somewhere, or even brunch. This pink striped peplum top is going to work with so many outfits this spring and summer. I love it paired with black and my brown wedges. It gave it a more earth tone look to me. You could also pair it with white jeans and heels for a dressier look or cuffed distressed jeans and sandals for a more casual look.
It’s a good length to pair with shorts too. All the colors mentioned above will work in shorts versions too. You could also work in some colorful cotton shorts like dark yellow or olive green too. This rose pink color just works with such a good variety of other colors!
If you need even more stripes in your life, be sure and check out my post from last week featuring all things stripes! I hope ya’ll have a great weekend and thanks for stopping by this week!
| OUTFIT DETAILS |
Pink Striped Top | c/o Black Jeans | Brown Wedges | Similar Bag | c/o Layered Necklace | Gold Stud Earrings | Similar Gold Bangle | David Yurman Cuff | Nails: CND Cashmere Wrap
Photography By: Banavenue
